In this post I will go through the separate steps to set up a SUSE Linux Enterprise Server 12 which was released on 27th October 2014.
In my following was I was already shown how to set up SUSE Linux Enterprise Server 15. Finally there’s not much difference between setting up version 12 and 15.
In this post I will focus on the expert partitioning which differs a little bit dependent on the SP version of SLES 12 when setting up a dedicated disk for the EFI System Partition on which the GRUB2 boot loader is located
The SLES 13 and SLES 14 version numbers were skipped due to superstitions associated with those numbers in certain cultures.
First download a Trial version and request a Trial Code to registering with SUSEConnect
About how to download a trial version, requesting a trial code for and how to registering it with SUSEConnect you will find in my post about how to set up SUSE Linux Enterprise Server 15.
Installation
I will install SLES 12 in my vSphere lab environment and therefore first connect the SLES15 ISO file in vCenter to boot from.
I will skip the registration, more about registering it via scc.suse.com you will find here https://blog.matrixpost.net/set-up-suse-linux-enterprise-server/#trial.
Click on Network Configuration on the right top to configure the network settings.
I will leave the default settings to use DHCP for the network configuration.
We can also install here additional Add On products.
For the system role I will use the default system.
Set up Expert Partitioning
Because I want to use a dedicated disk for the EFI System Partition on which the GRUB2 boot loader is located, I will have to select below Expert Partitioner …
By using a dedicated disk for the EFI System Partition on which the boot loader is located, you will be able to use the Logical Volume Management (LVM) also for the root filesystem and not just for your data.
The root filesystem will then be much more flexible and can be easier resized when located on a LVM Logical Volume. Furthermore you can also enable snapshots for the root filesystem without using any third-party software just out-of-the-box.
In case you will run into an issue in vSphere by using a dedicated disk for the EFI System Partition and SLES12 will boot directly into the GRUB2 Command Shell instead of booting the OS, you can read my following post.
I will first delete the proposal settings (three partitions below).
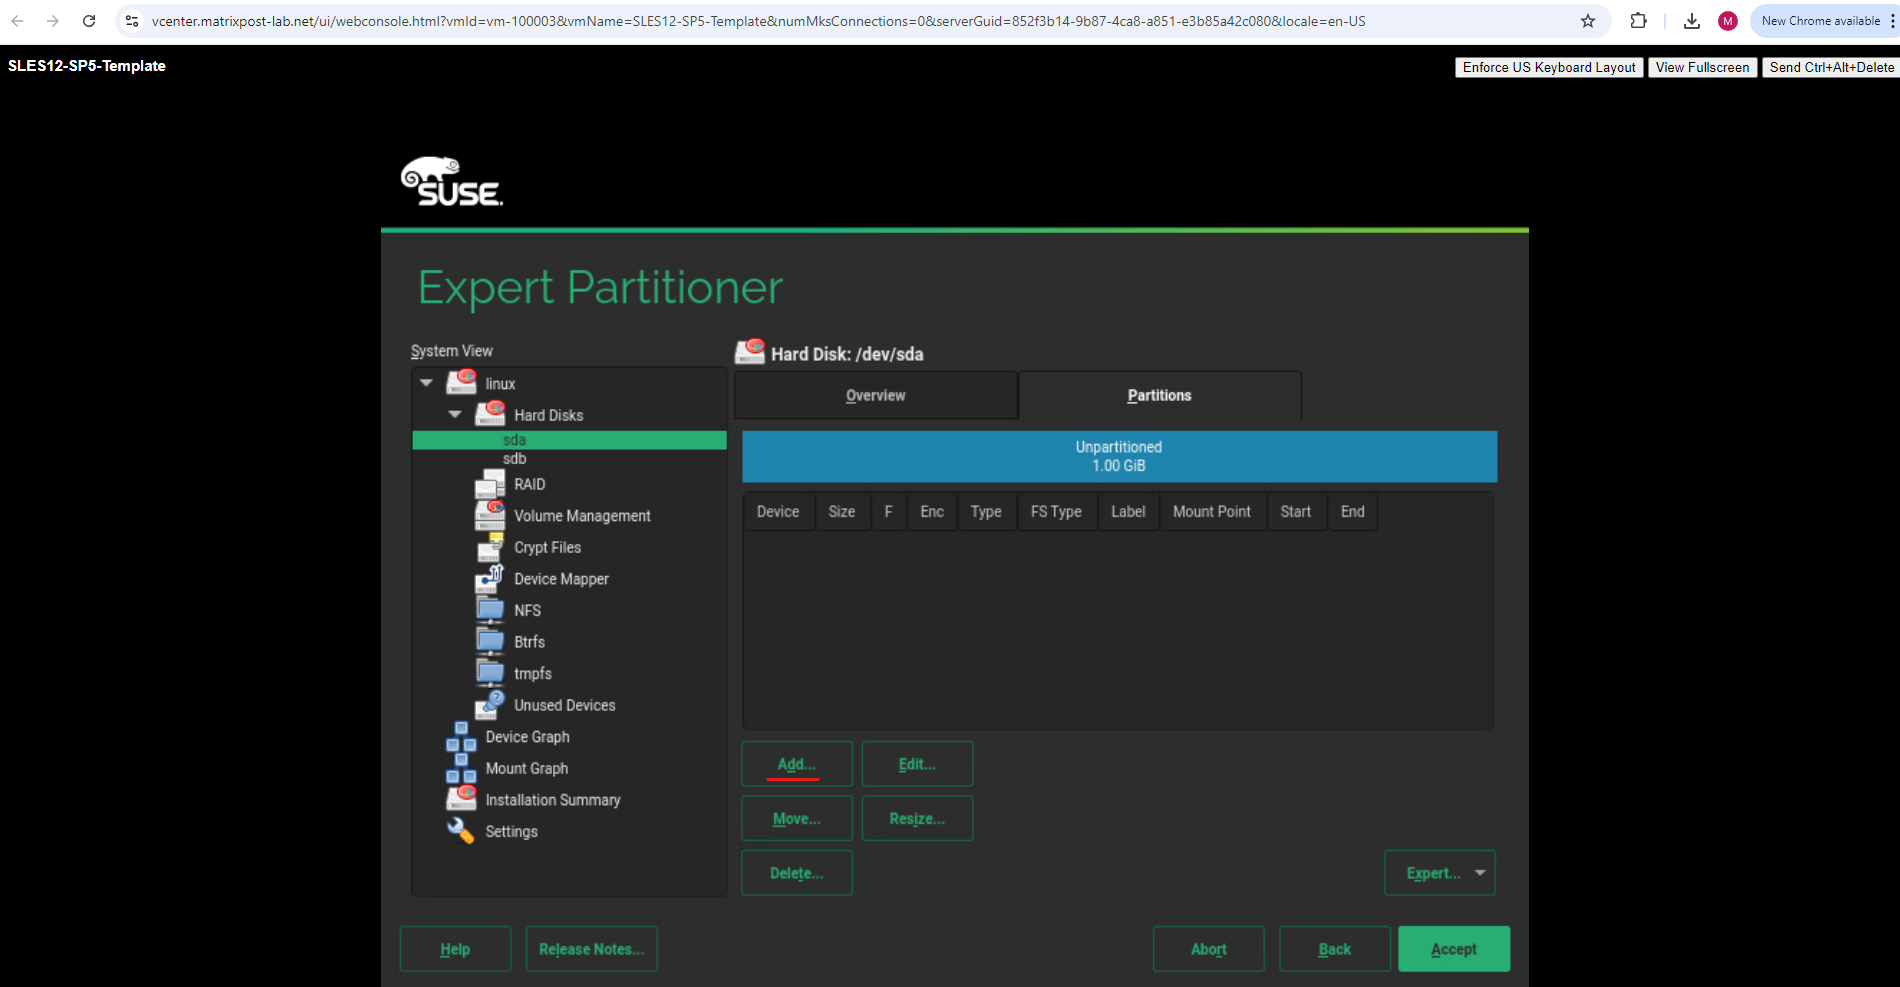
Then I will select my dedicated 1 GB disk to use for the EFI System Partition on which then the GRUB2 boot loader will be placed.
Click on Add.
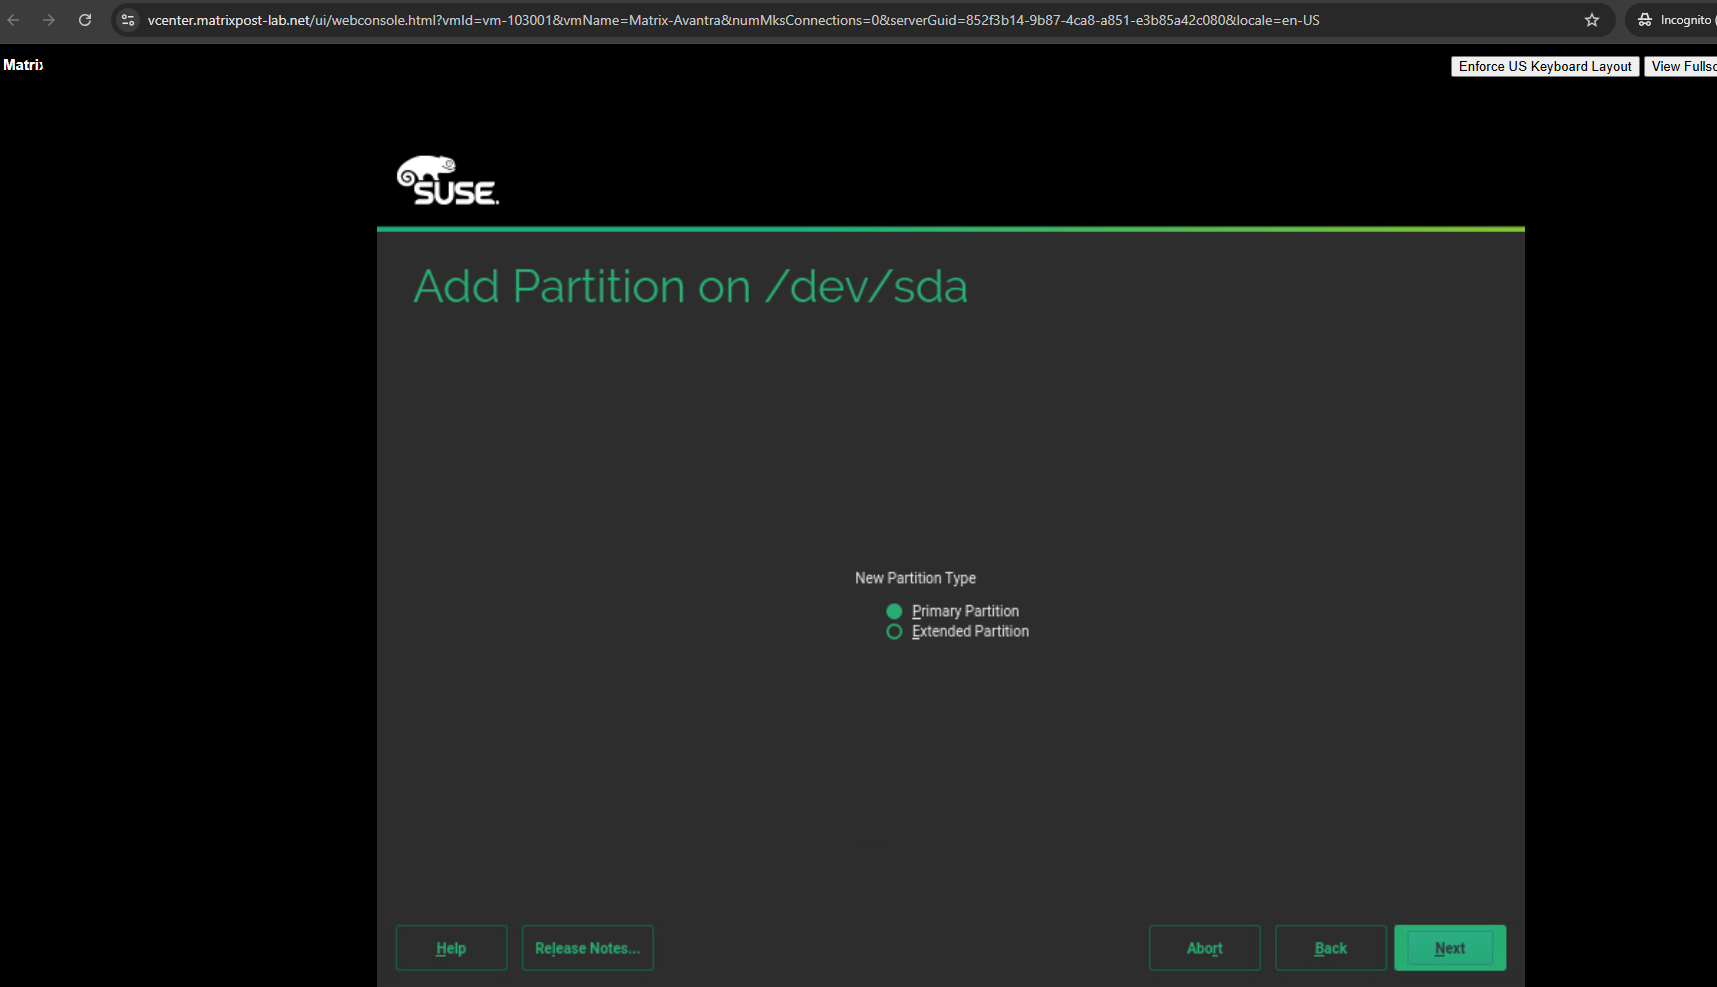
When using SLES12 SP5 you will first have to select the partition type, here primary.
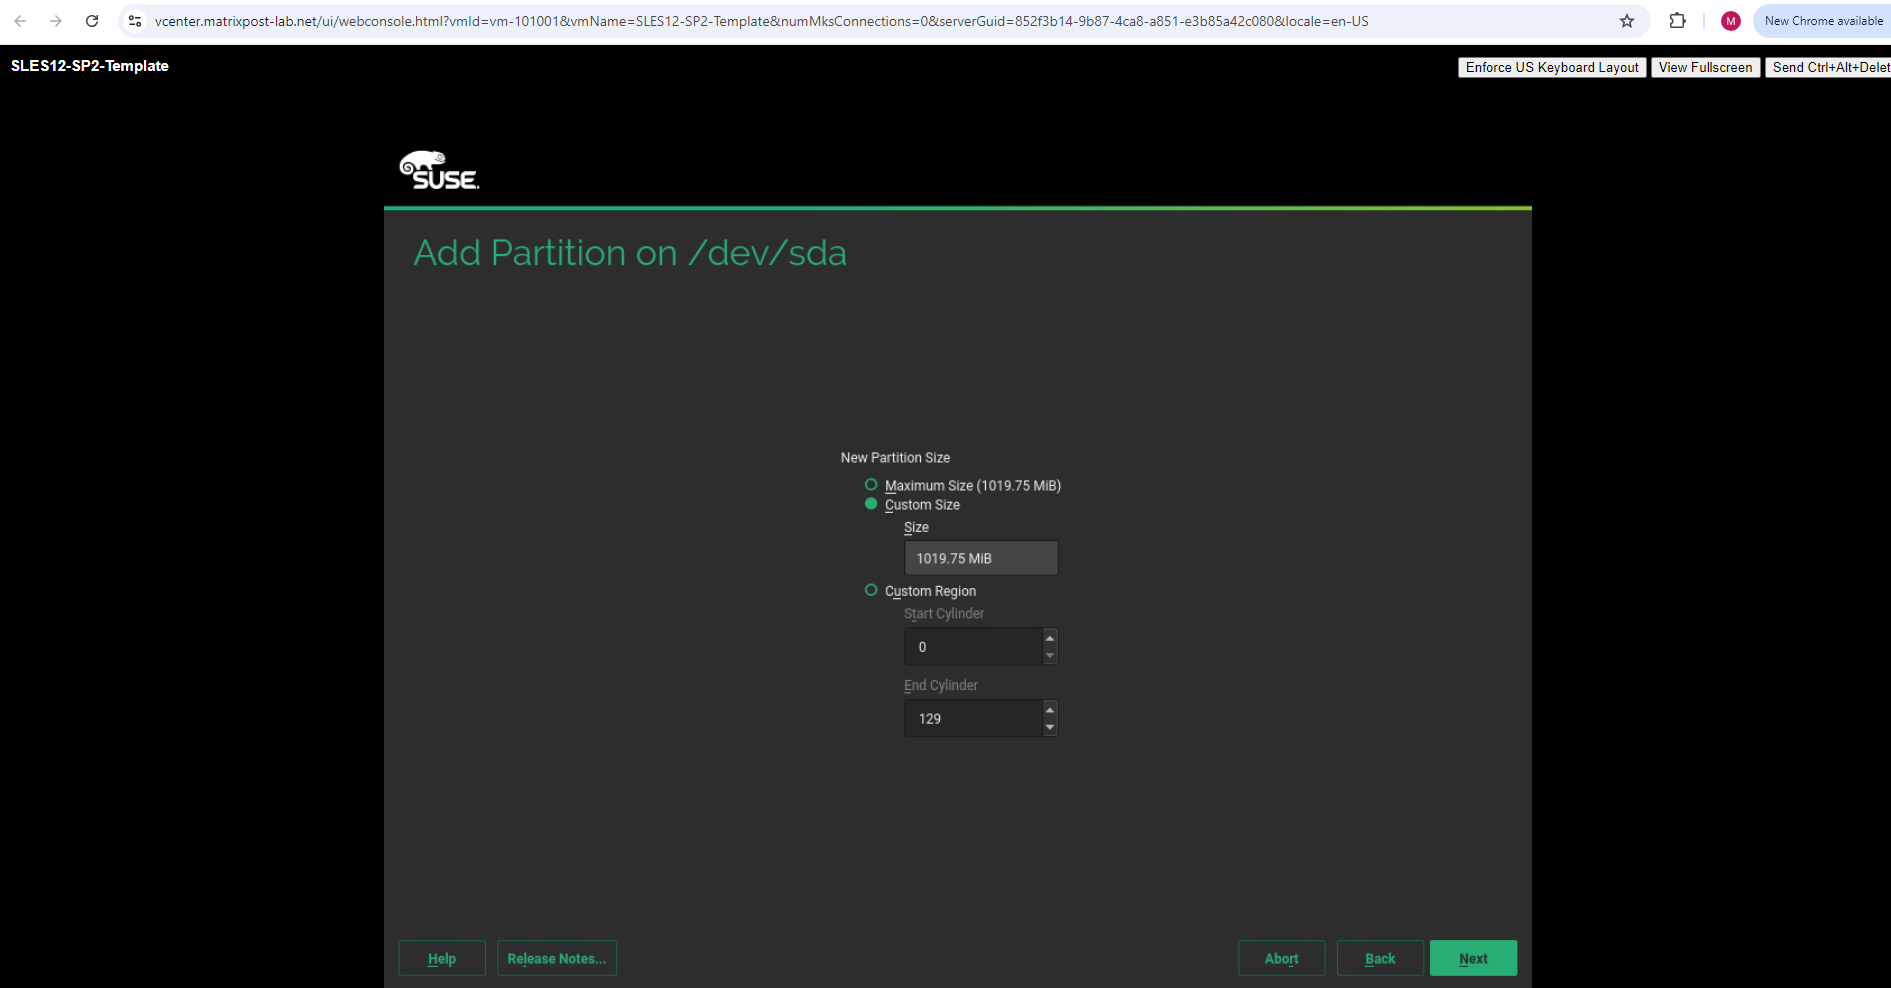
Next screen is the same for SLES12 SP2 and SP5, I will use the maximum size.
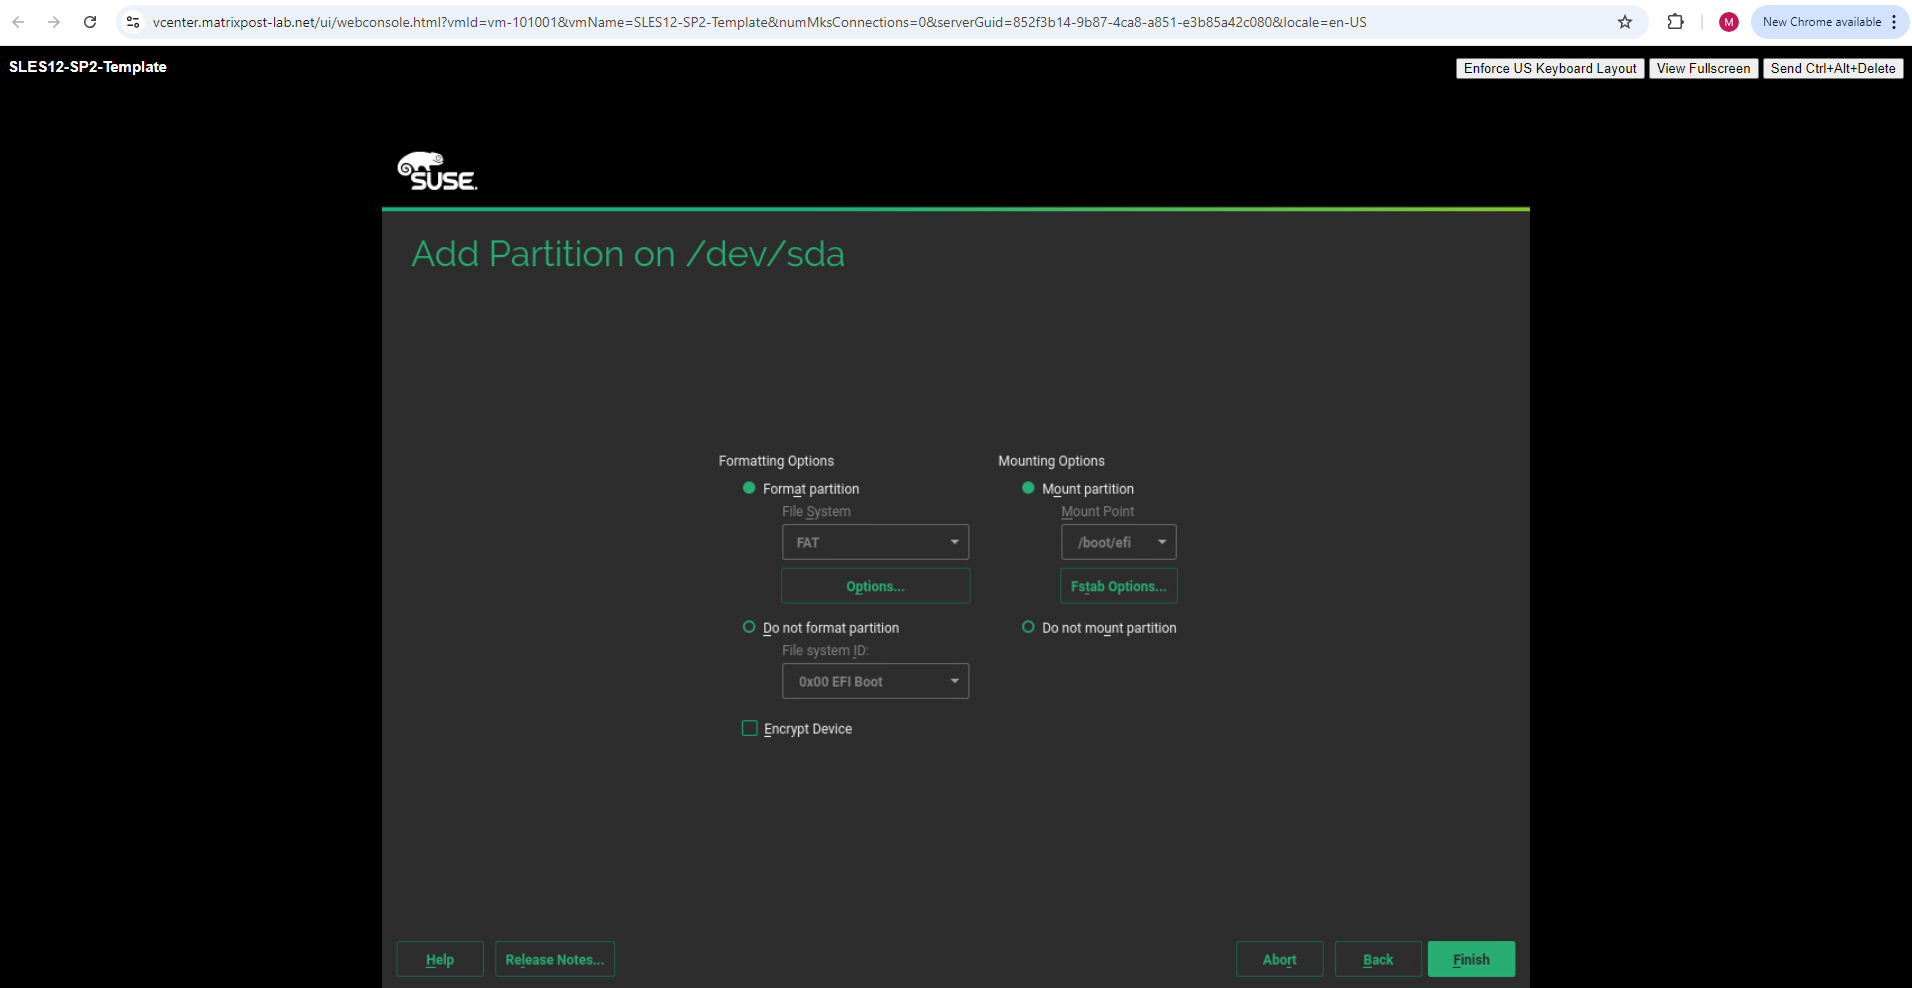
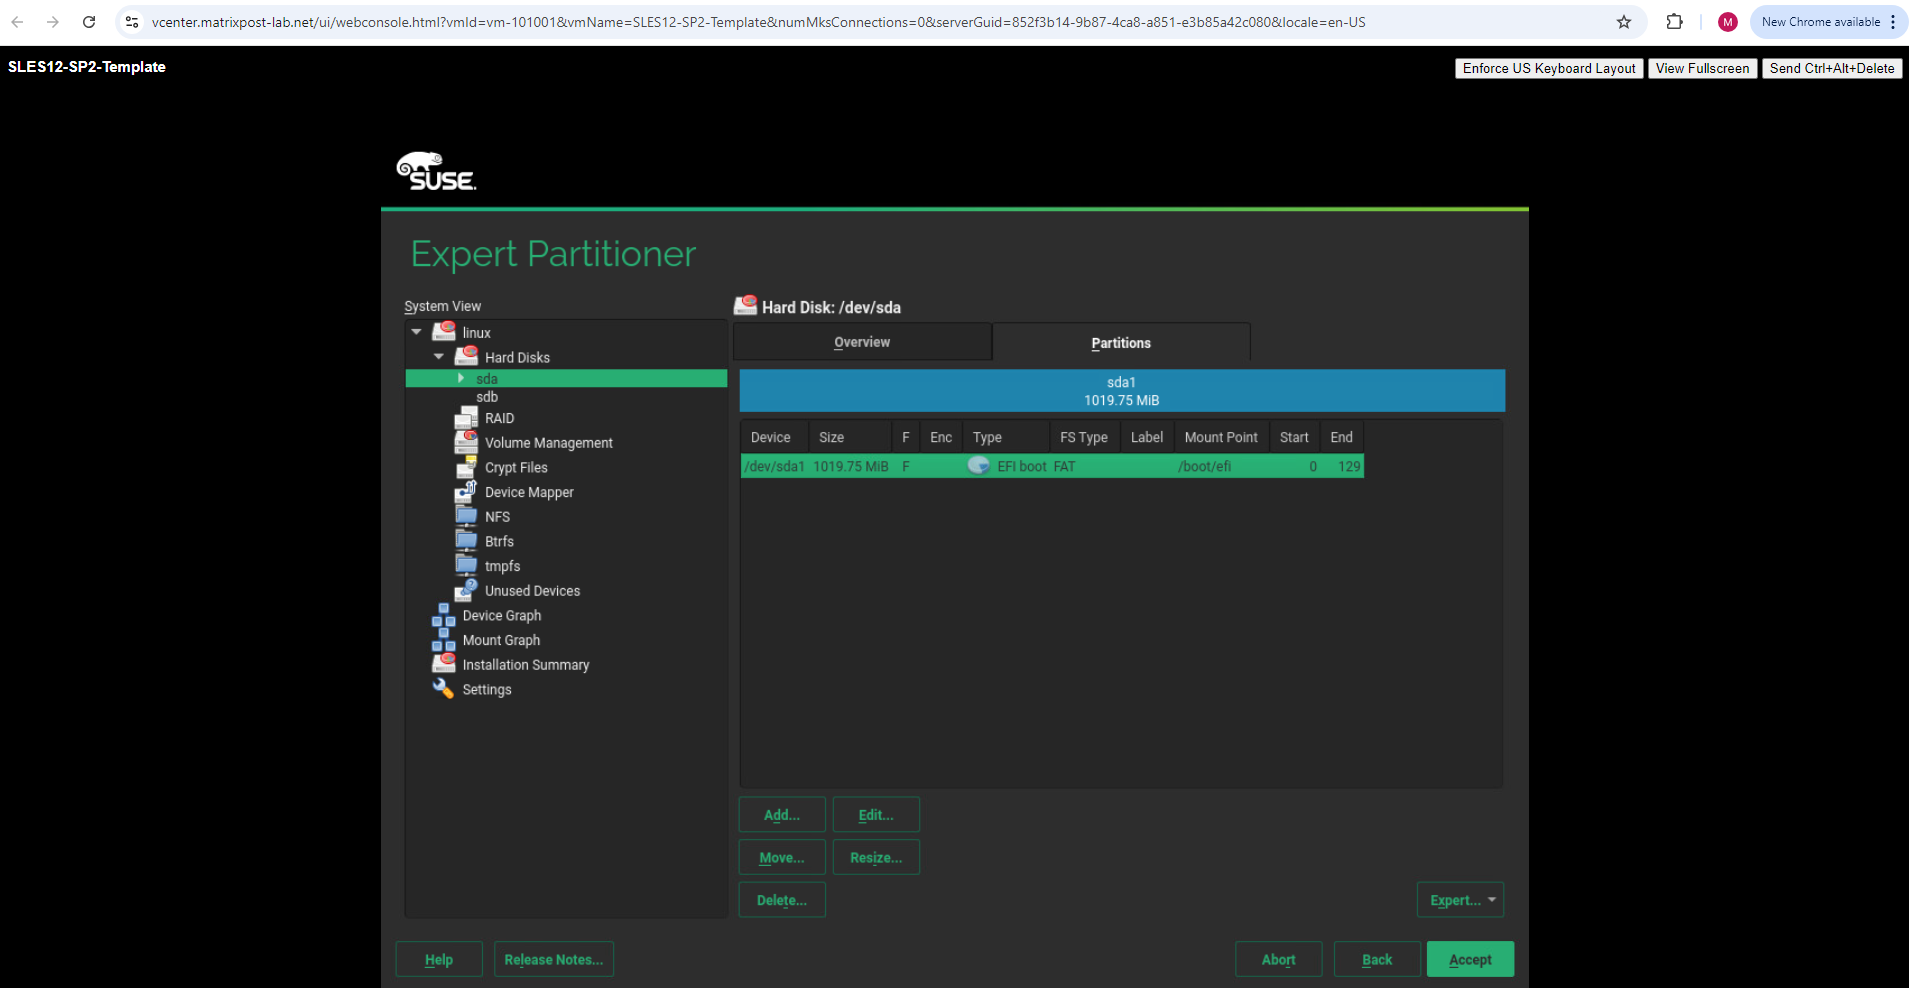
In SLES12 SP2 we need to select the EFI Boot Partition.
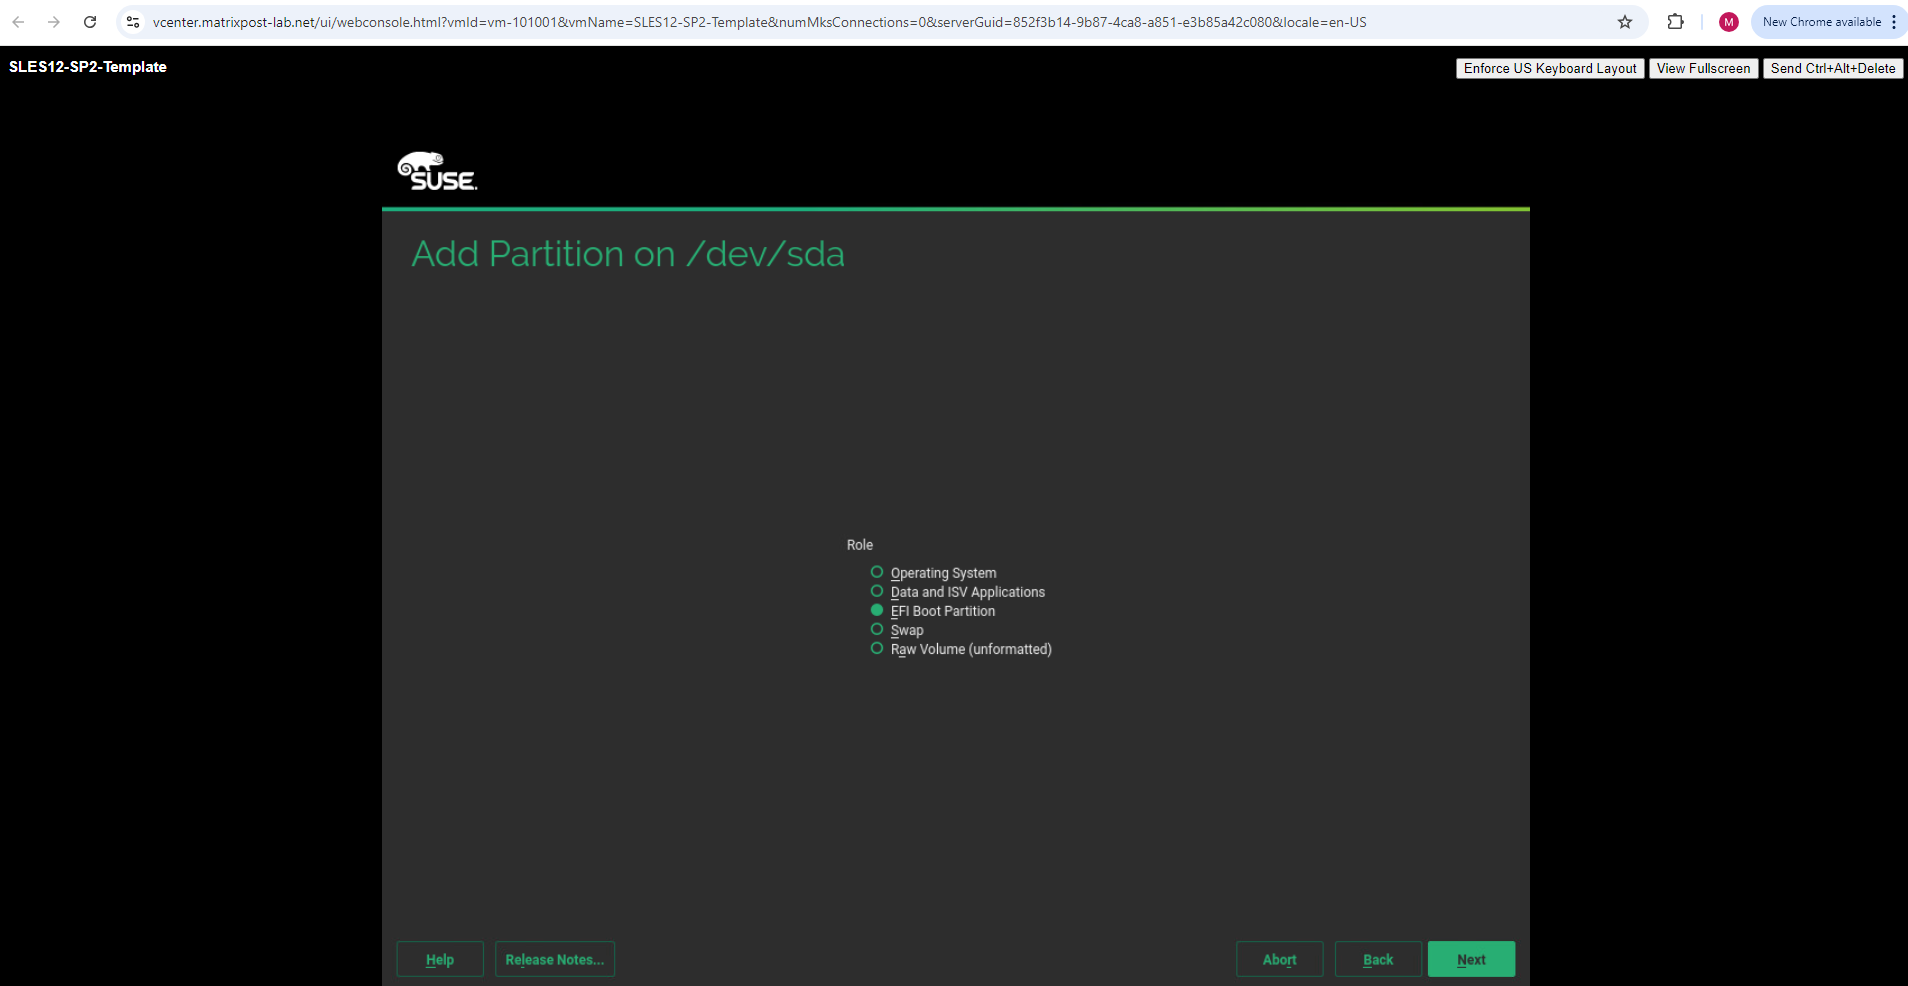
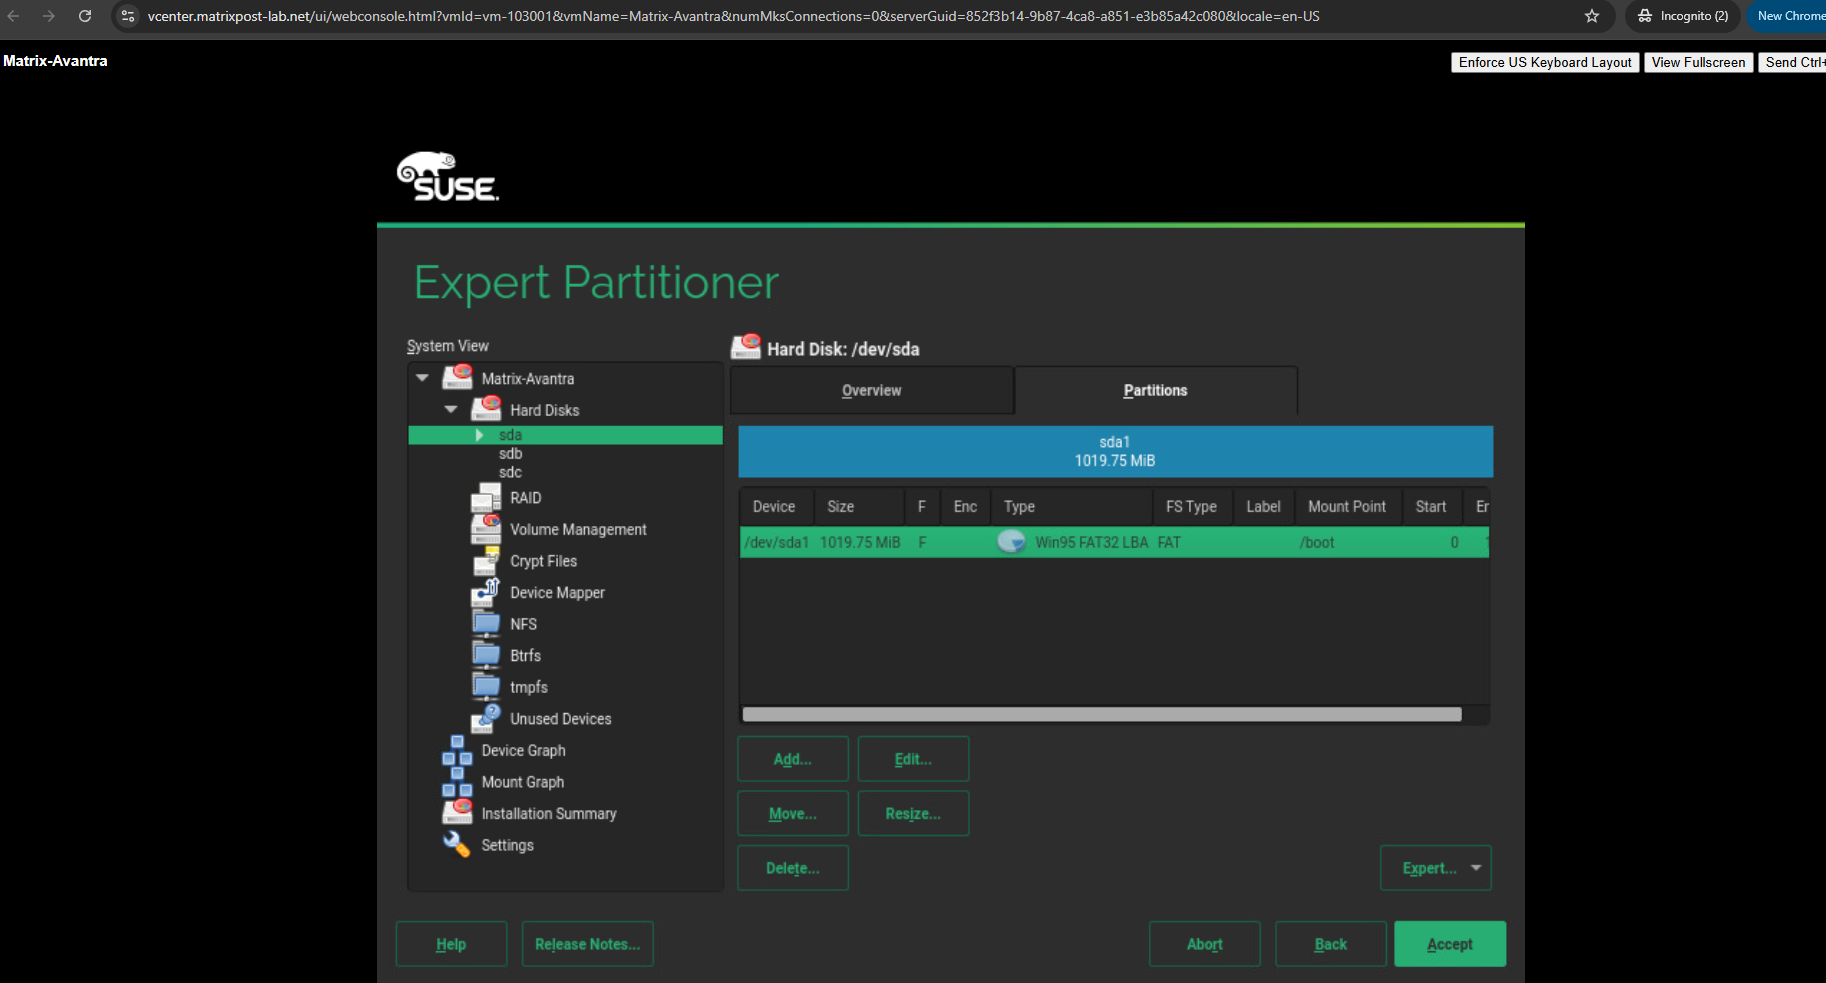
In SLES12 SP5 we don’t have the option with EFI Boot Partition, here we need to select Operating System.
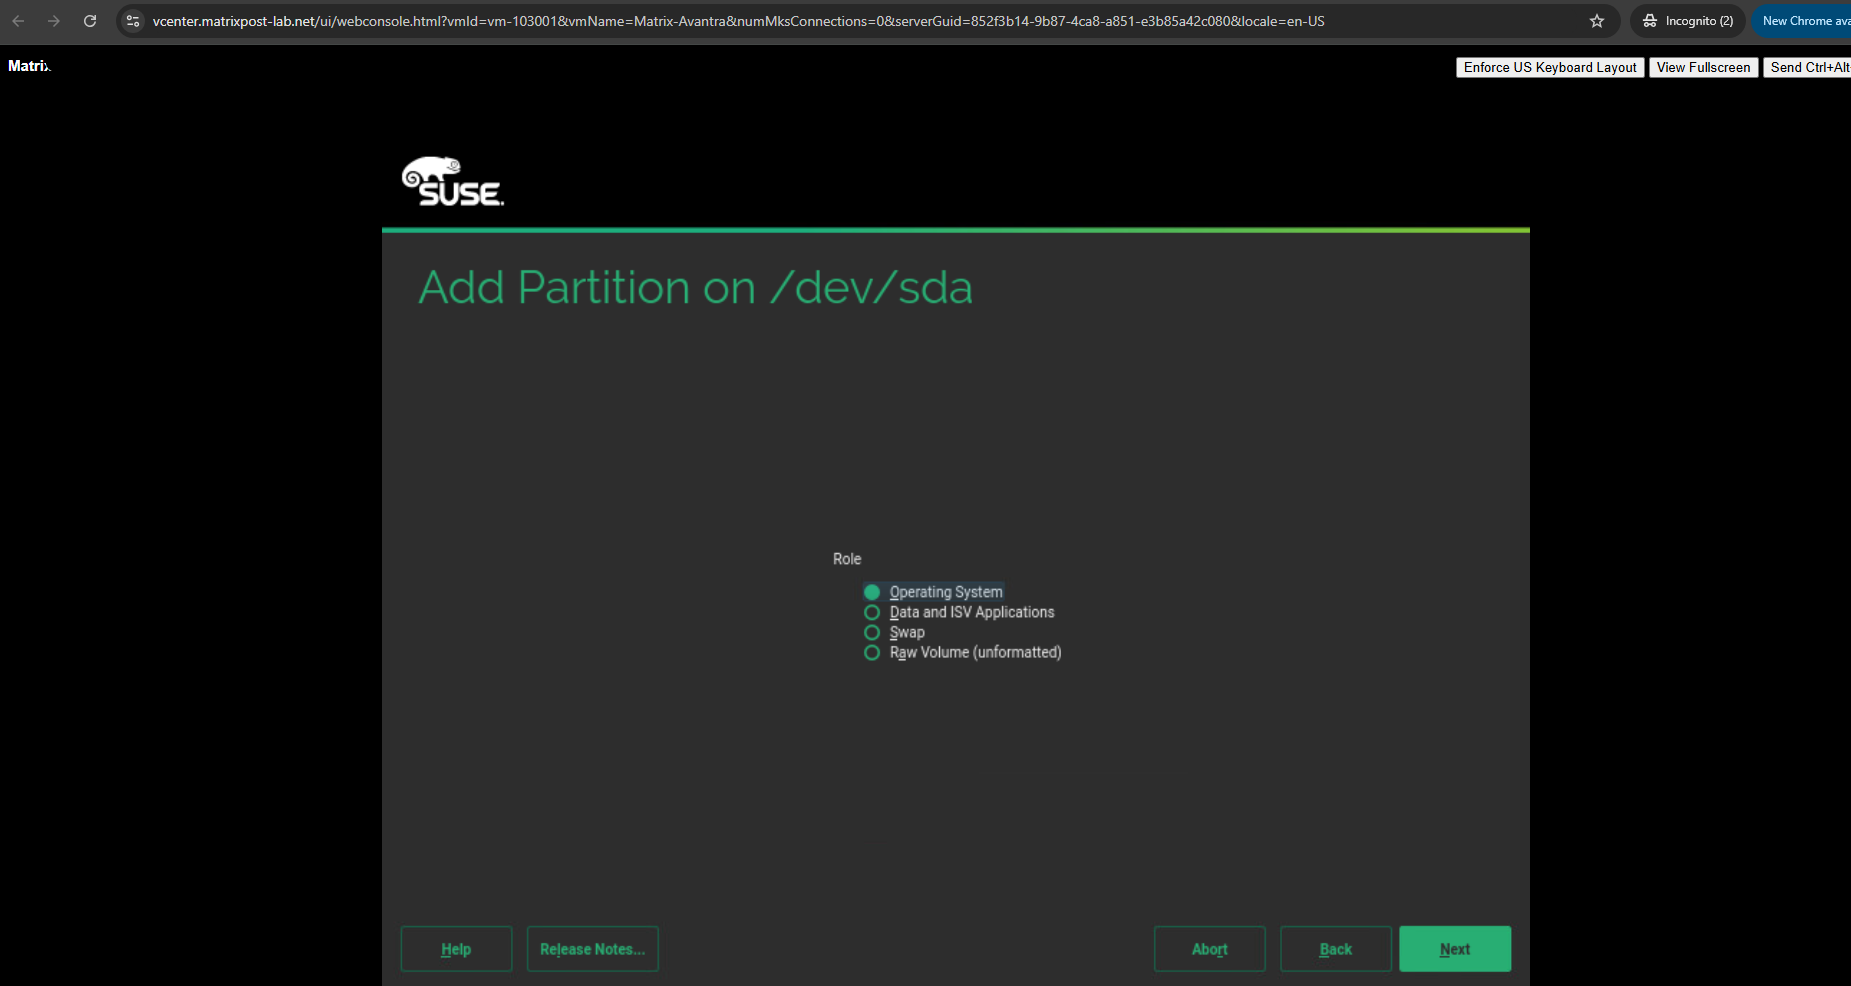
The preselected values are fine when using SLES12 SP2 and we can click on Finish.
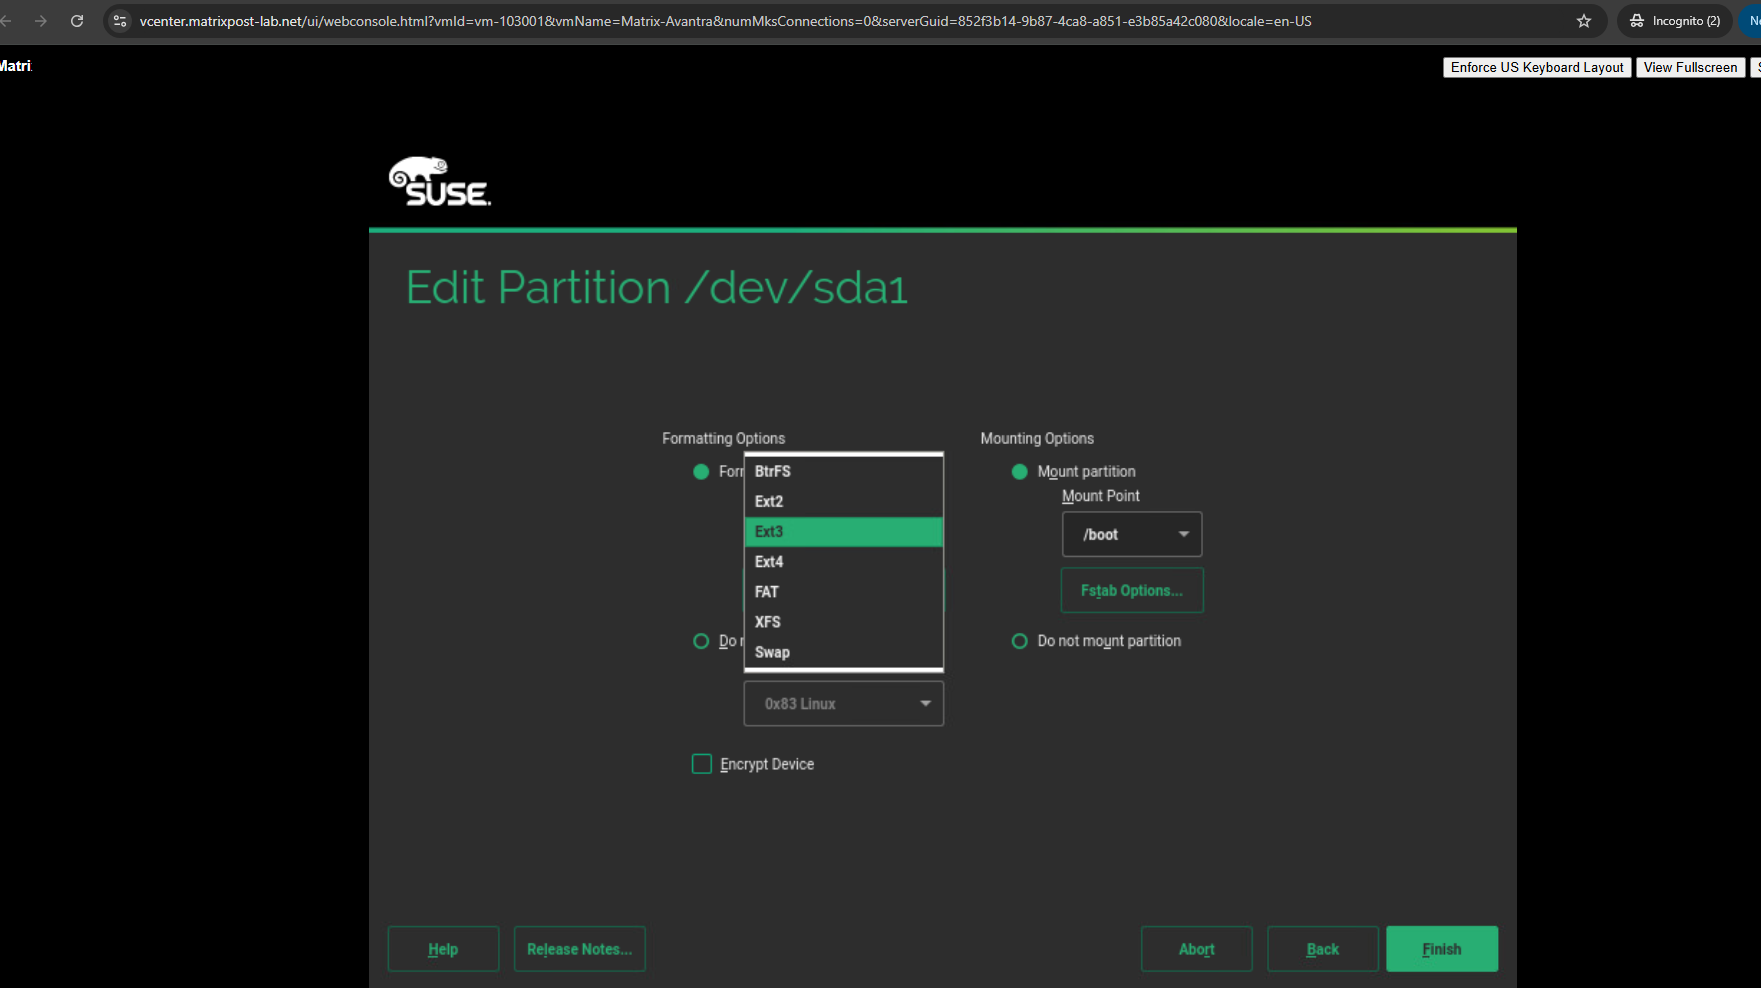
In SLES12 SP5, BtrFS is selected by default but not supported for the boot partition, here we need to switch to Ext3 or Ext4 explicitly.
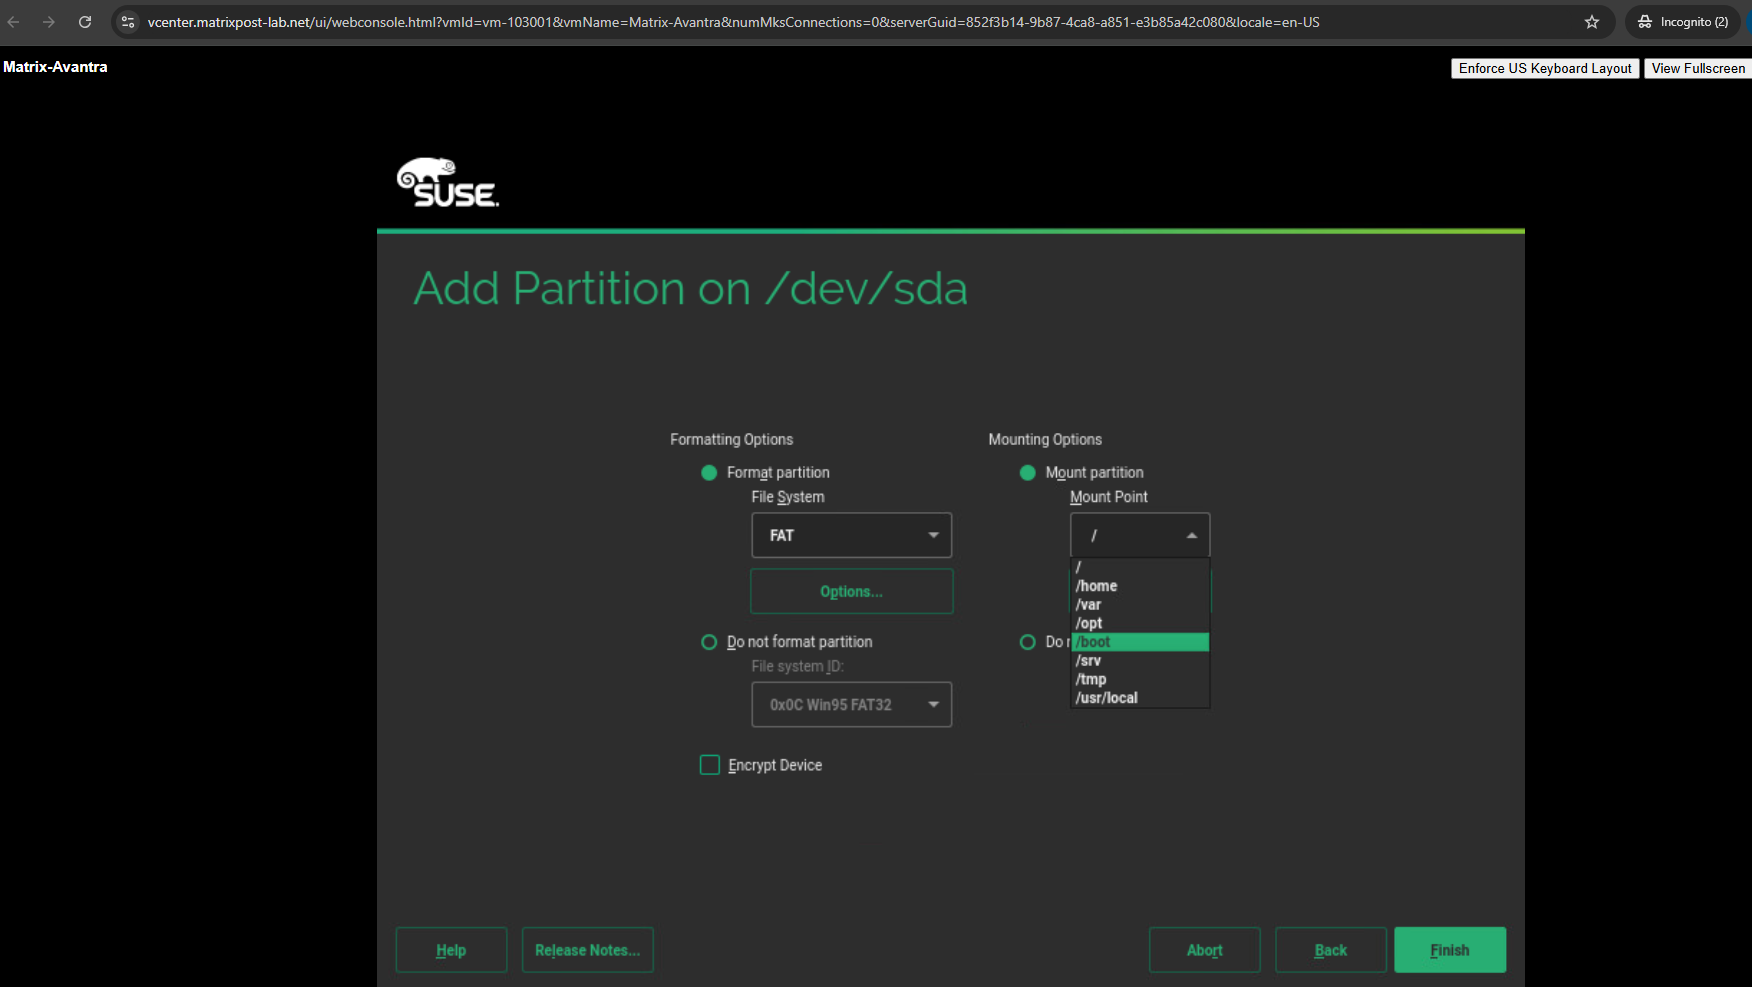
Further when using SLES12 SP5 we also need to select for the mount point /boot by hand.
Output for SLES12 SP2 and the boot partition.
Output for SLES12 SP5 and the boot partition.
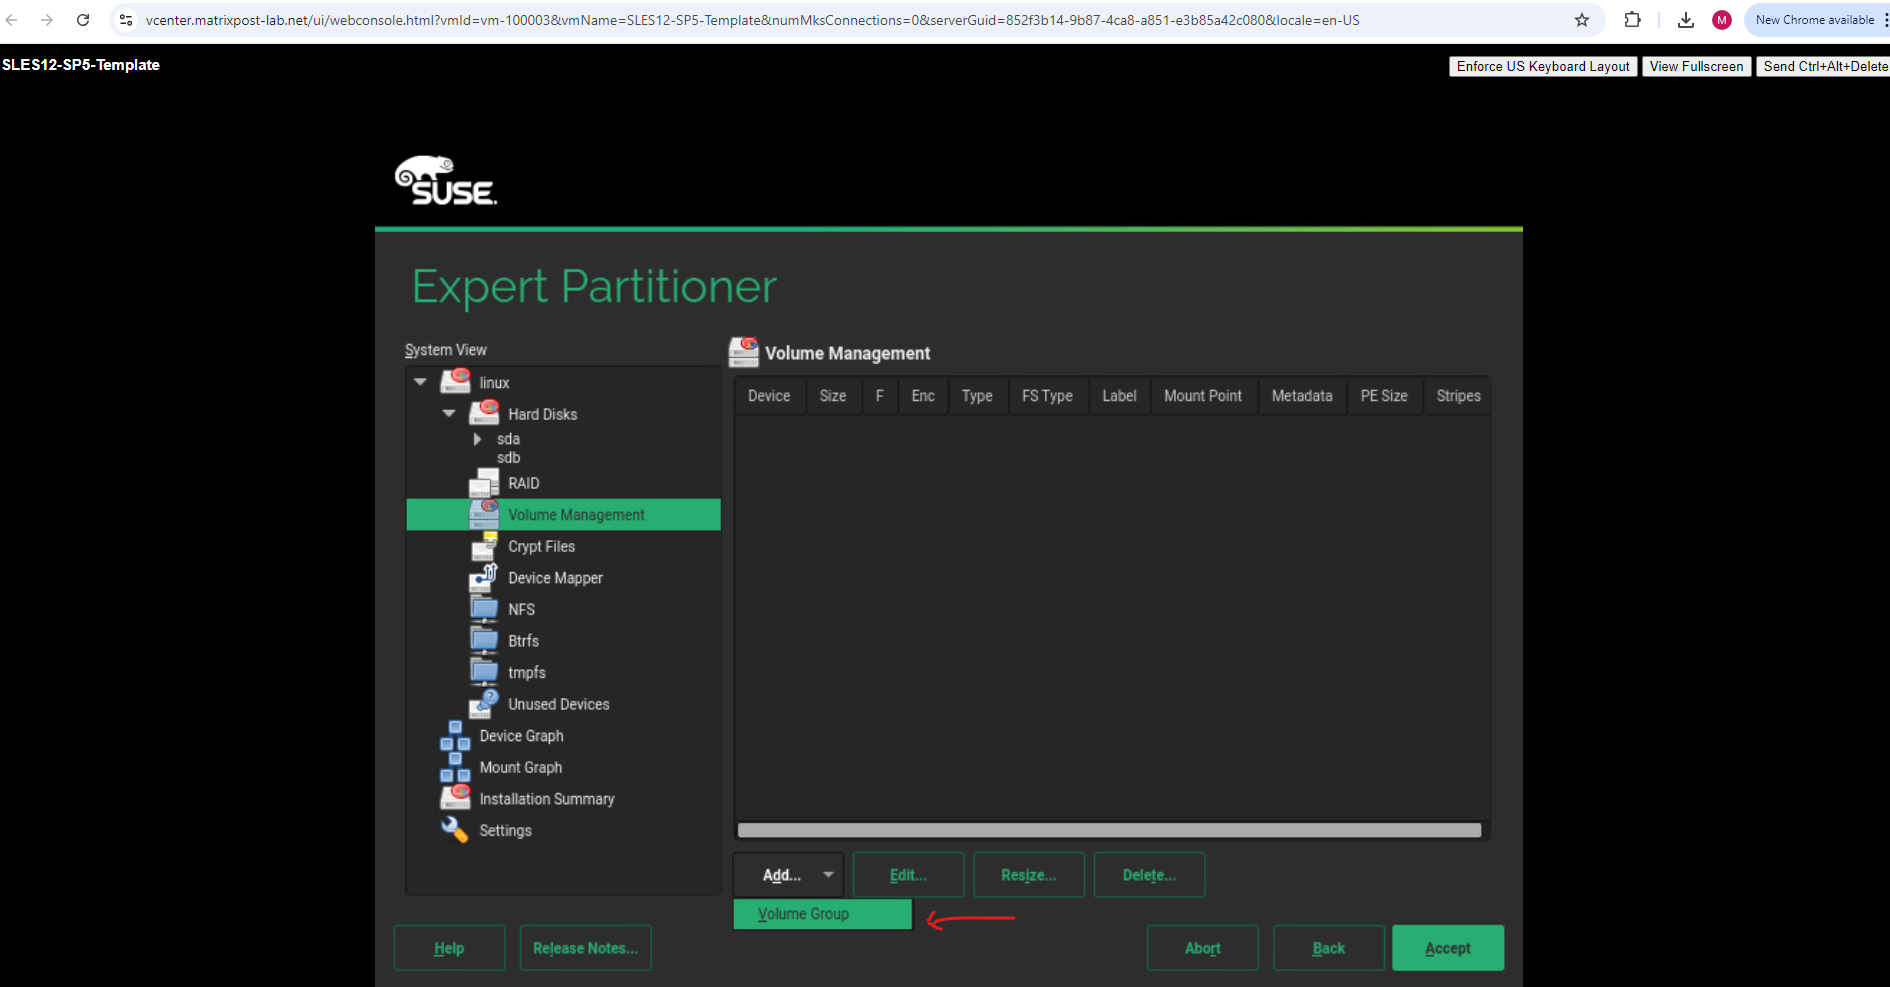
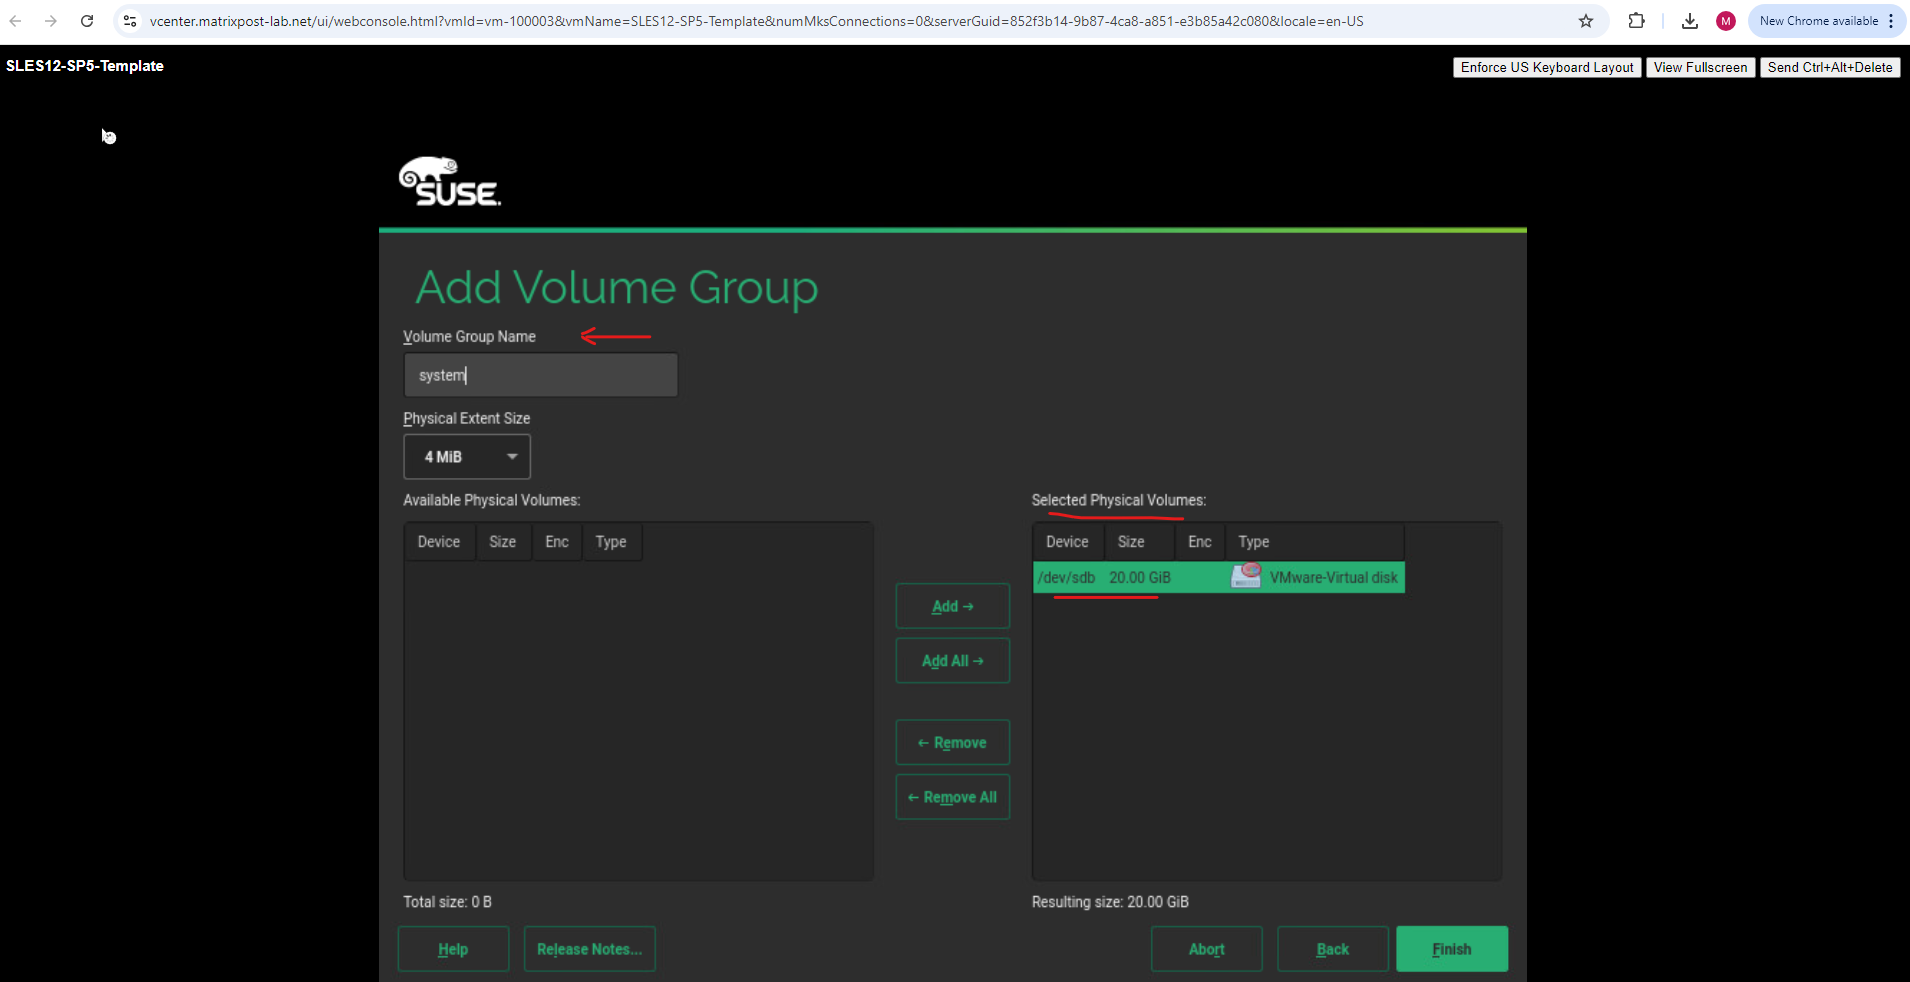
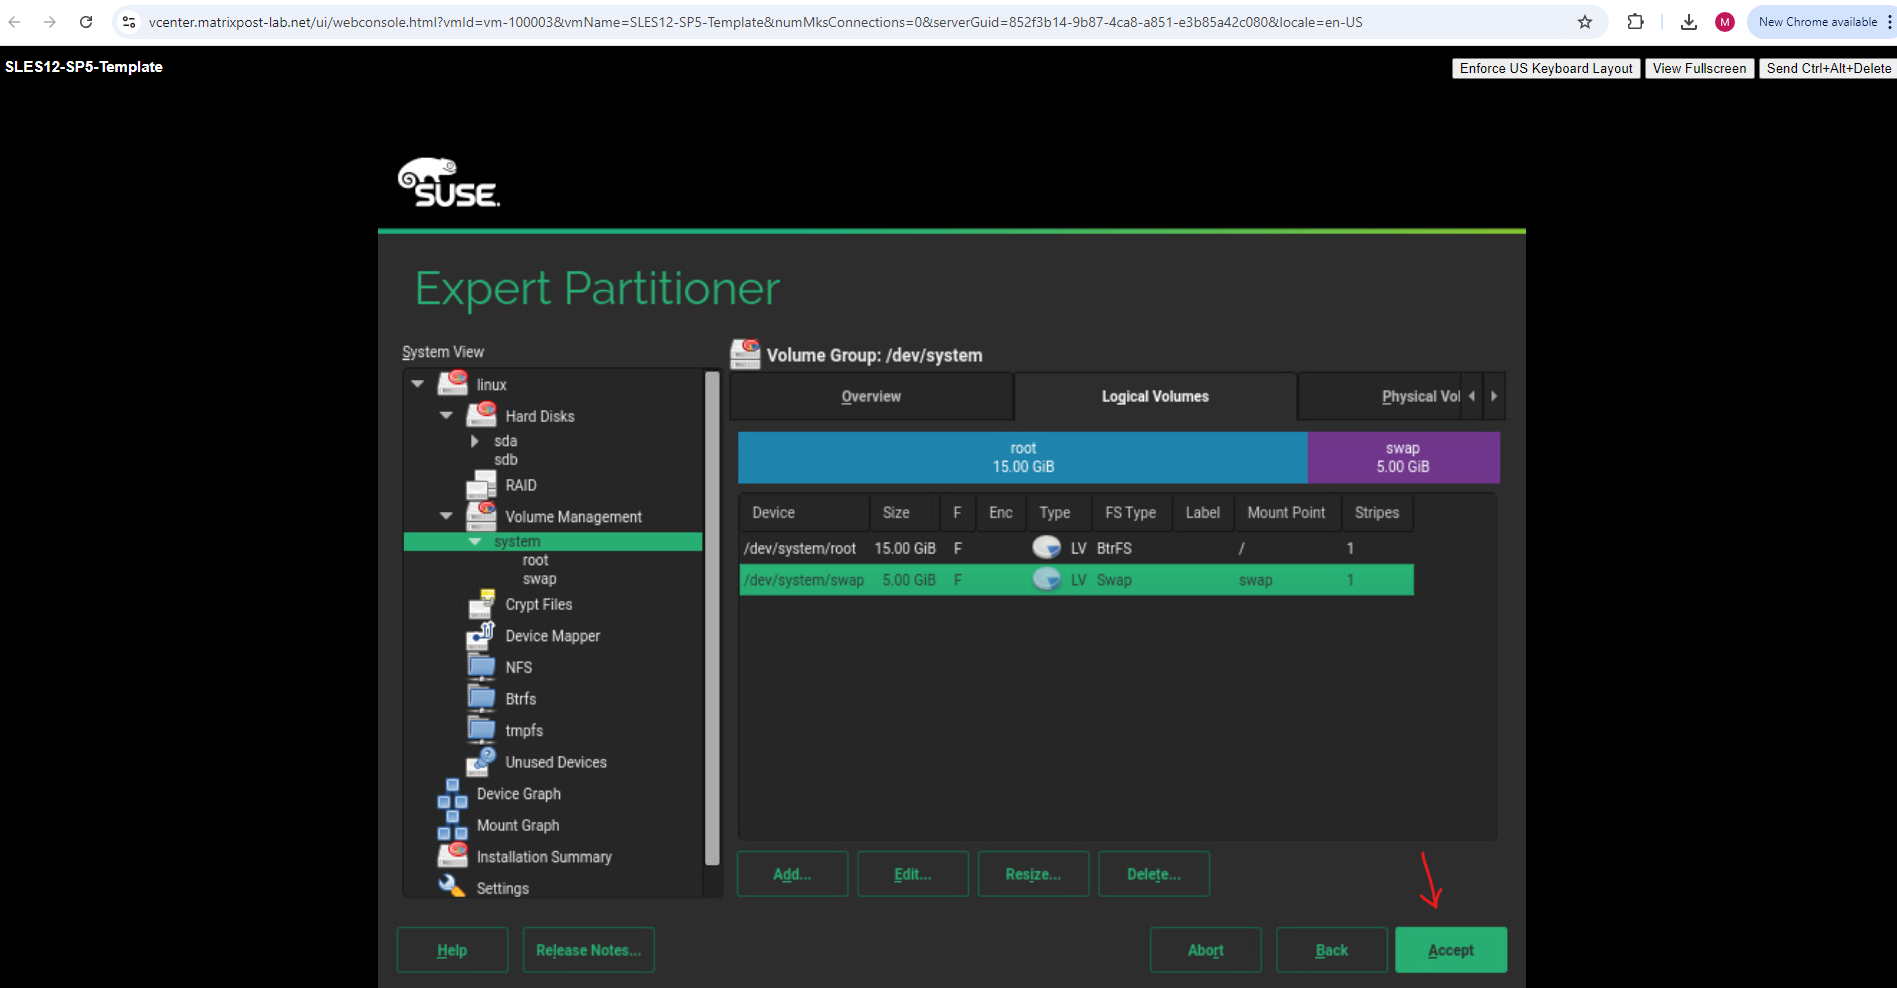
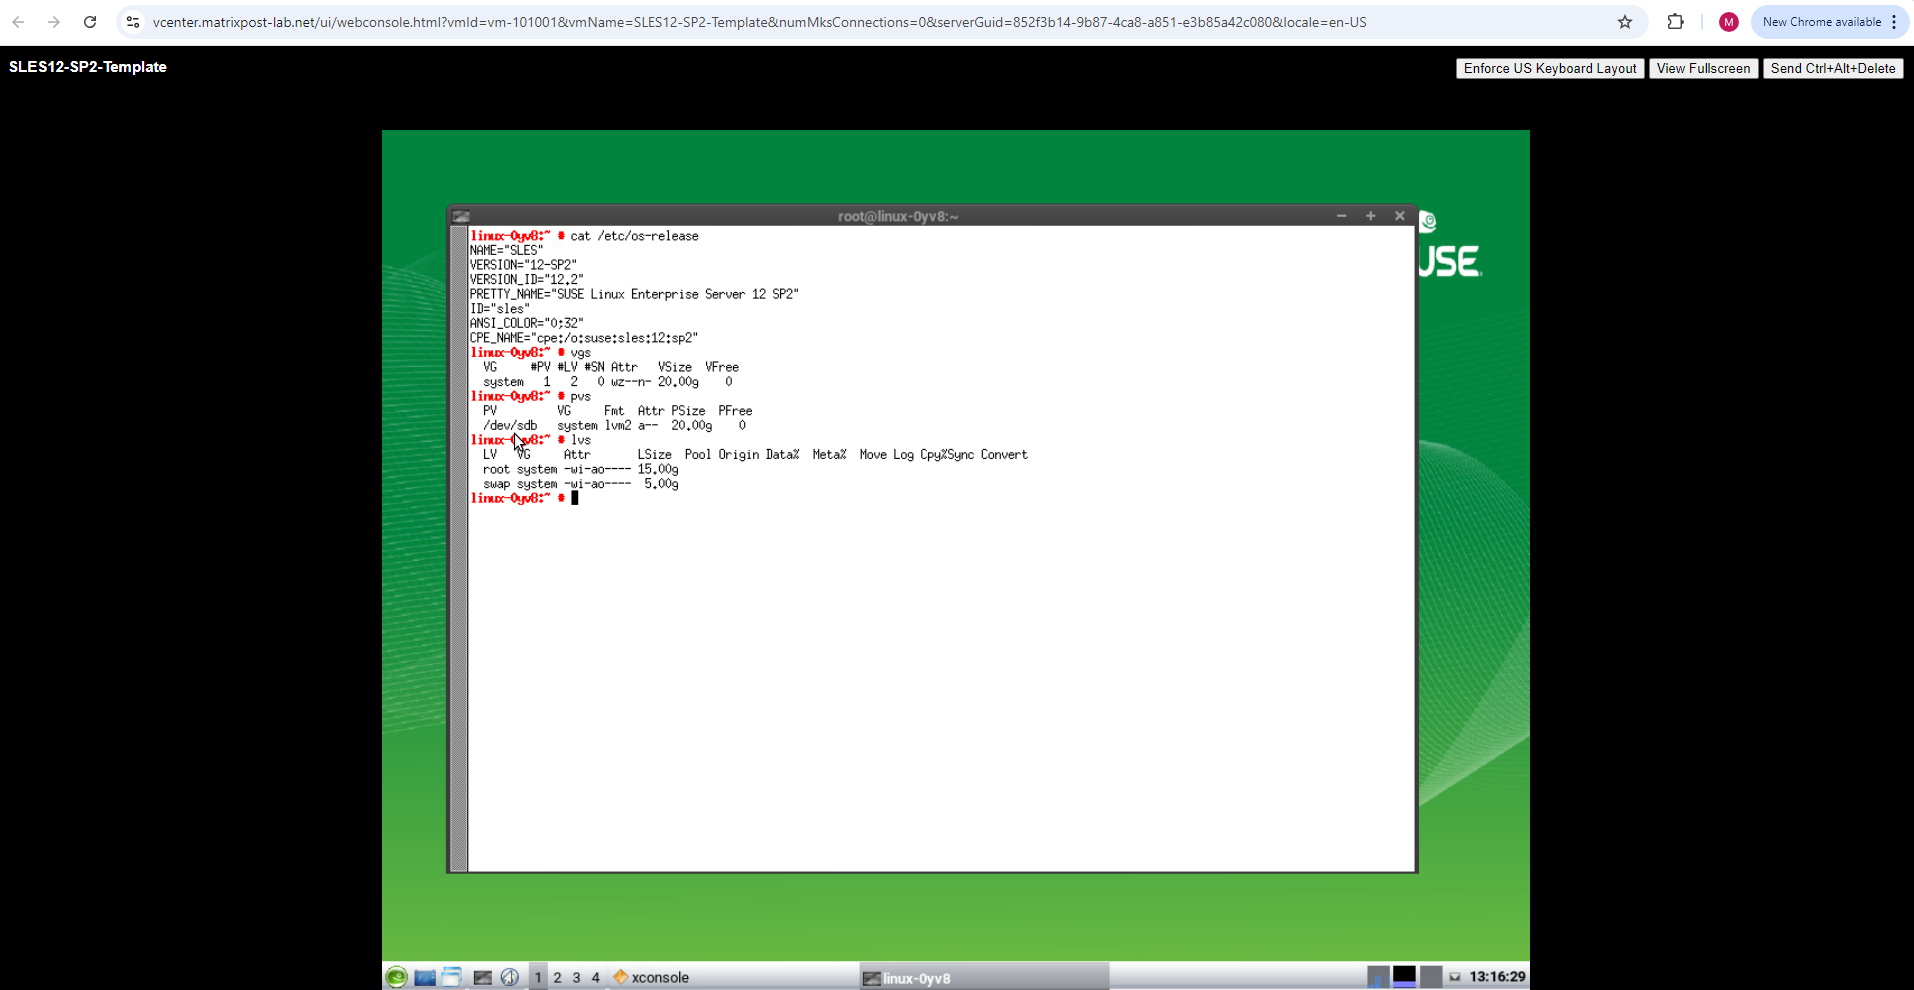
Now I will create for the root and swap partition a new volume group (VG) to finally place both partition on the logical volume manager (LVM).
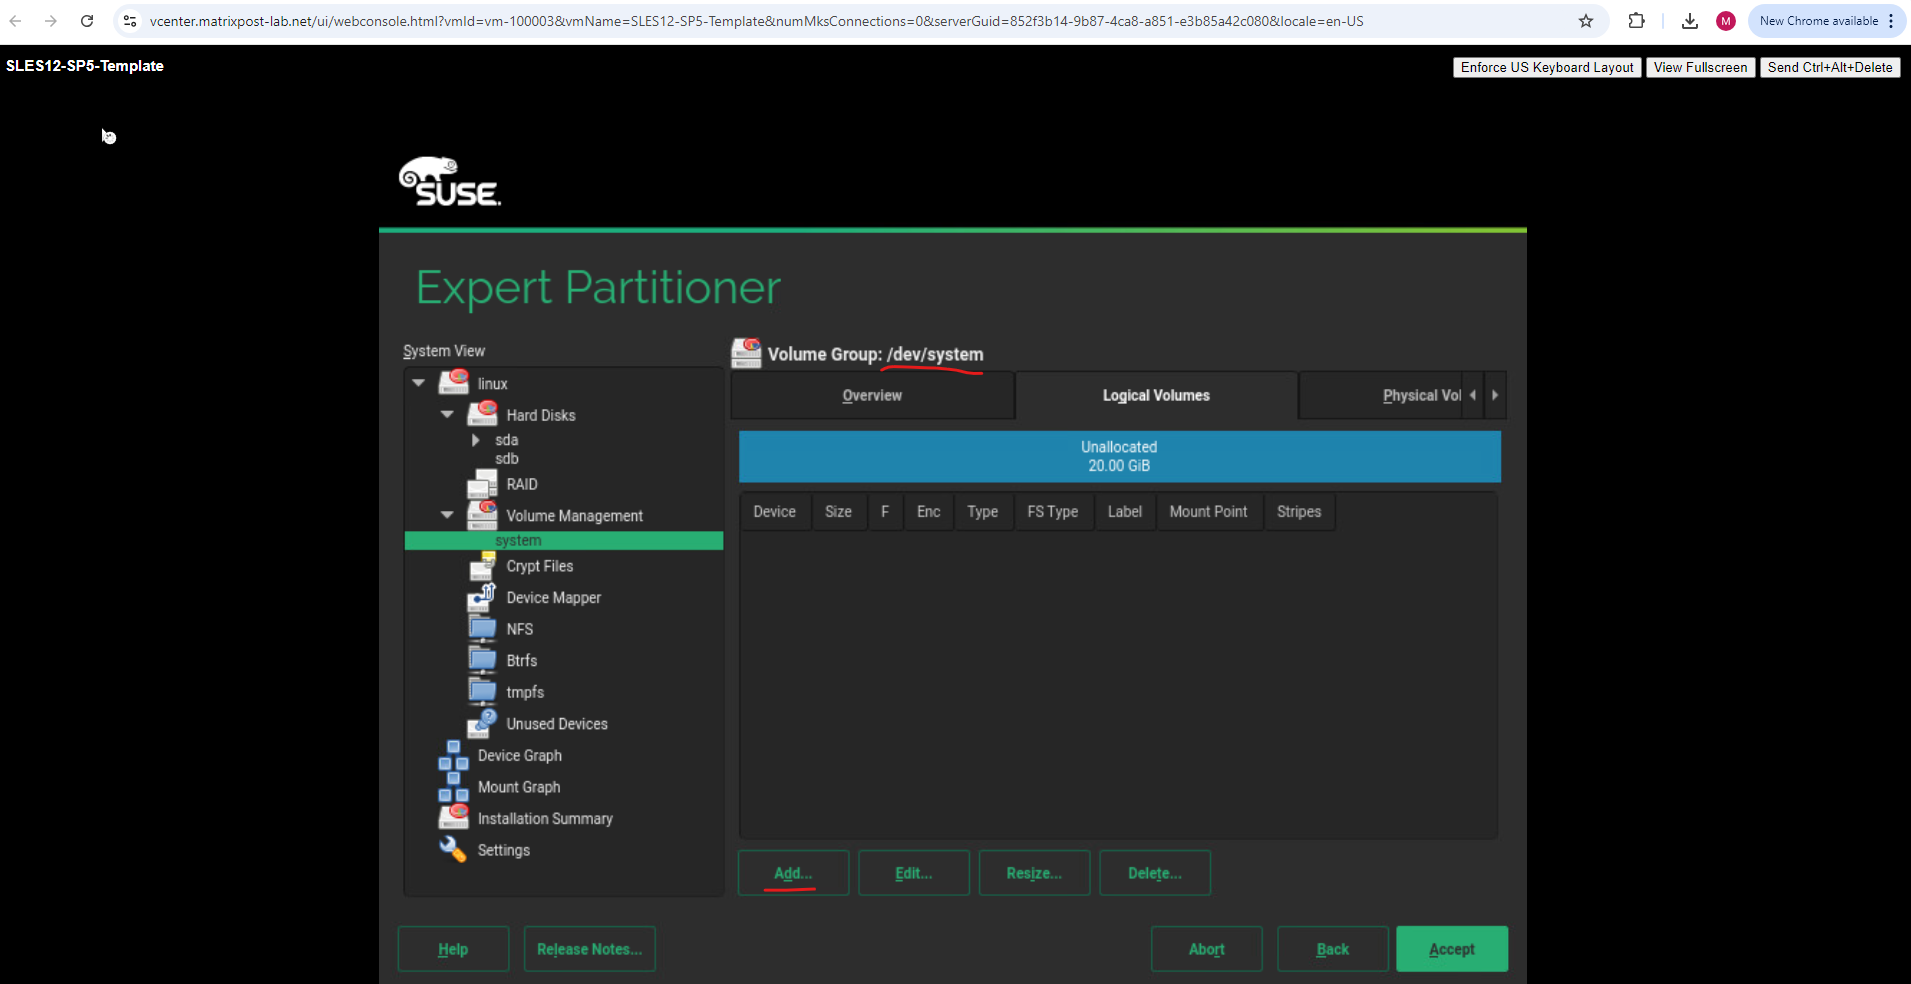
Next we need to create a new logical volume for the root.
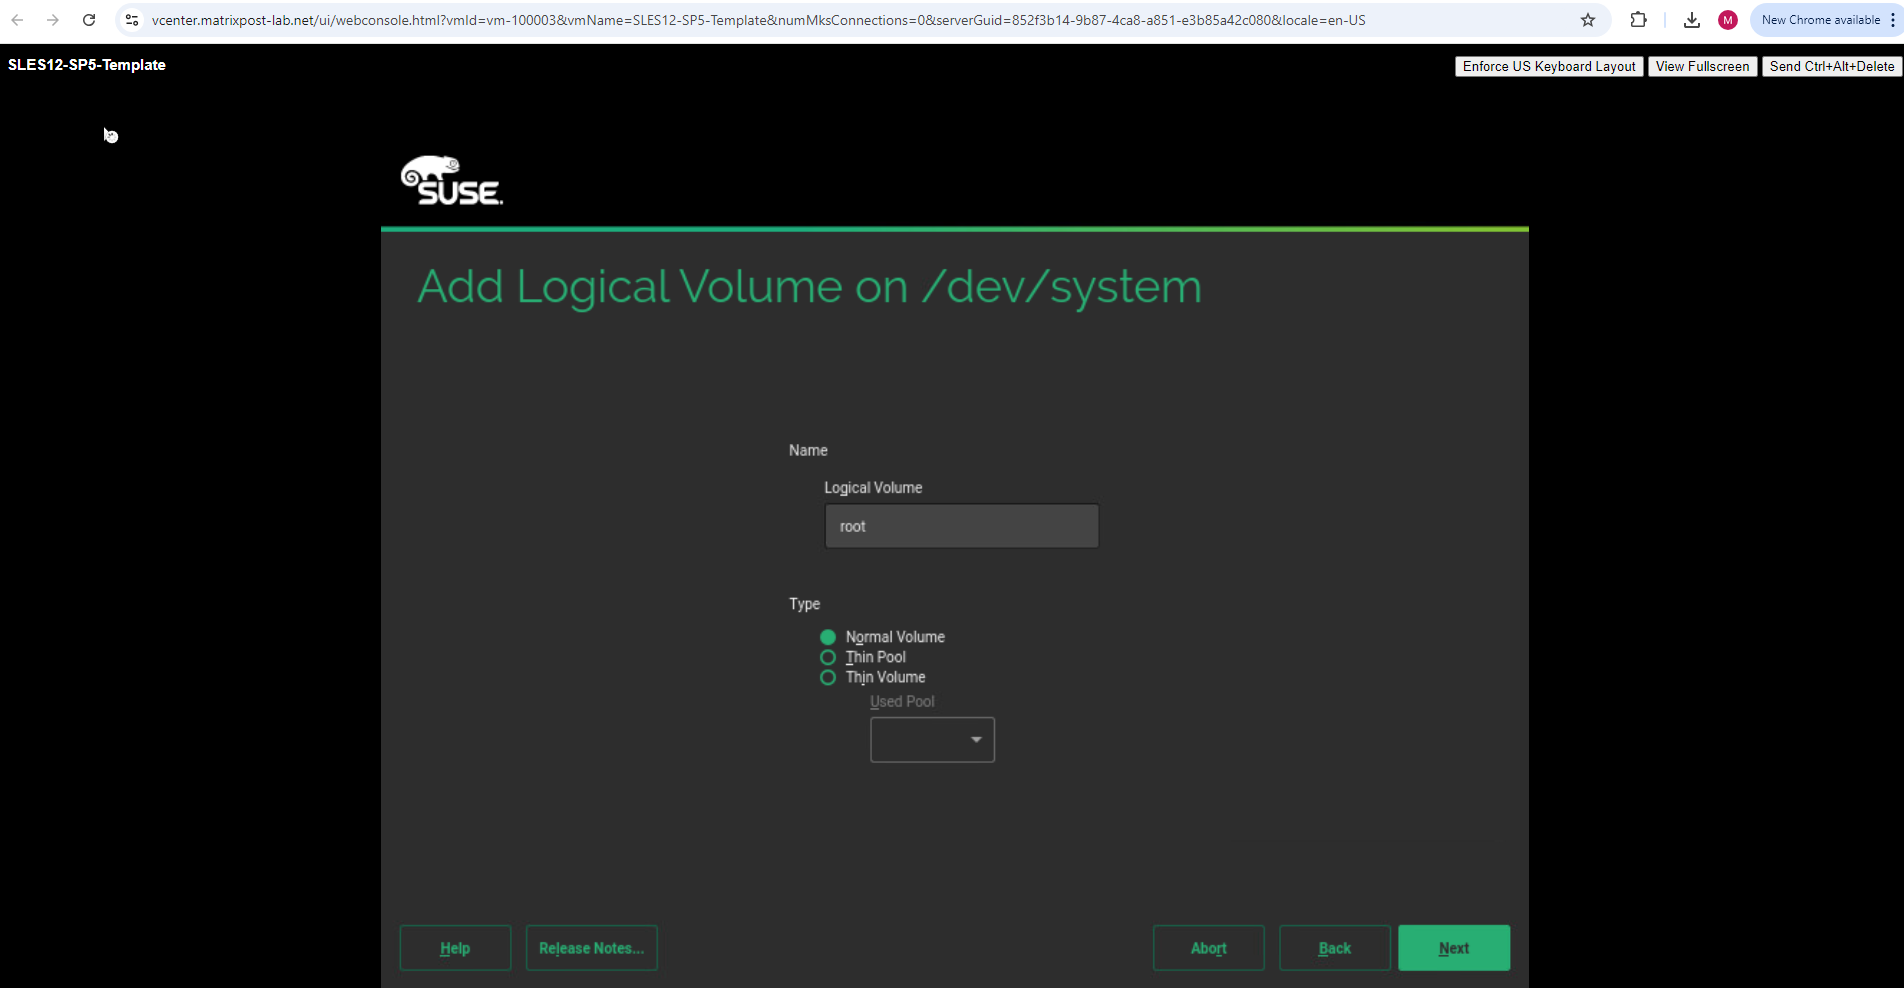
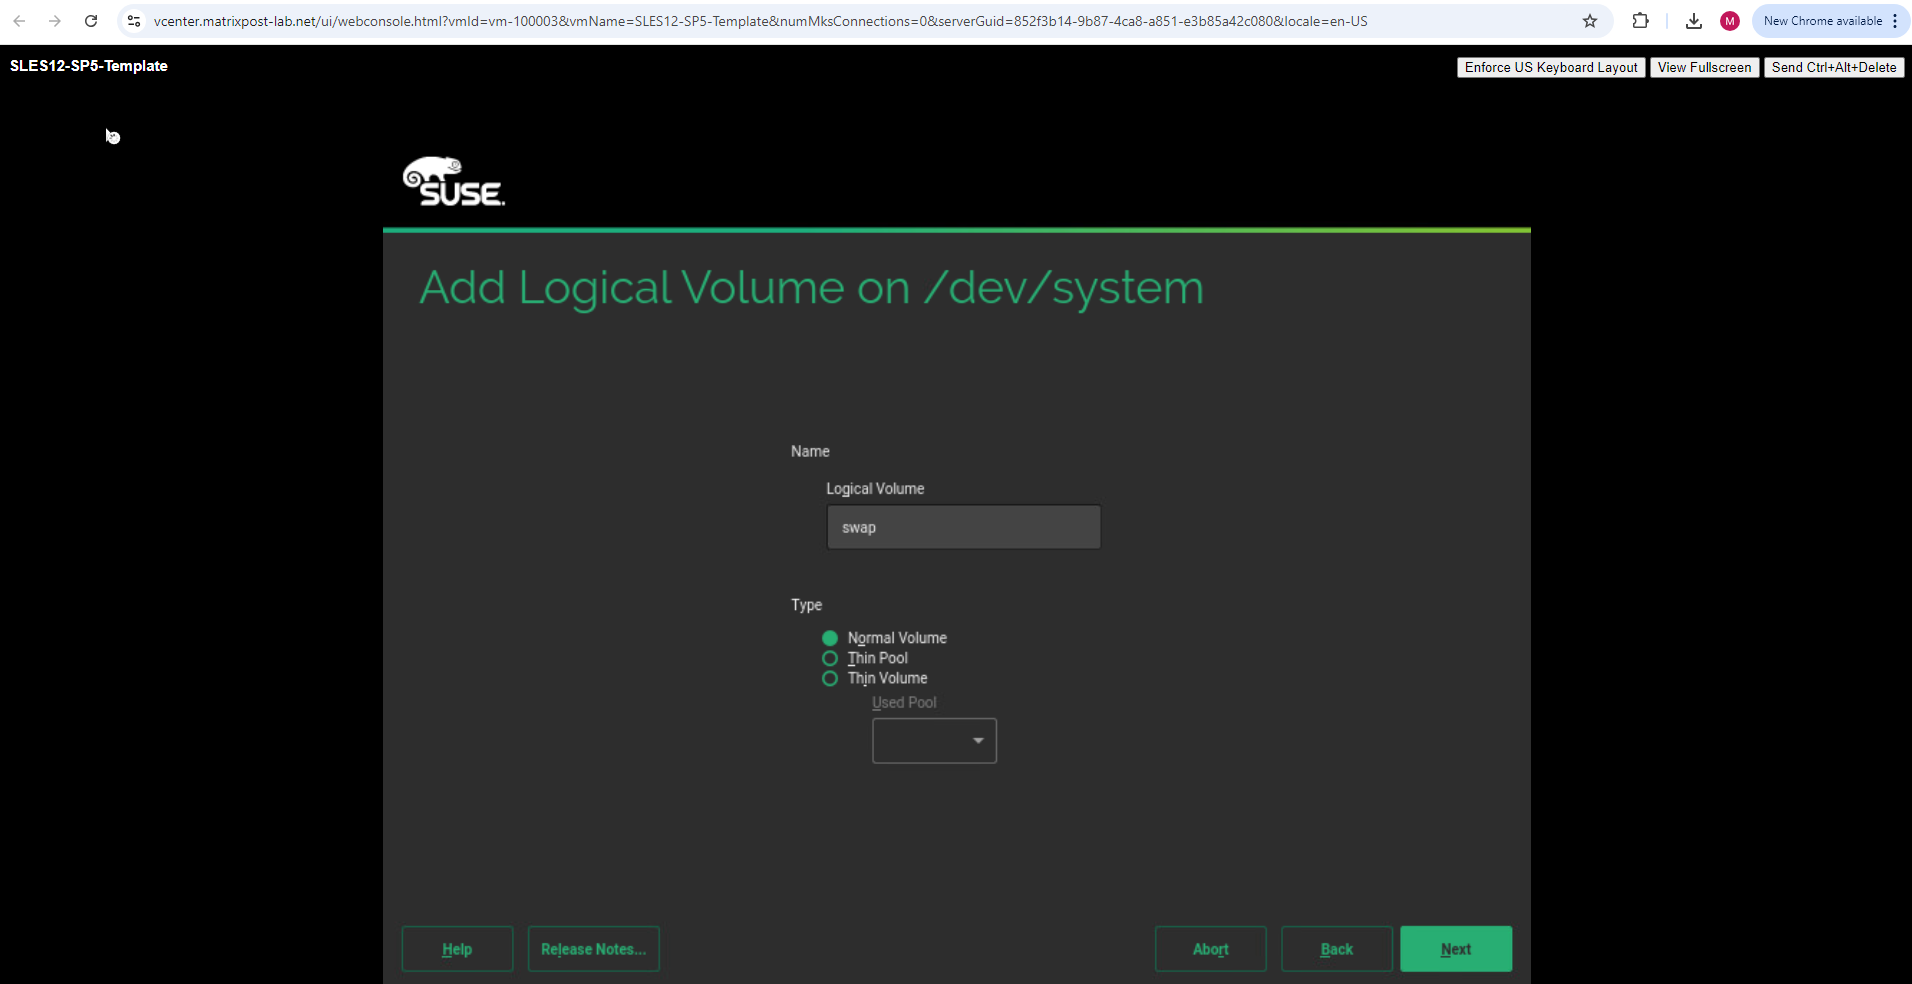
I will use 15 GB for the root filesystem and 5 GB for the swap partition.
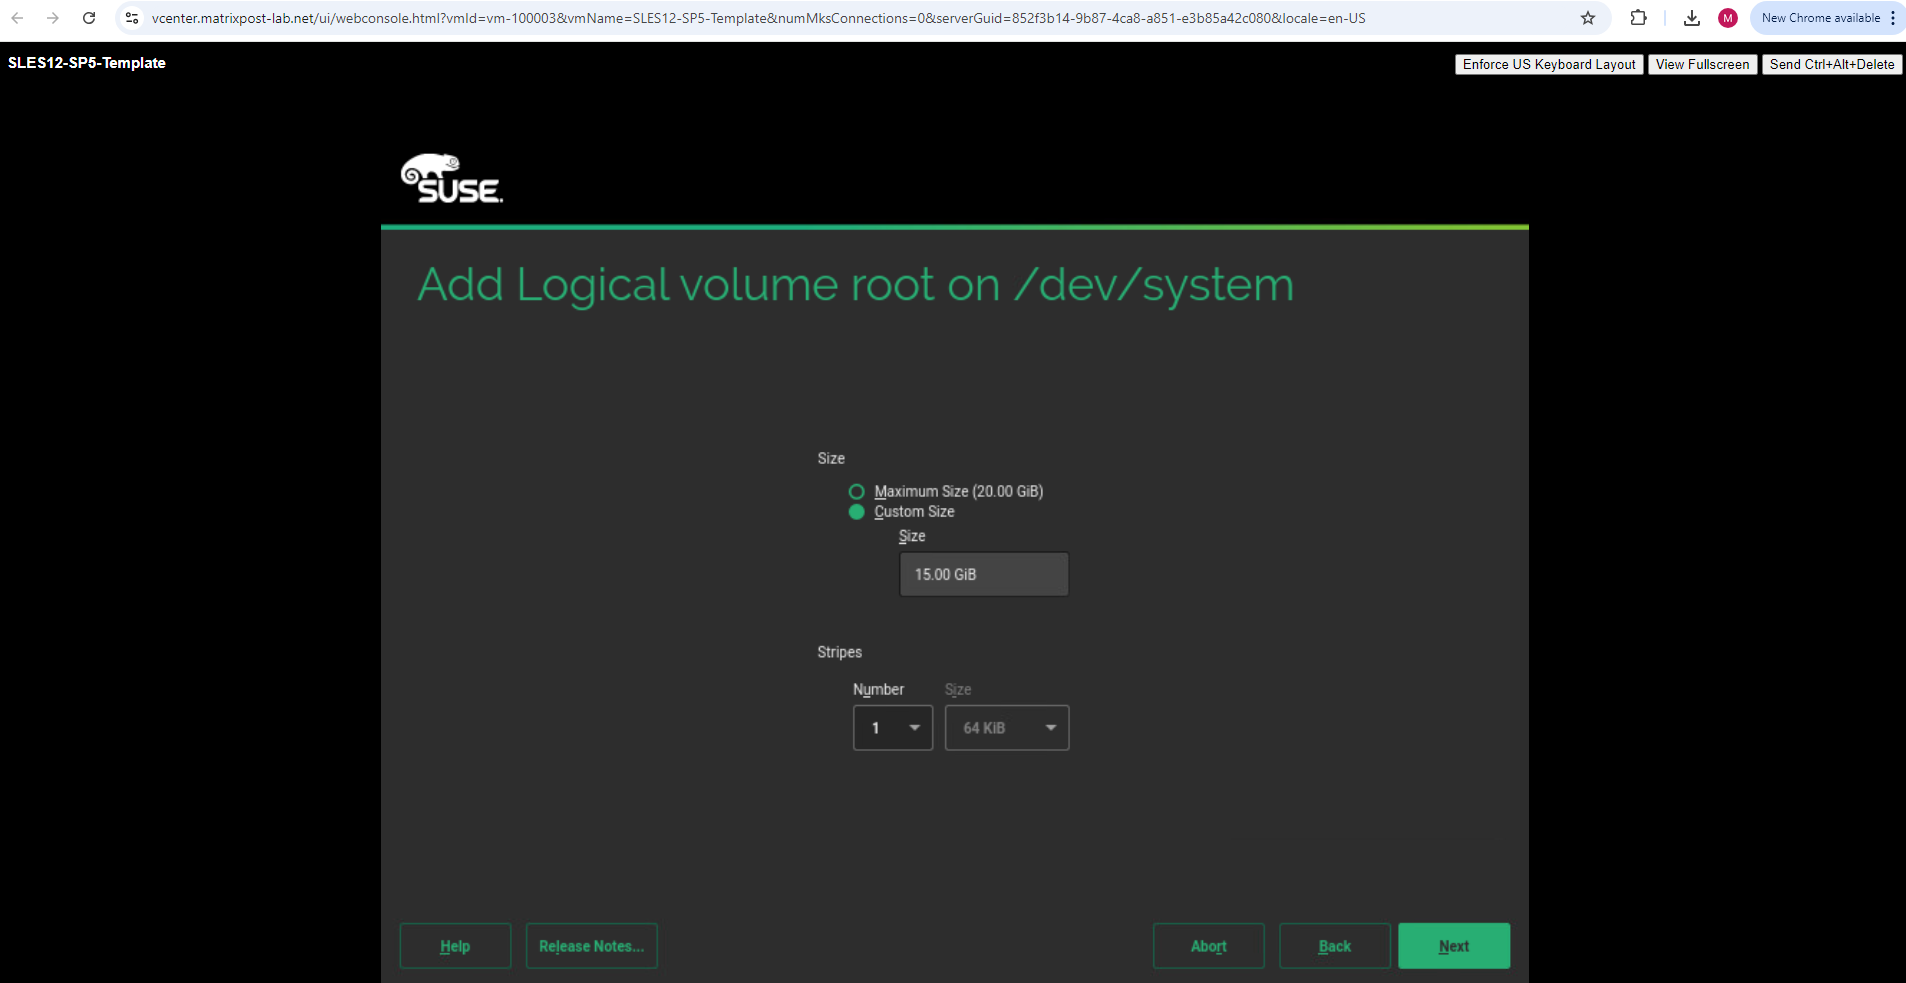
Select Operating System for the root filesystem.
I will leave the default file system type with BtrFS for the root filesystem.
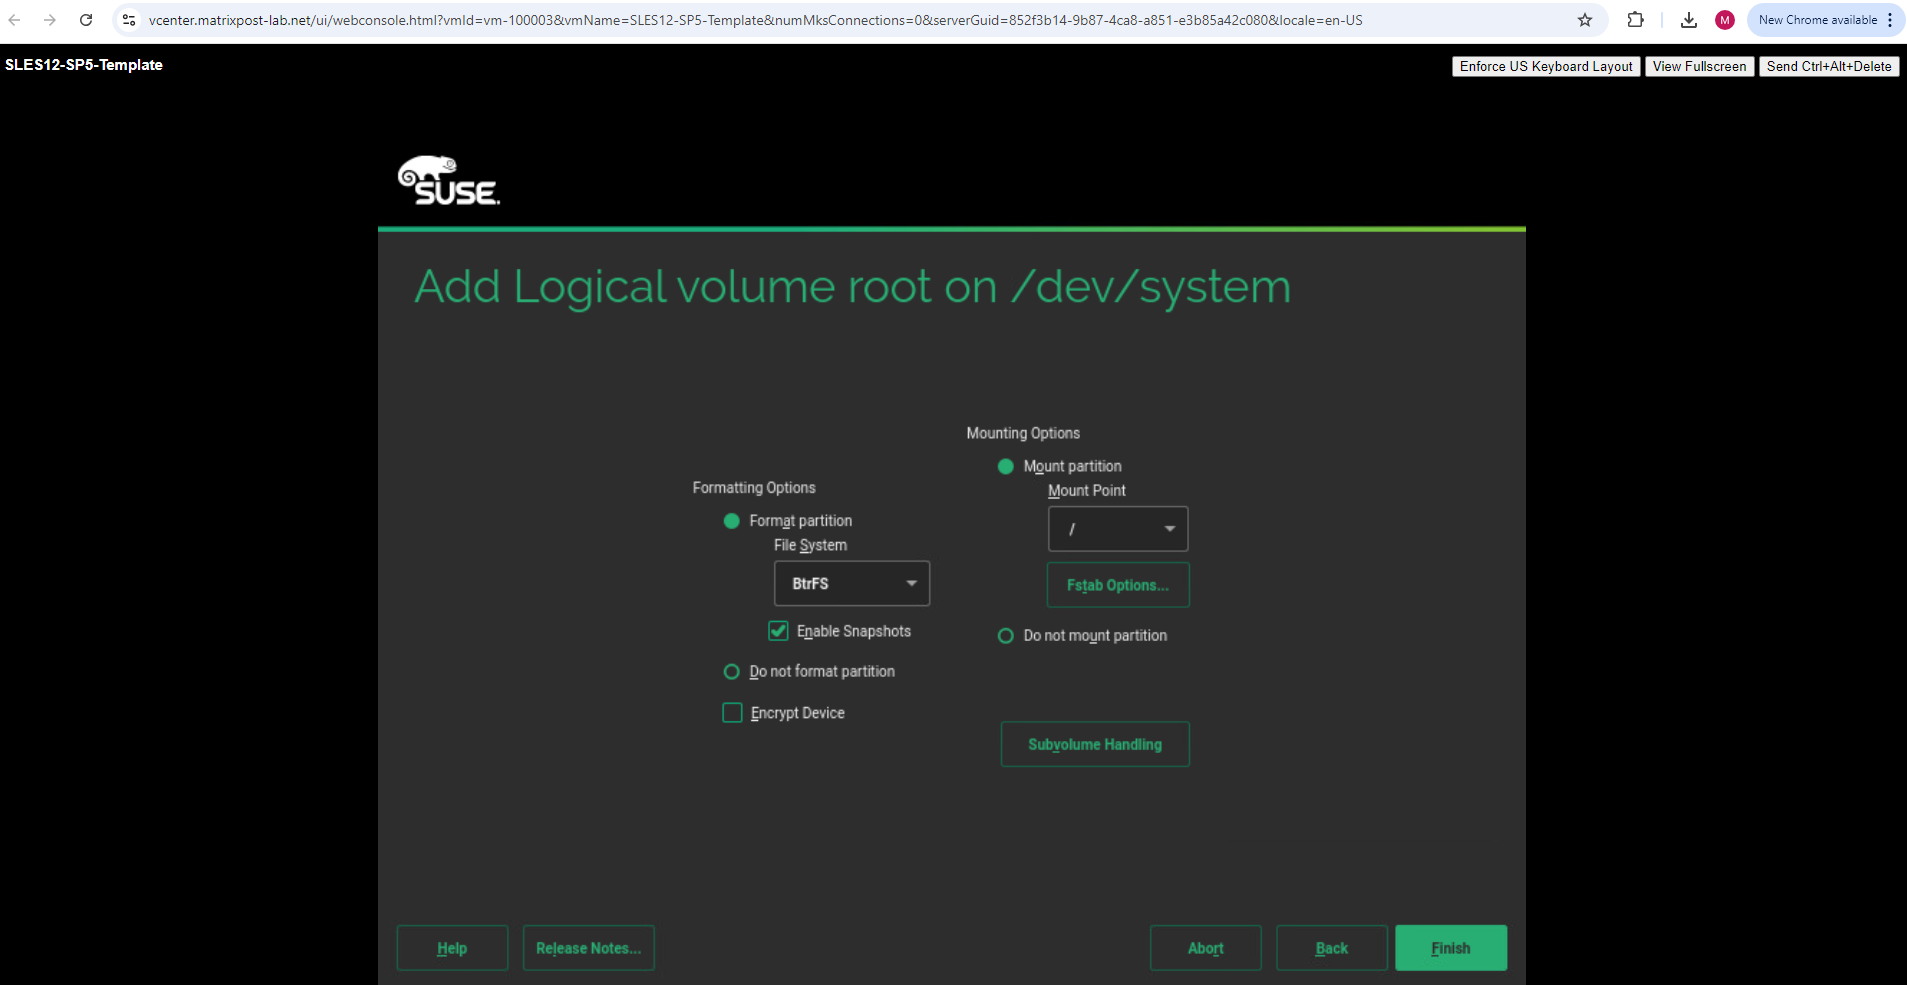
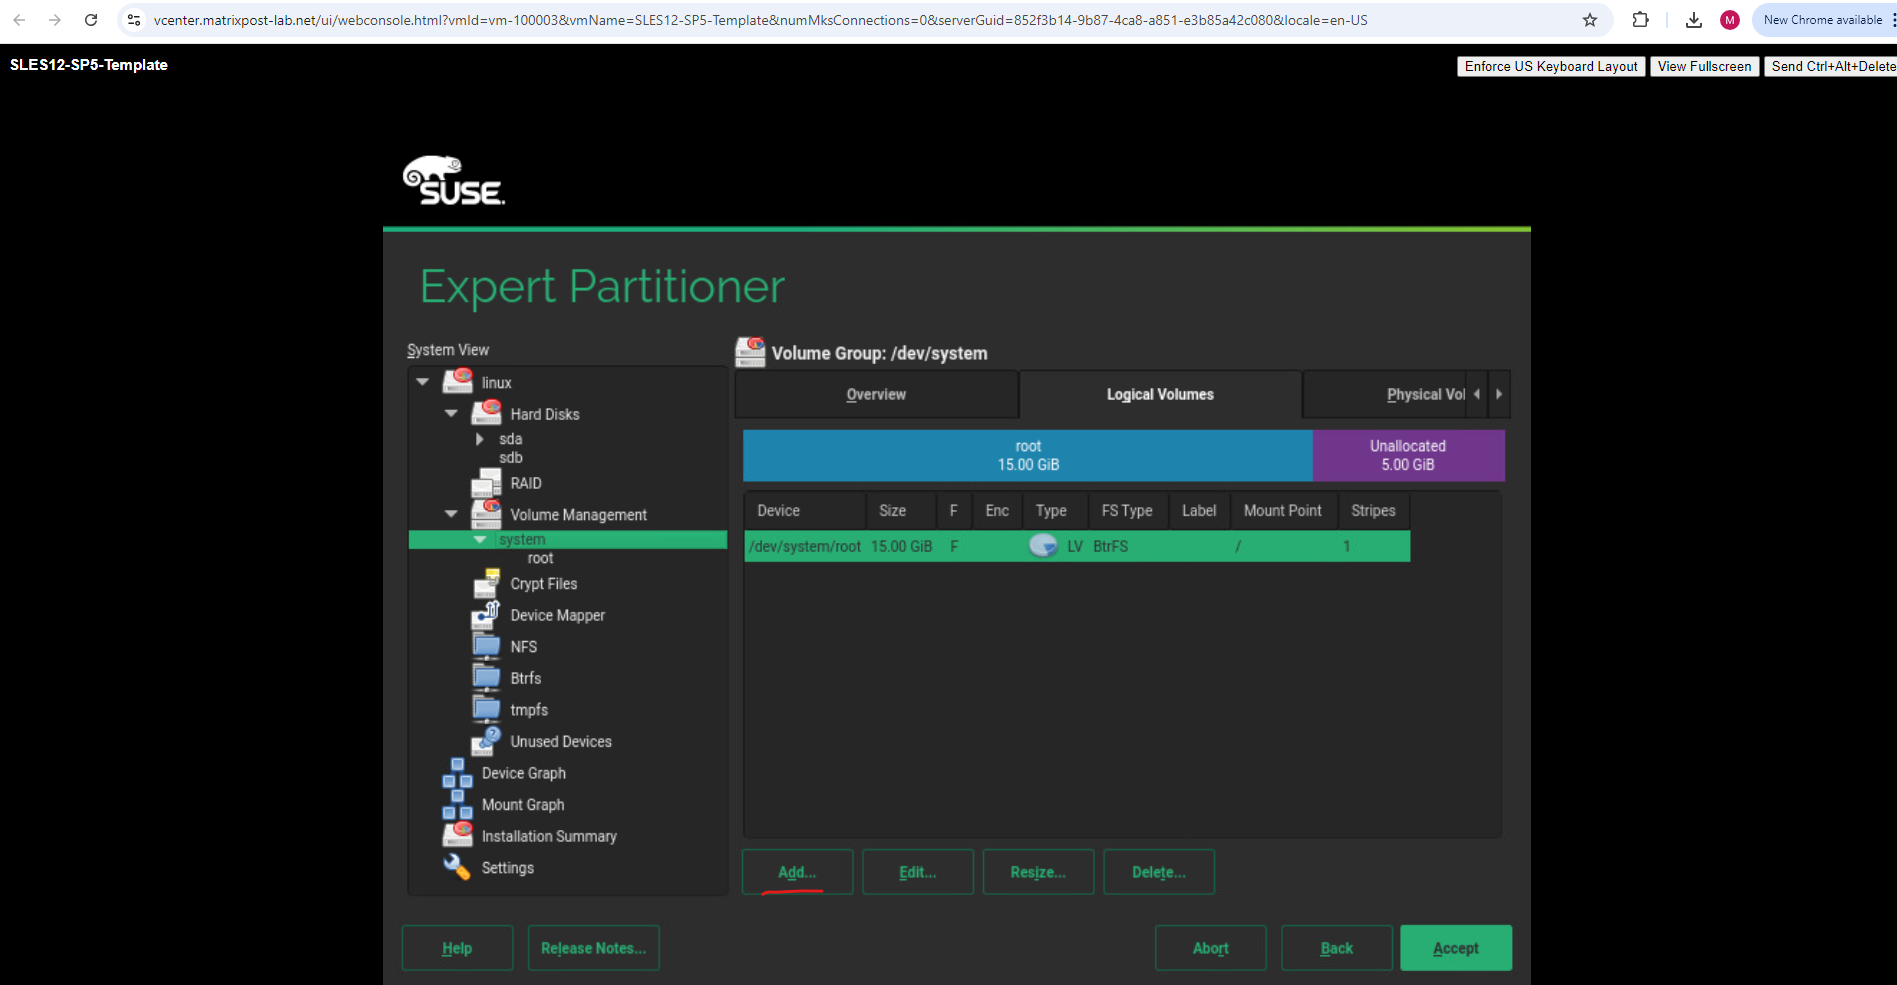
Next I will create another logical volume for the swap partition.
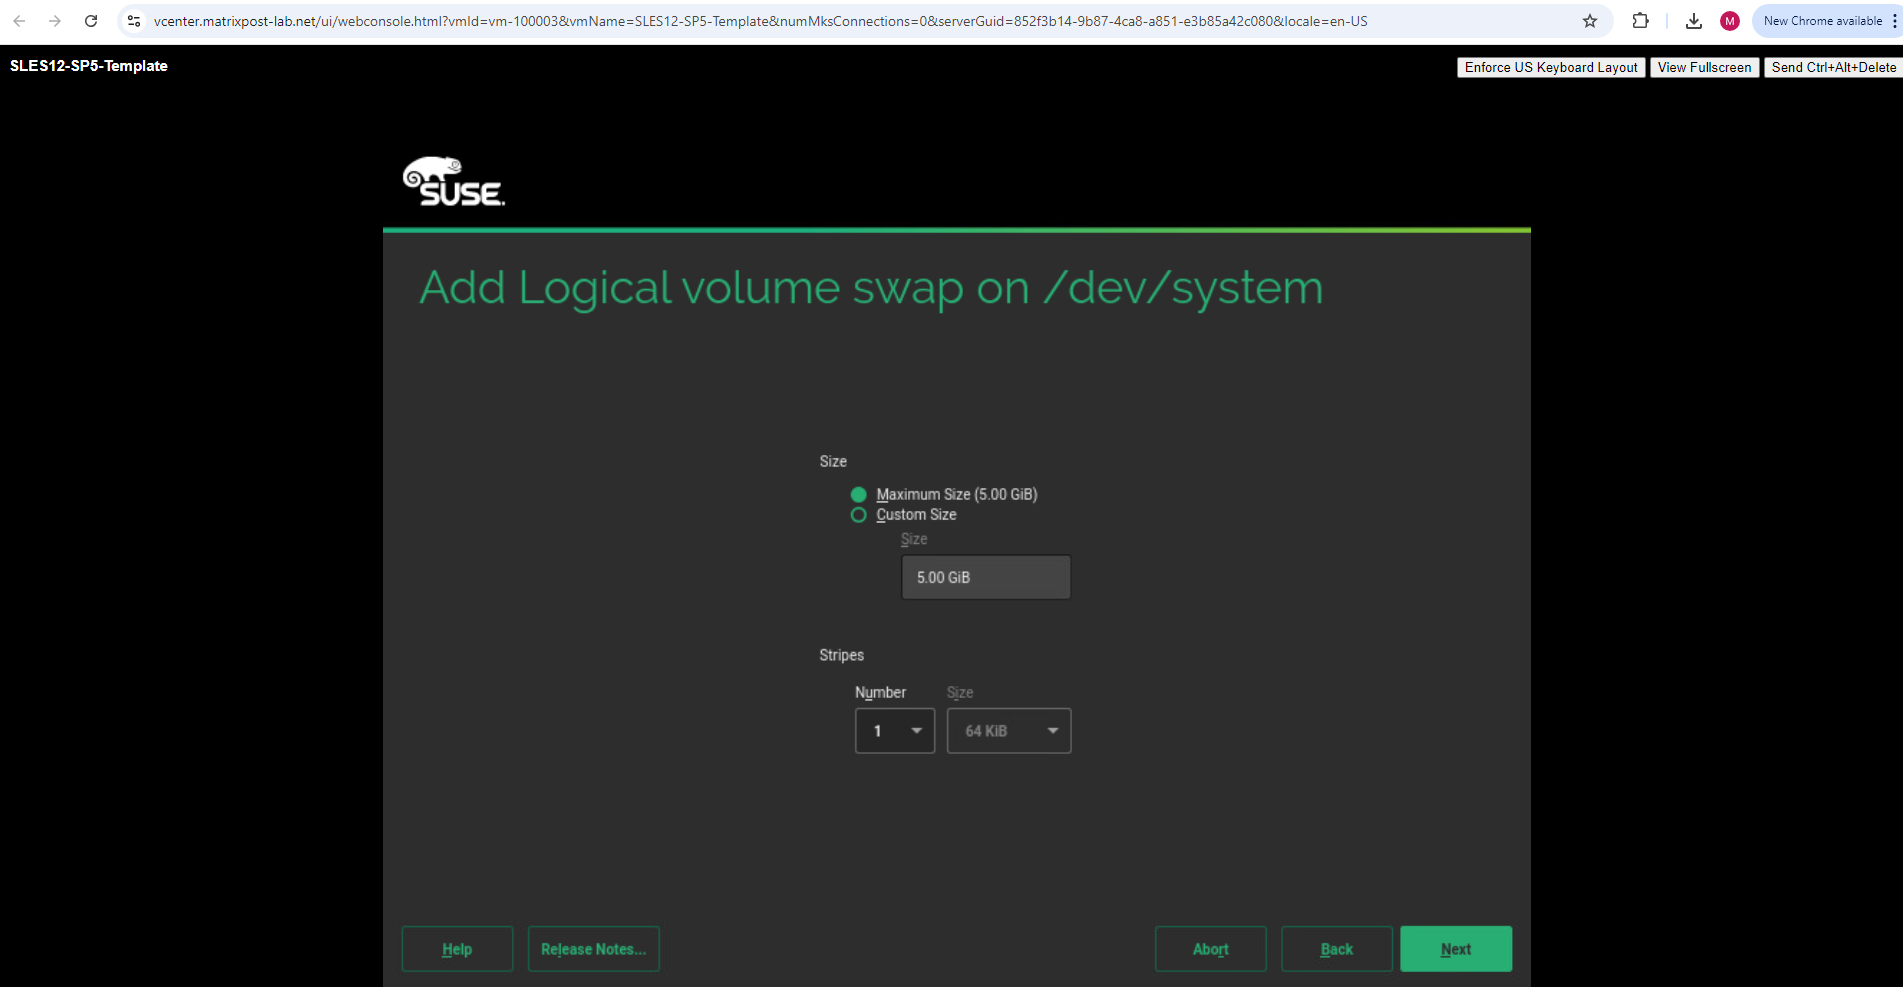
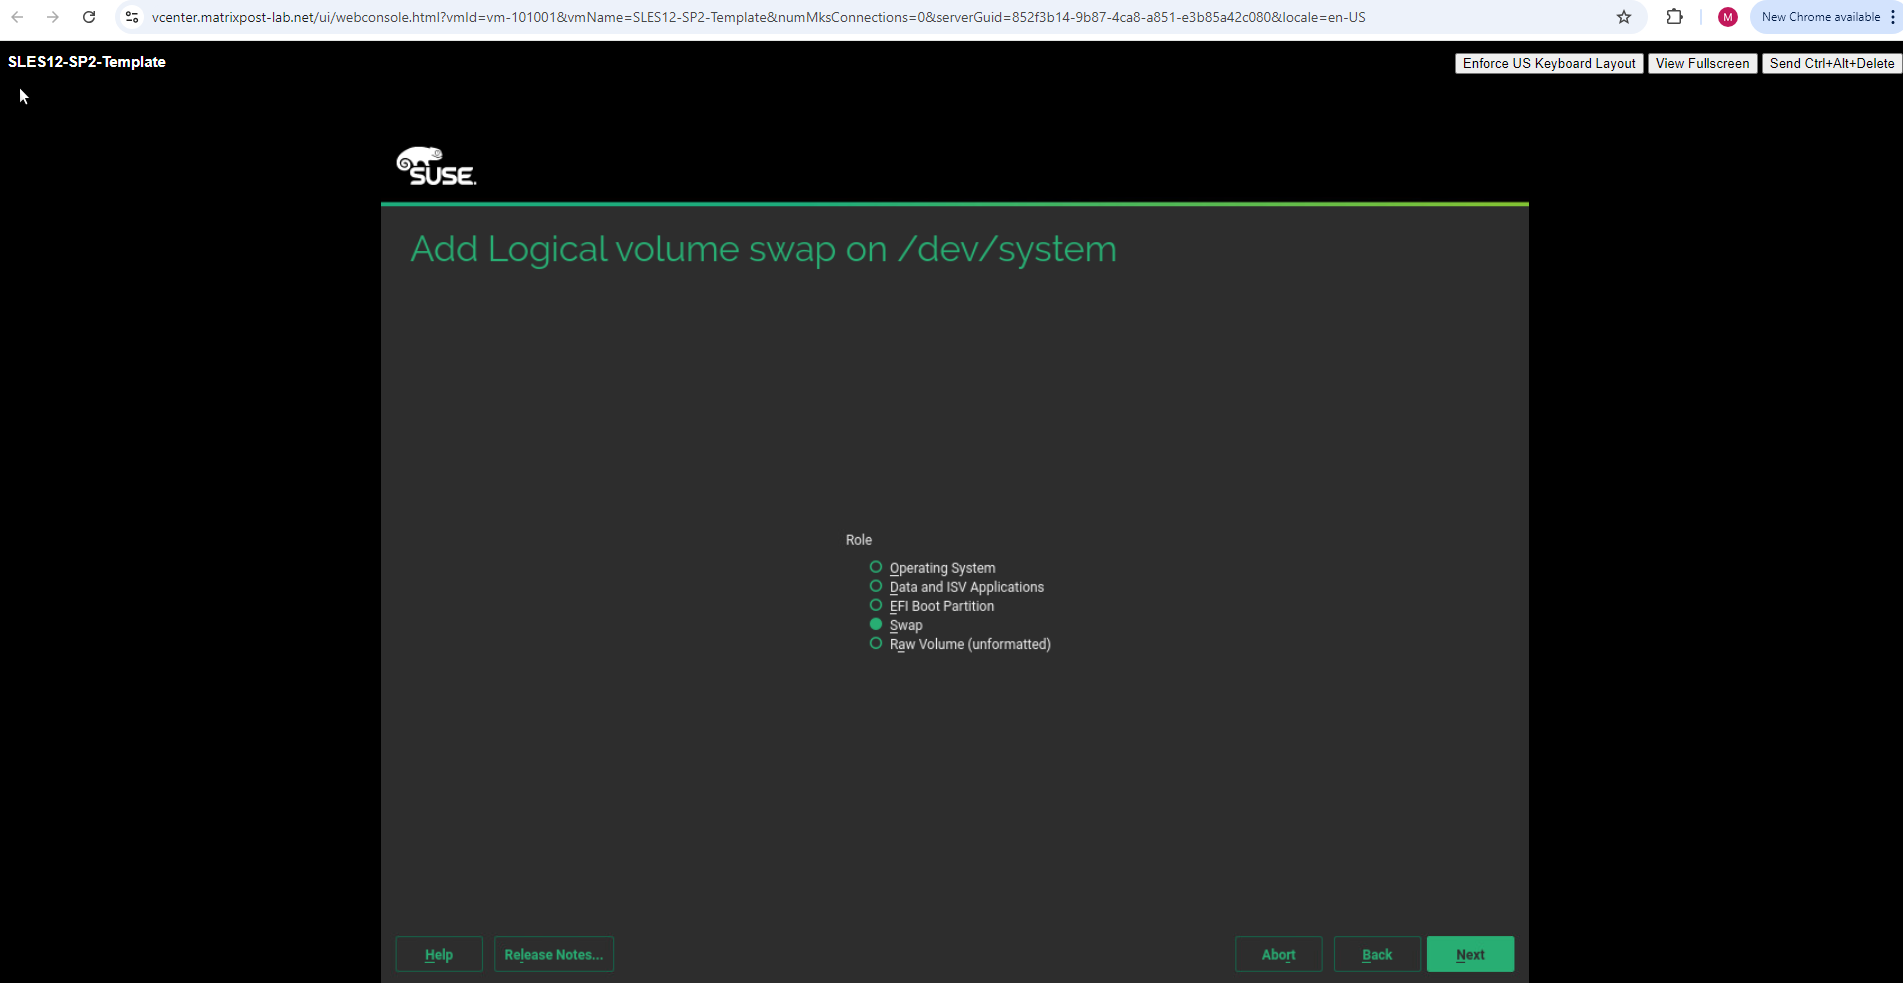
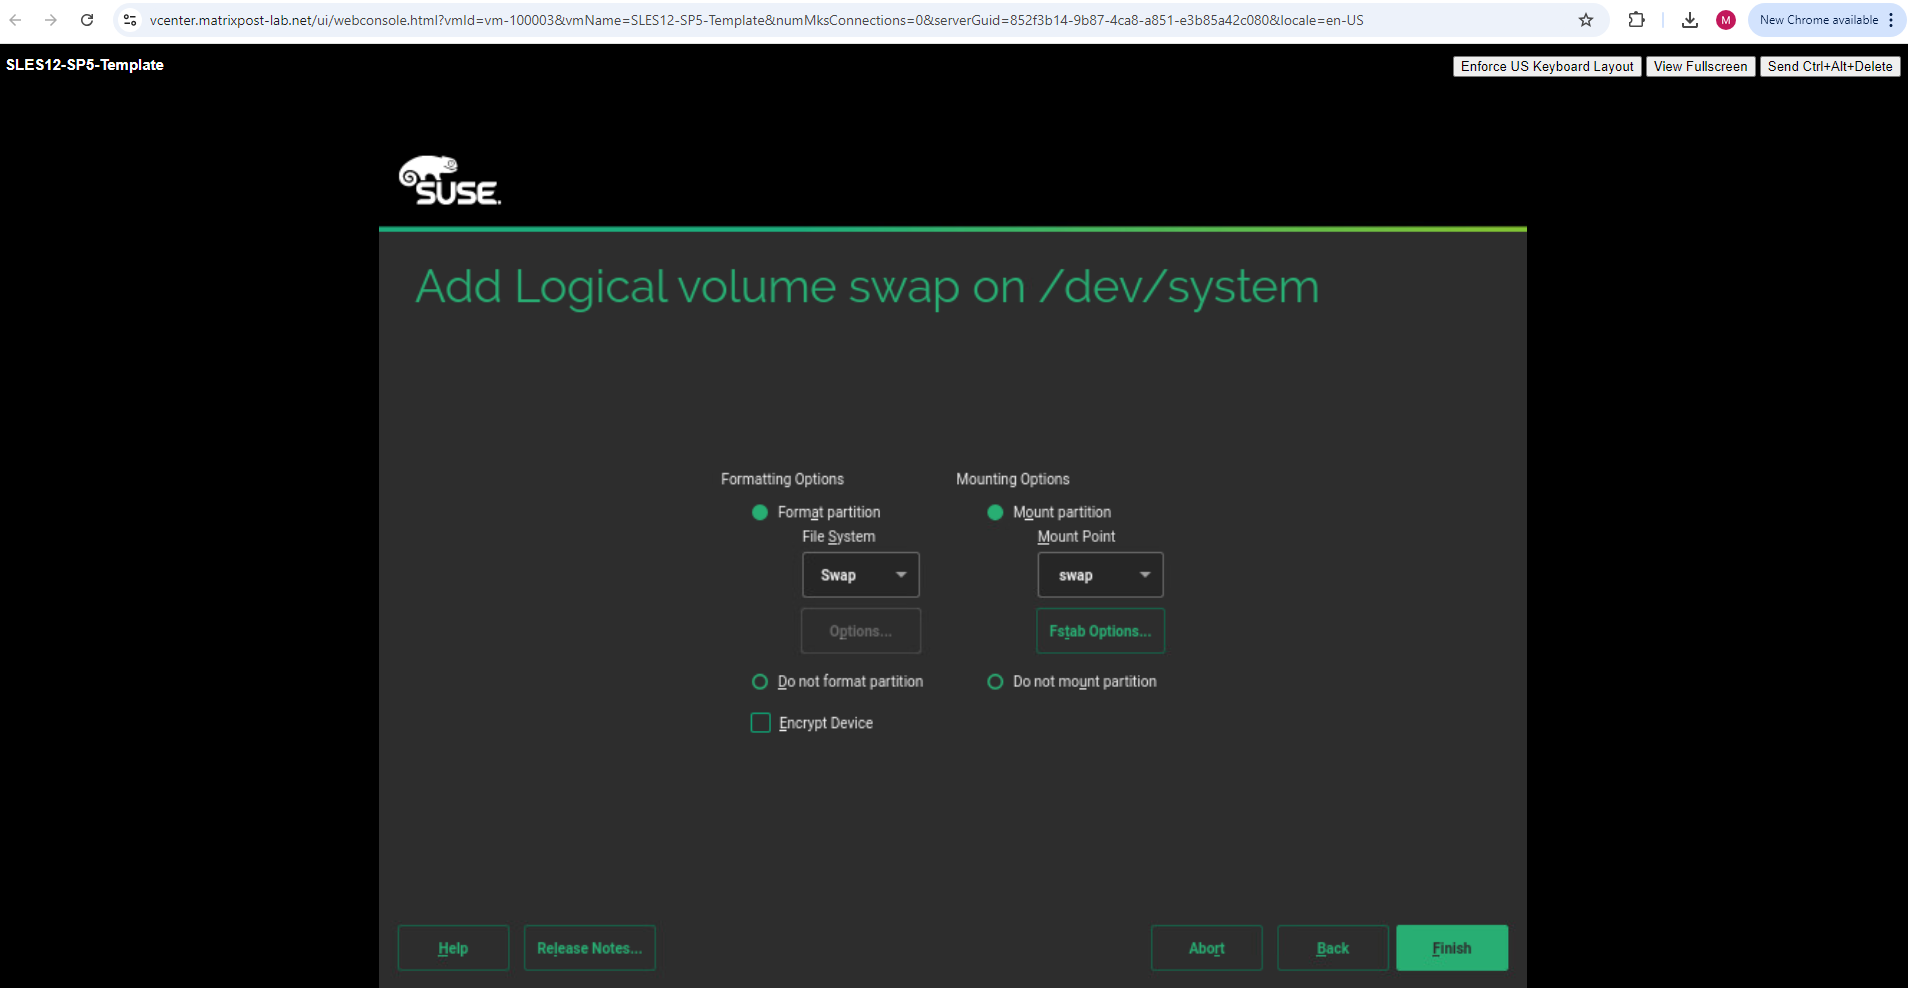
Finally we can click on Accept.
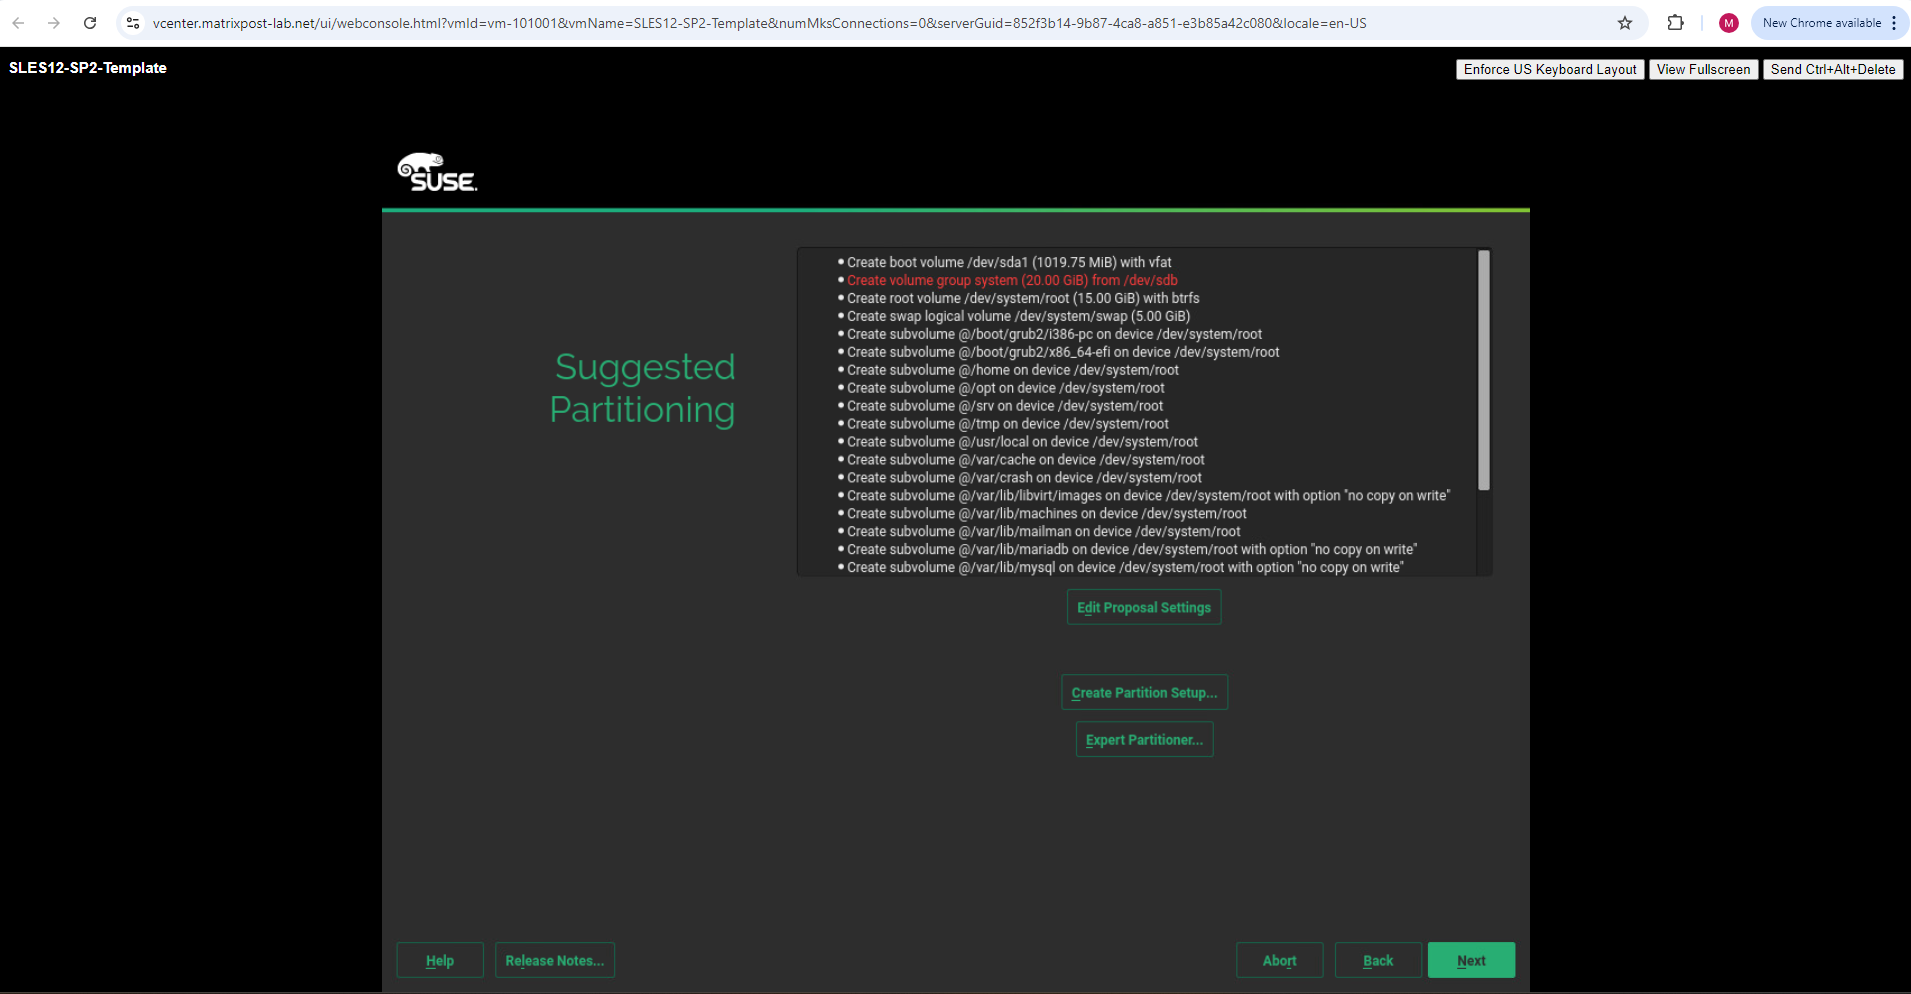
Configure Settings
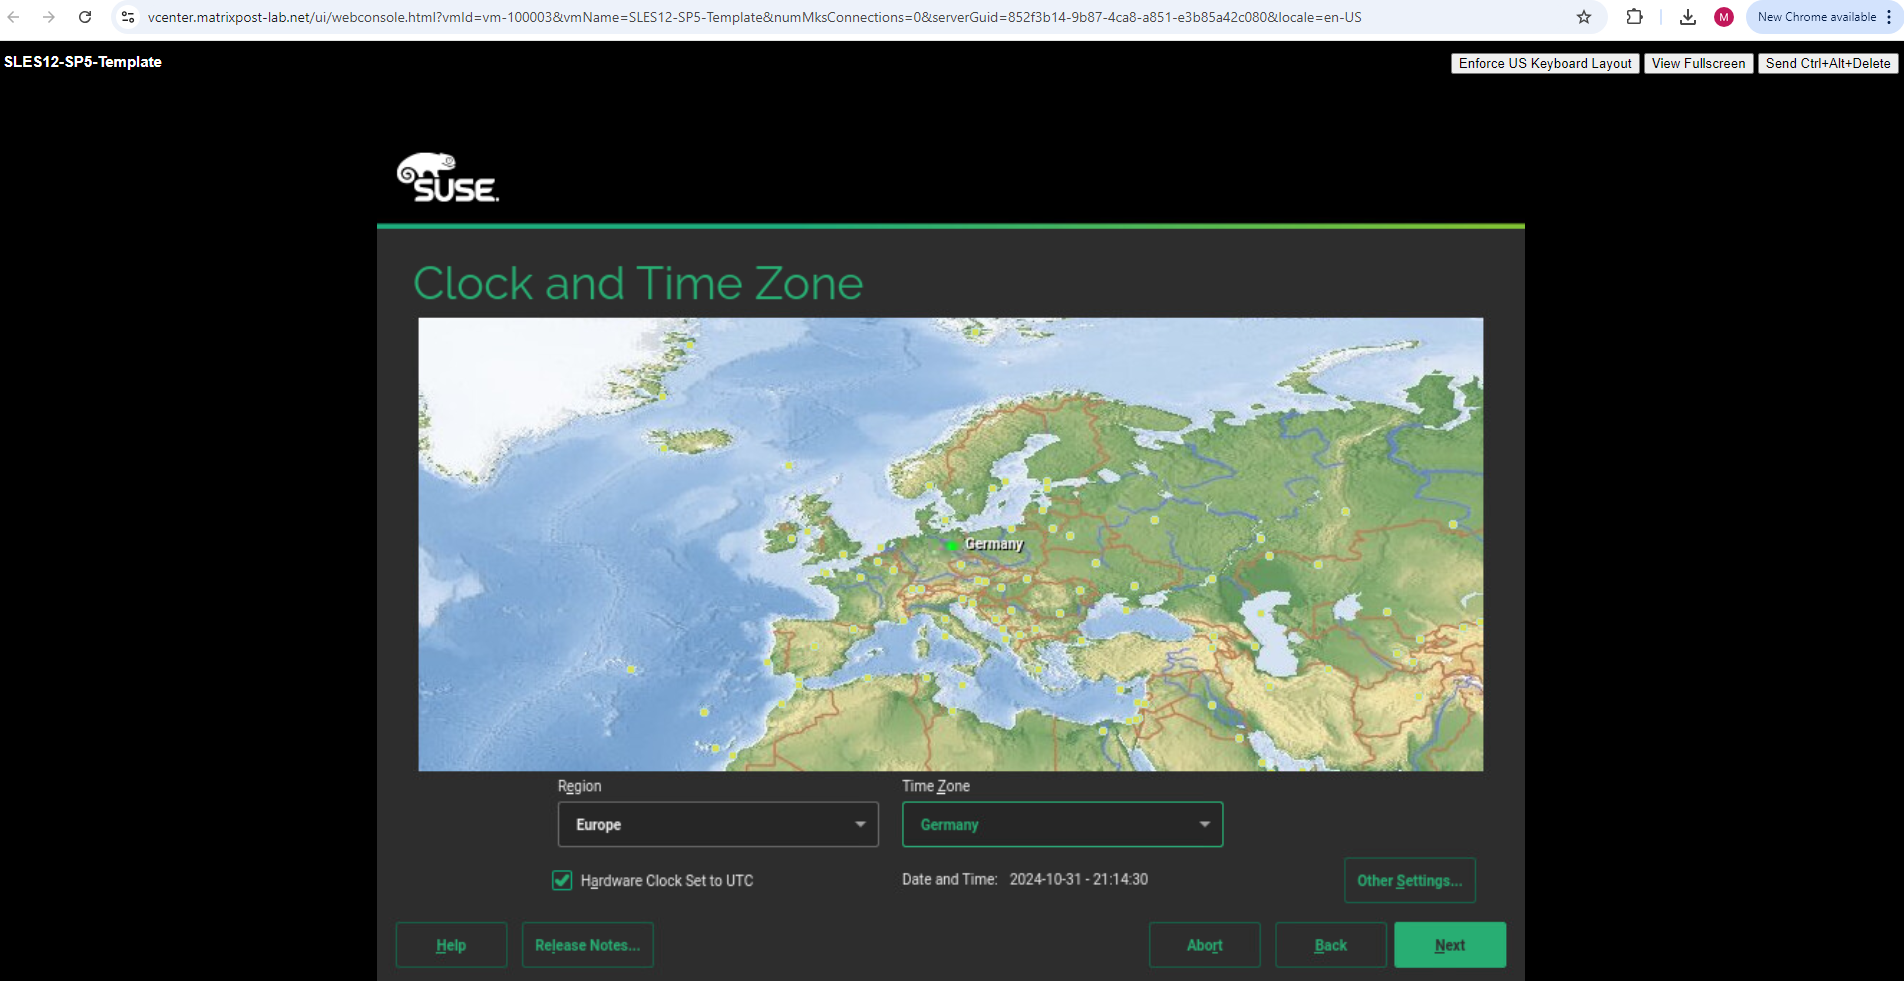
Select your desired region and time zone.
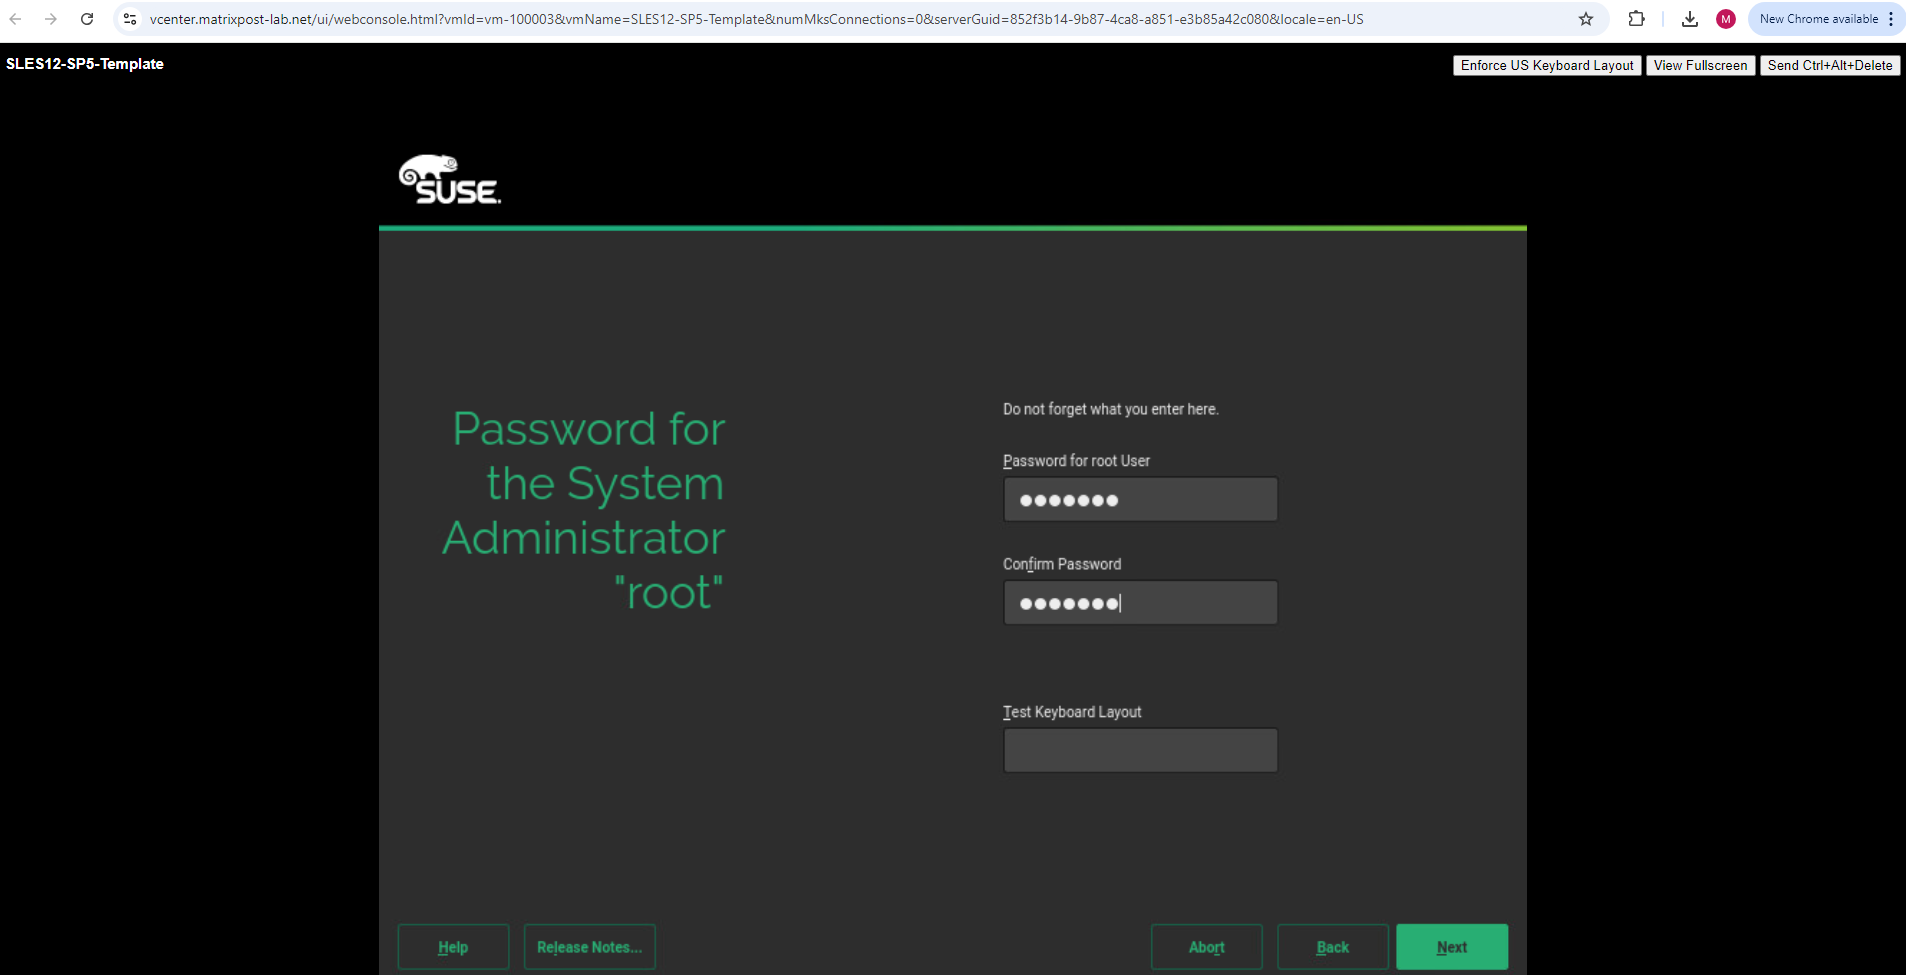
Set the password for the root account.
Below on the installation settings page we can review and change the settings.
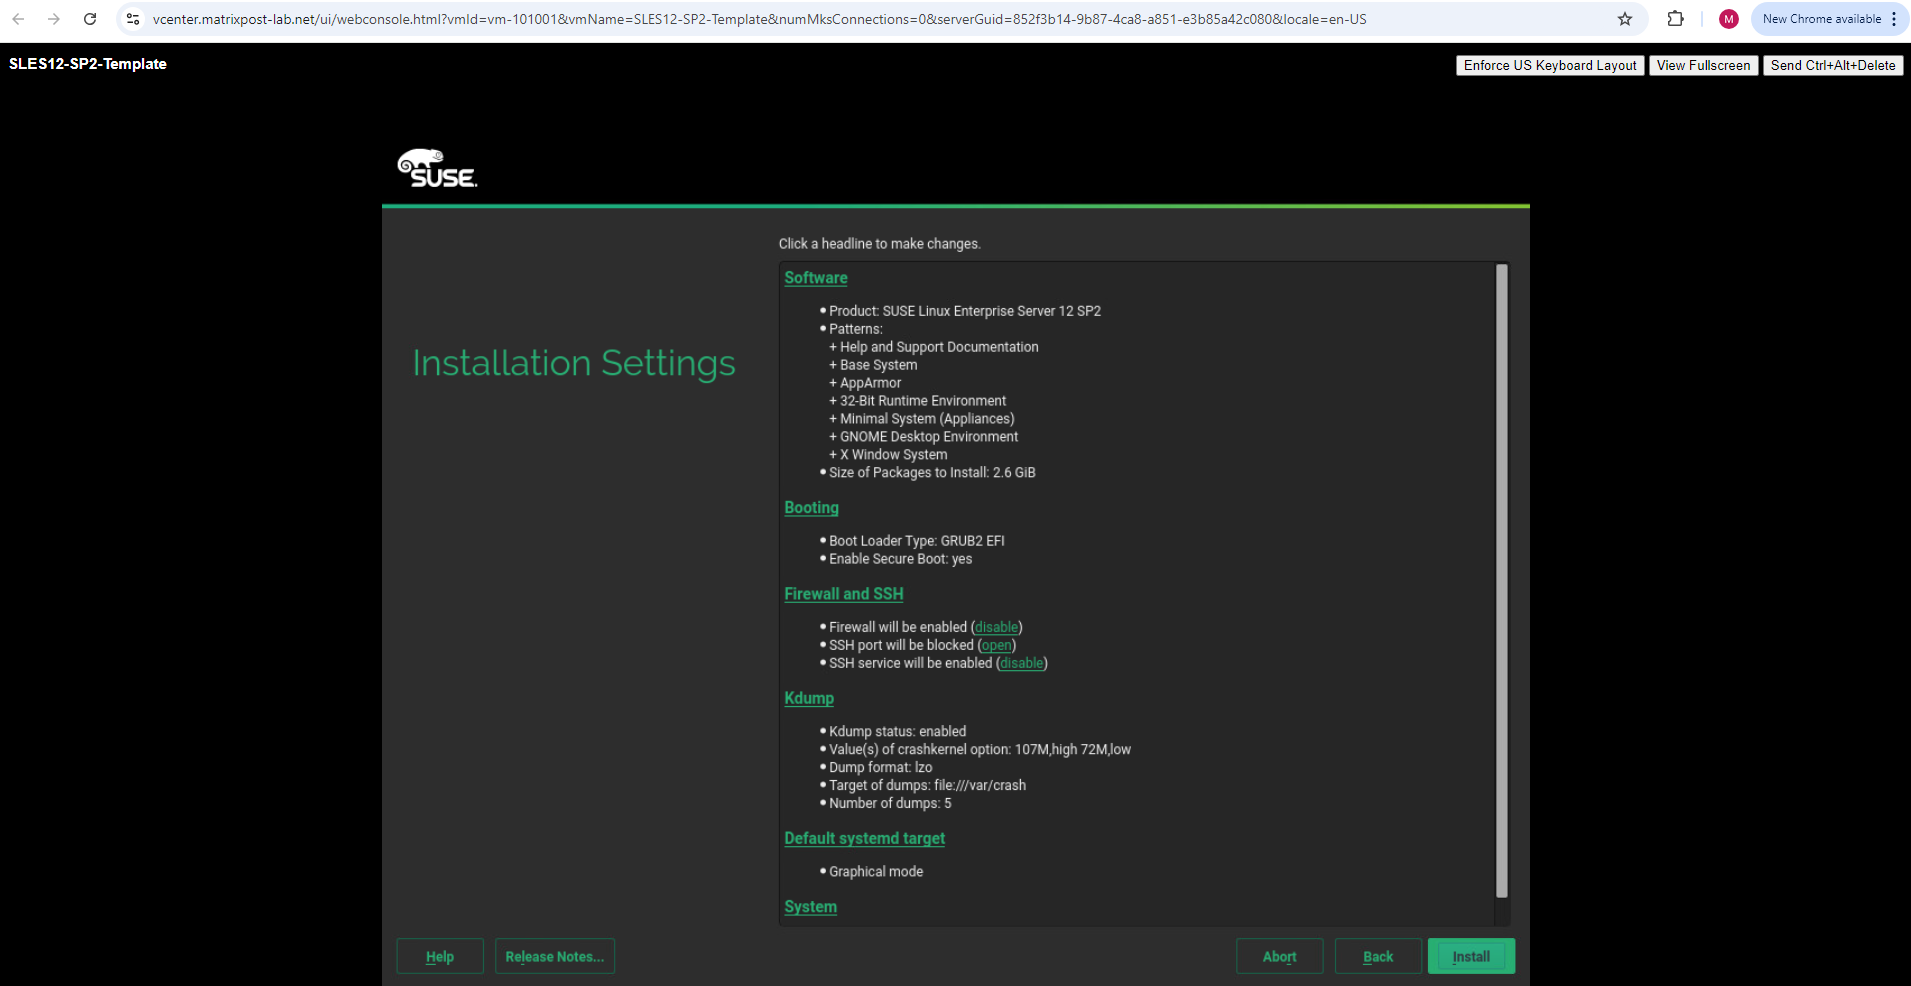
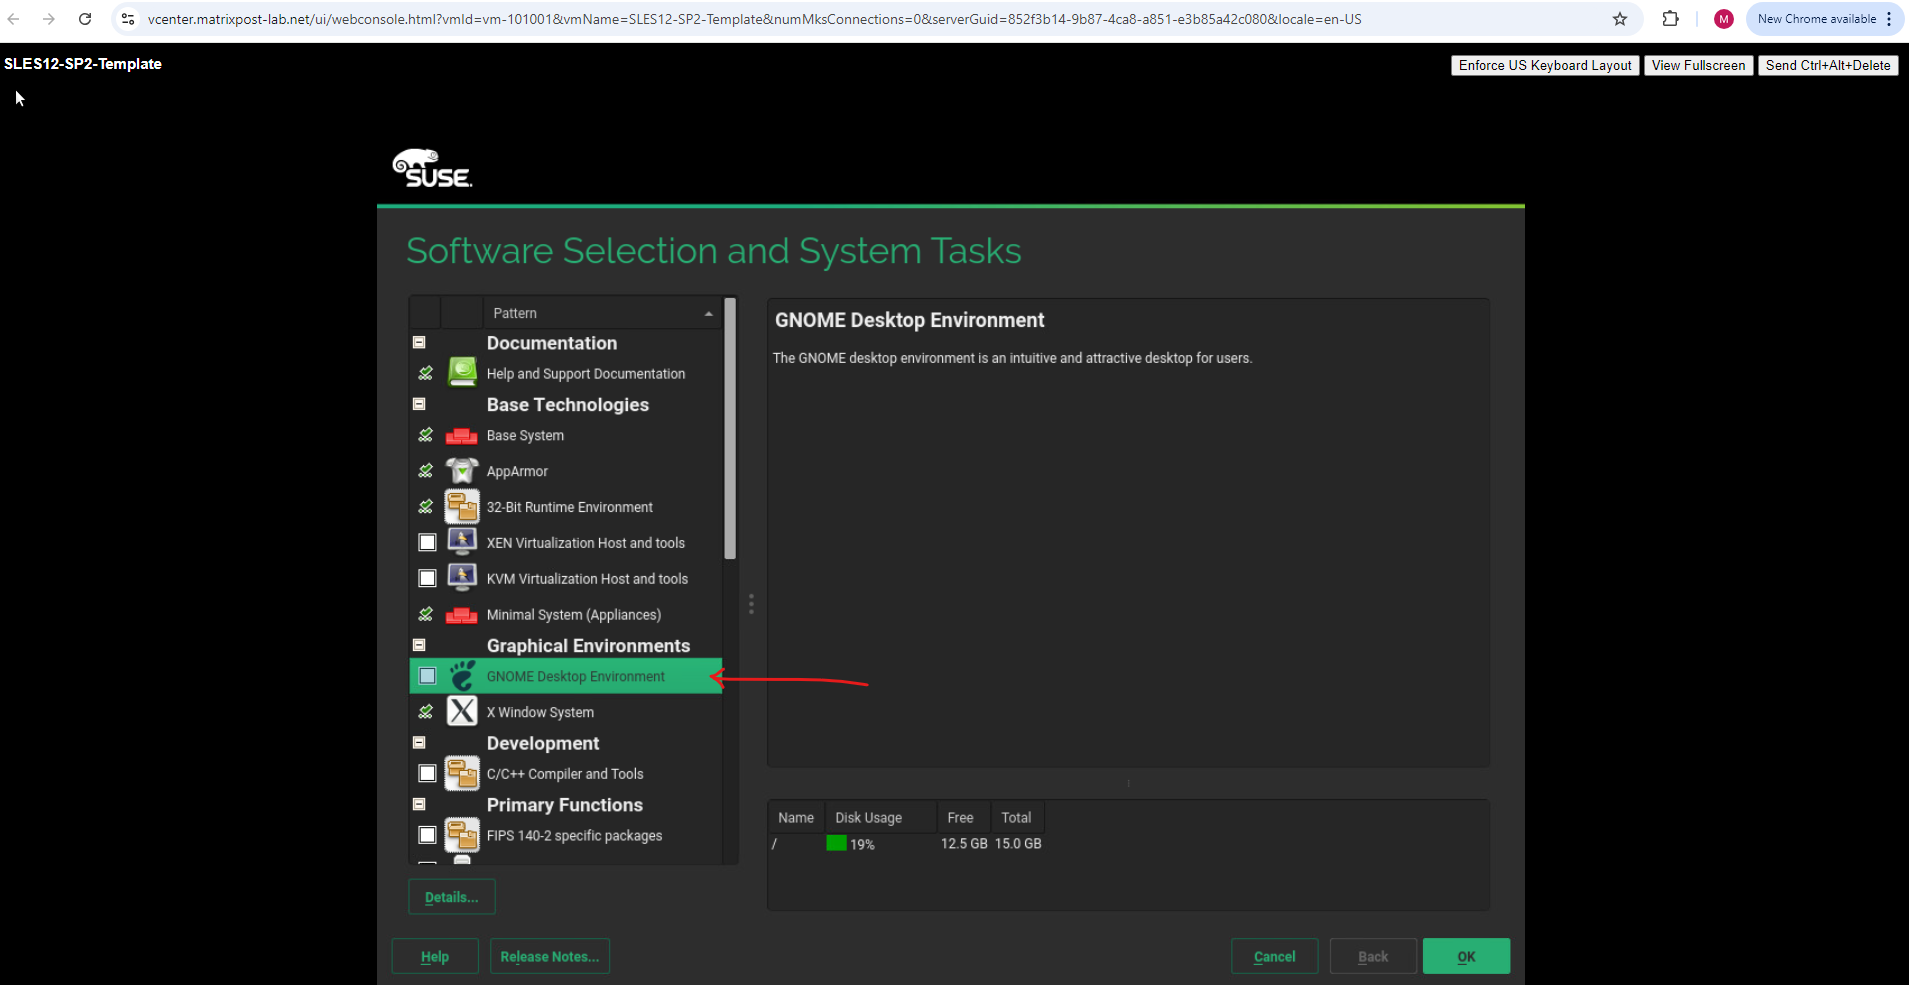
I doesn’t want to install the by default enabled GNOME desktop environment. There I will click on Software to deselect GNOME.
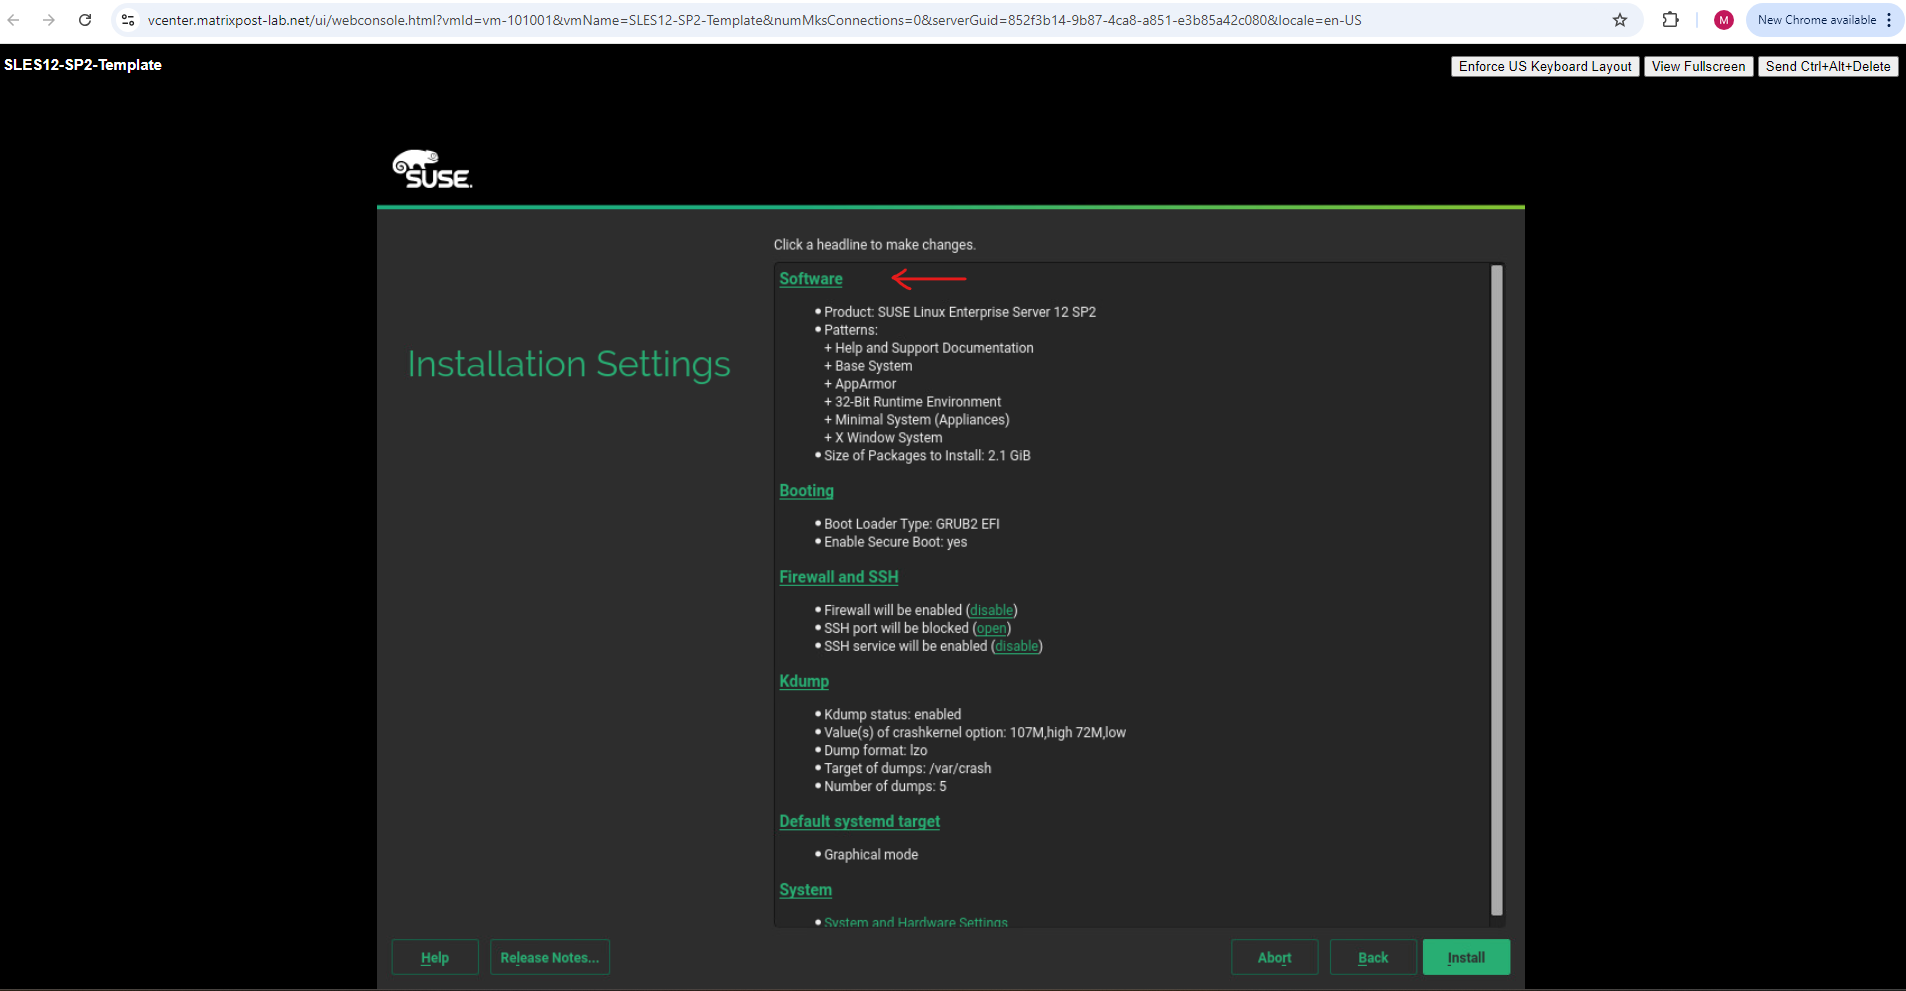
Unchecking GNOME.
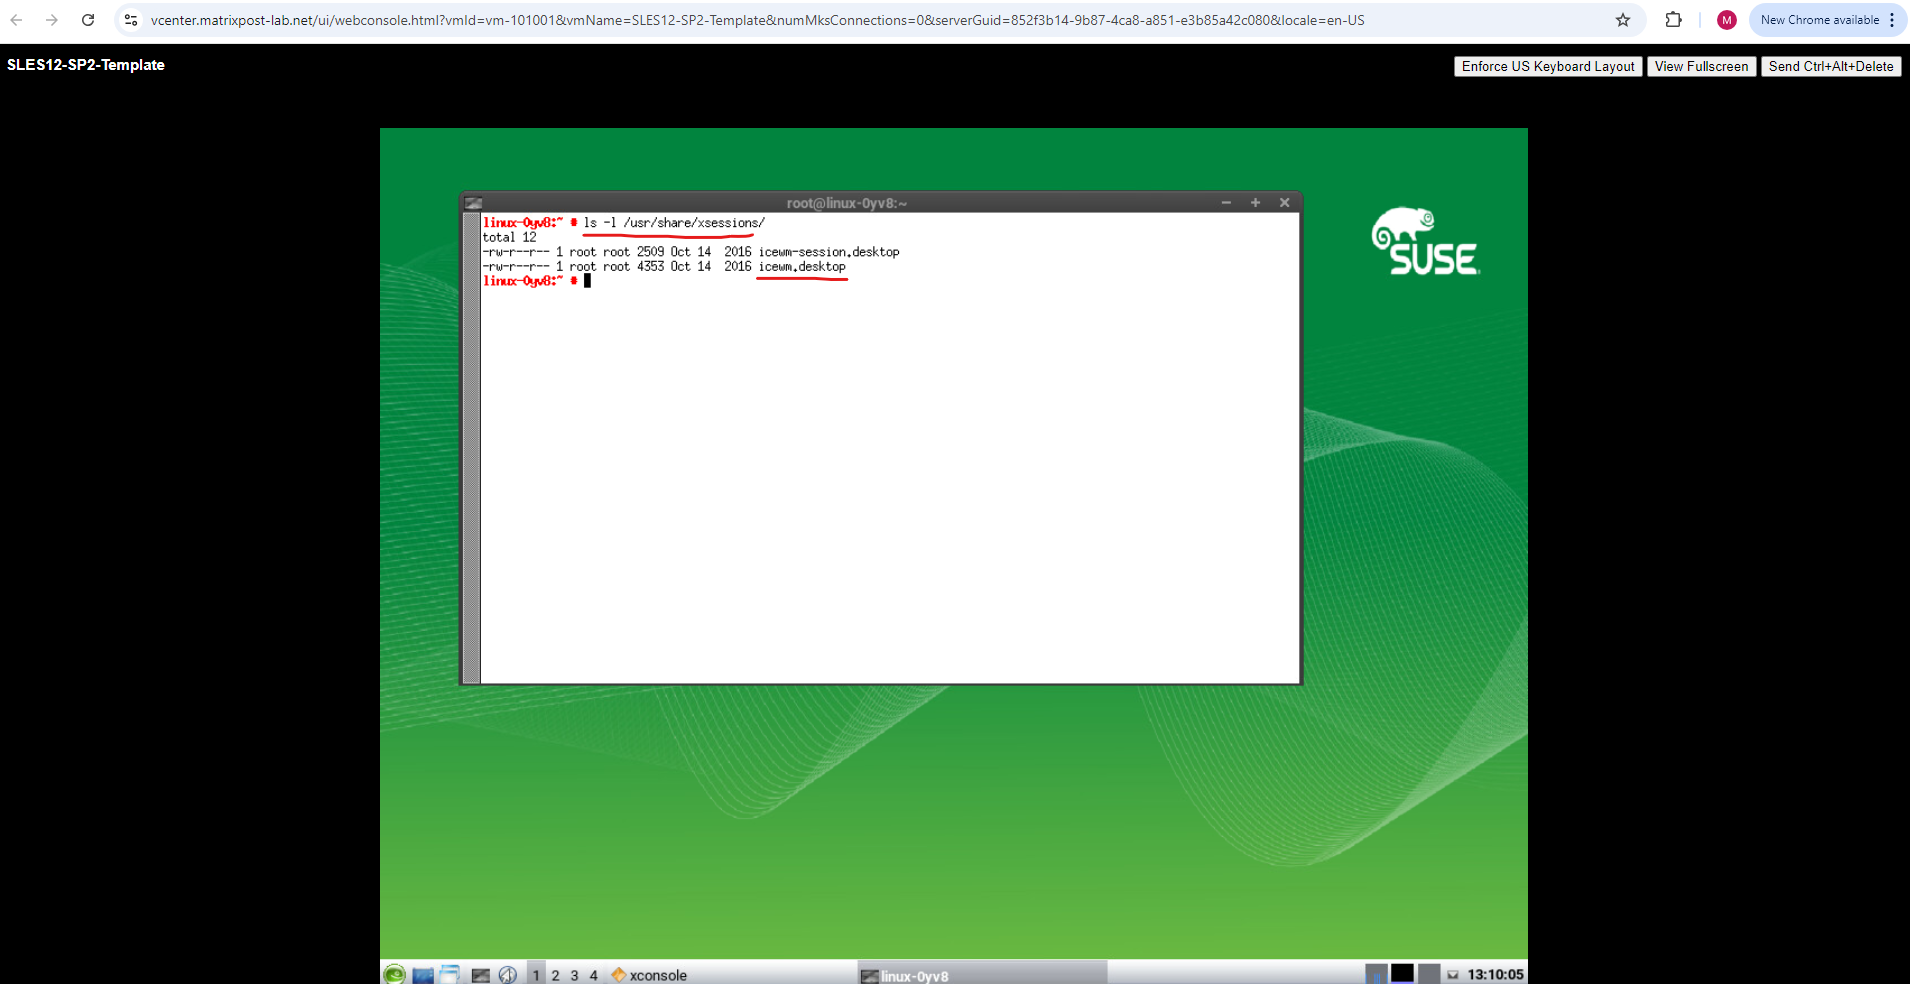
When unchecking GNOME the IceWM desktop environment will be used.
IceWM is a window manager for the X Window System.
https://ice-wm.org/
Trigger the final Installation
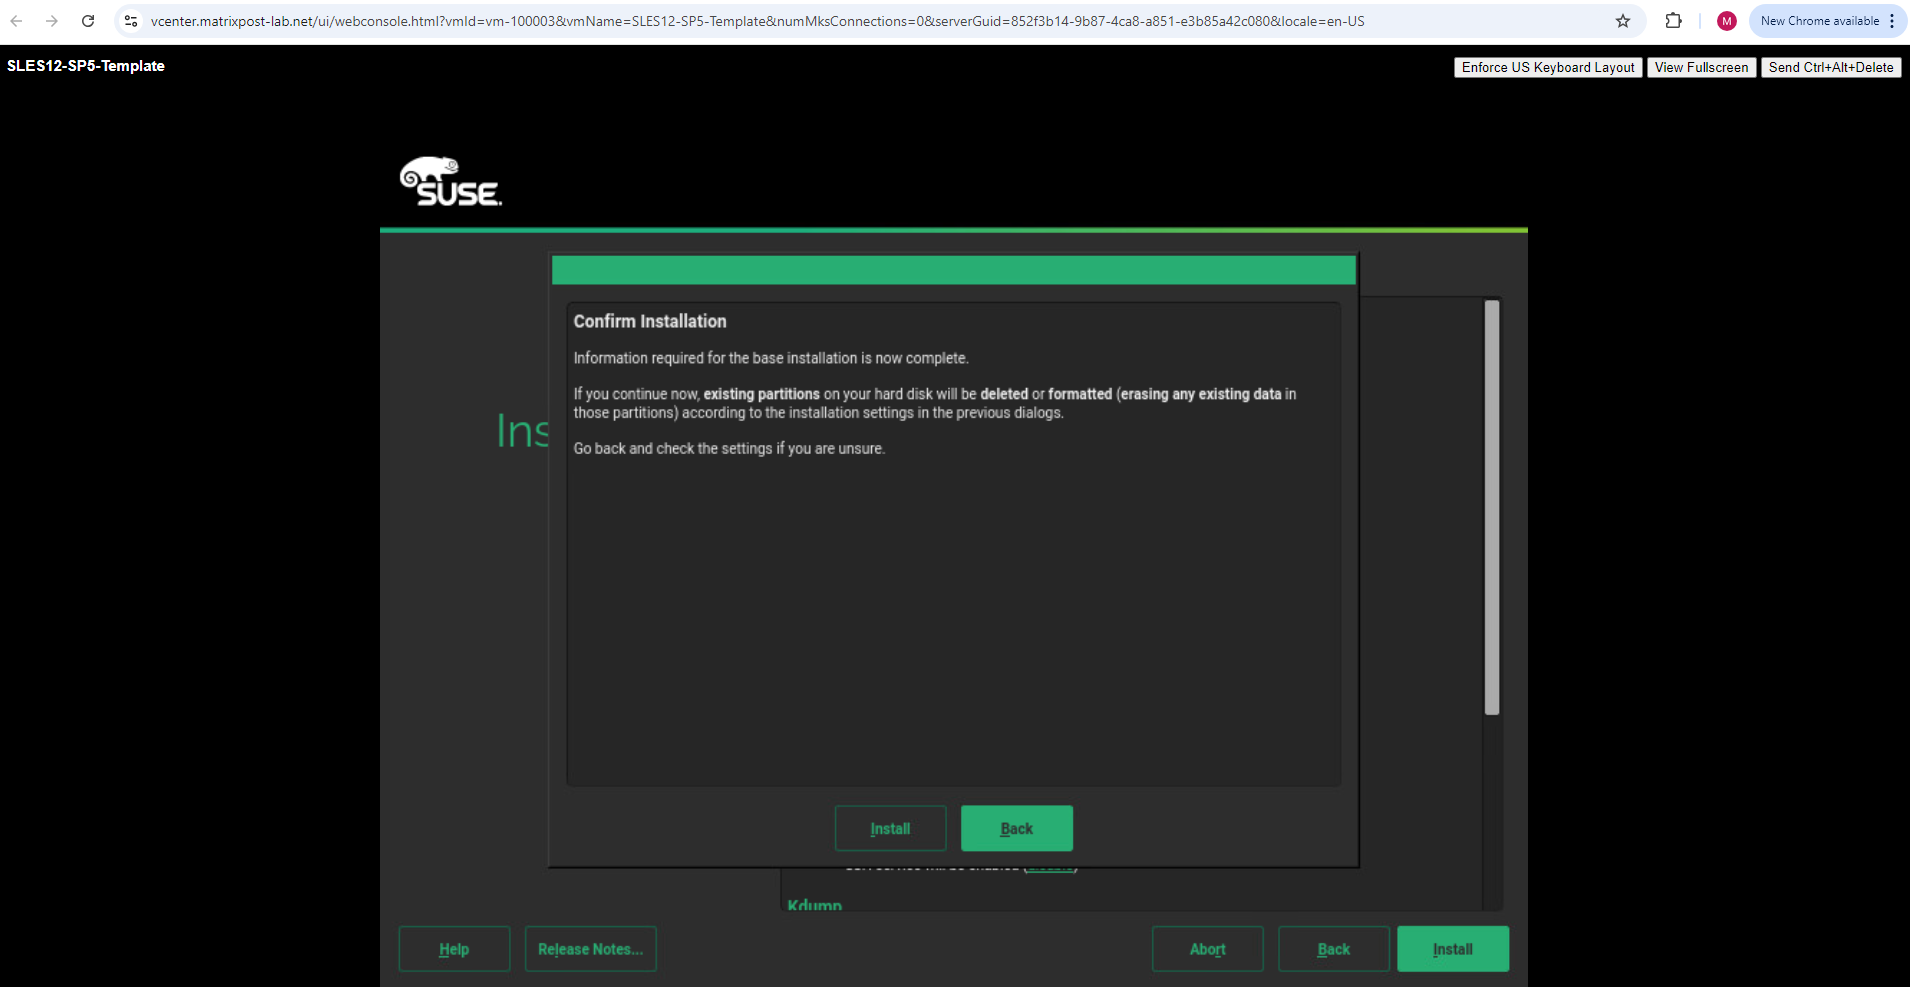
We can now finally click on Install.
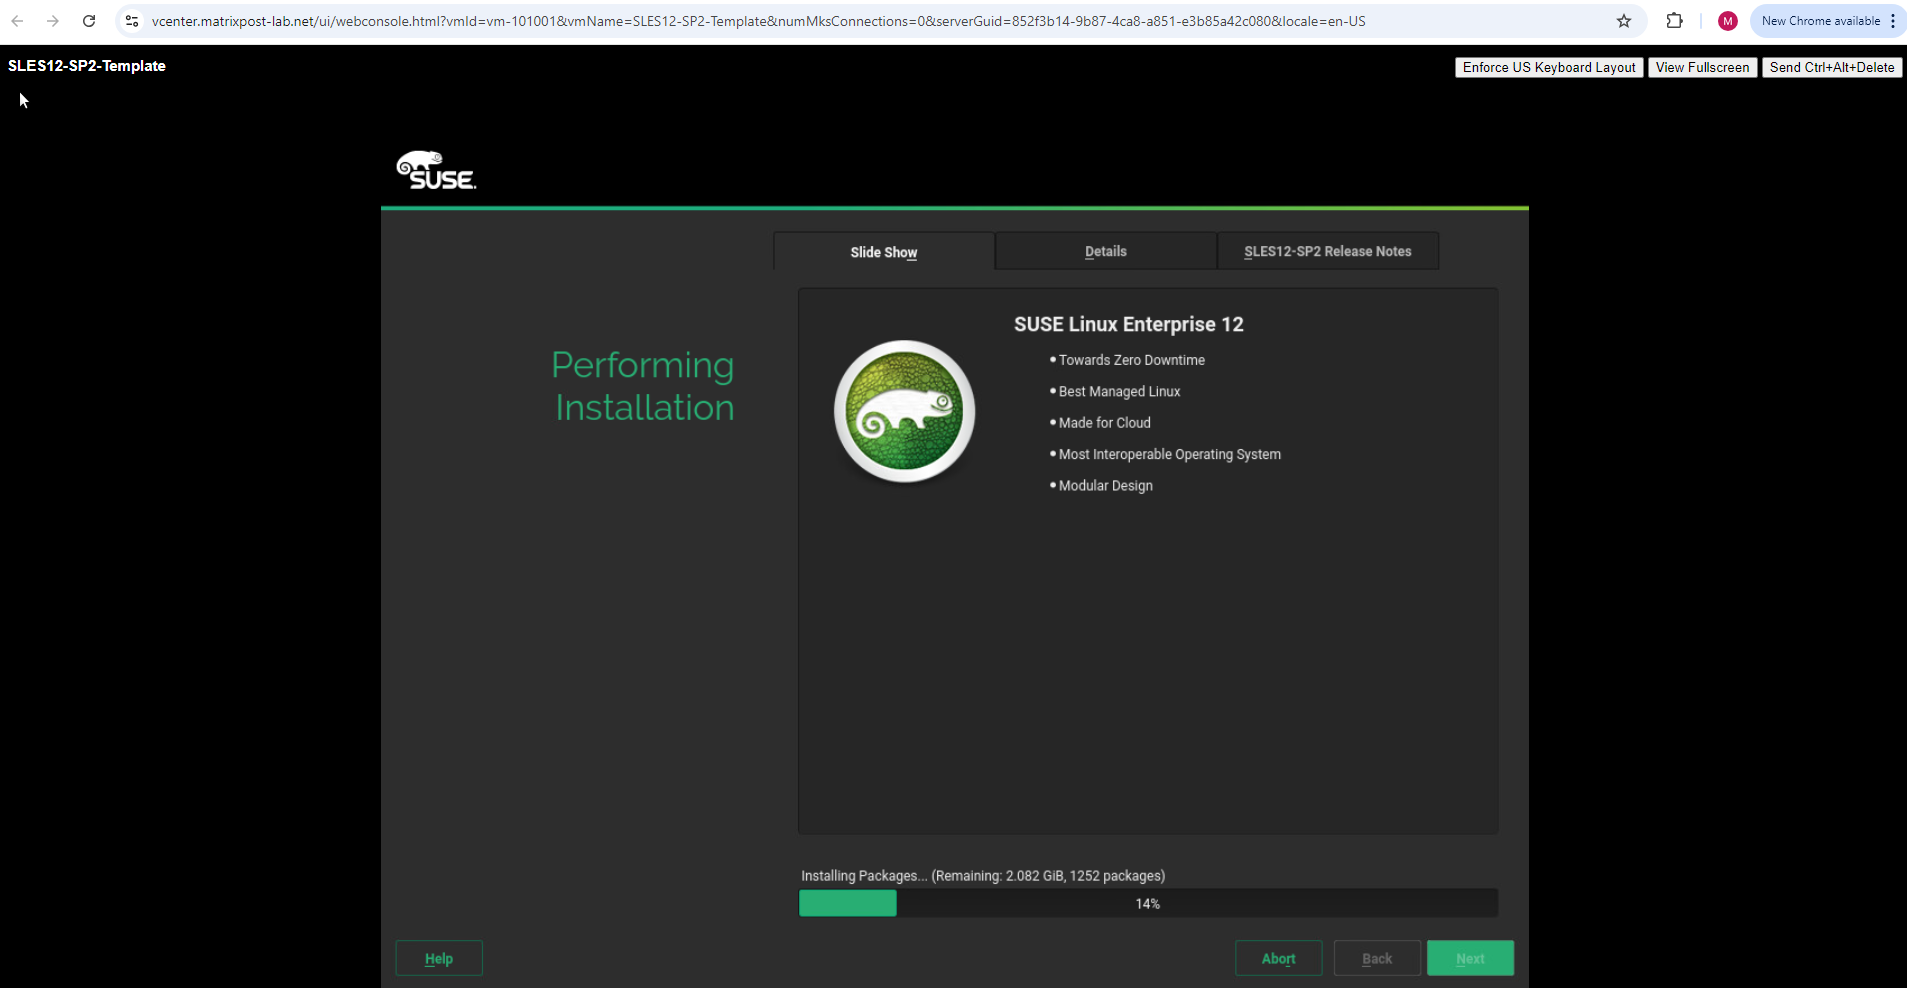
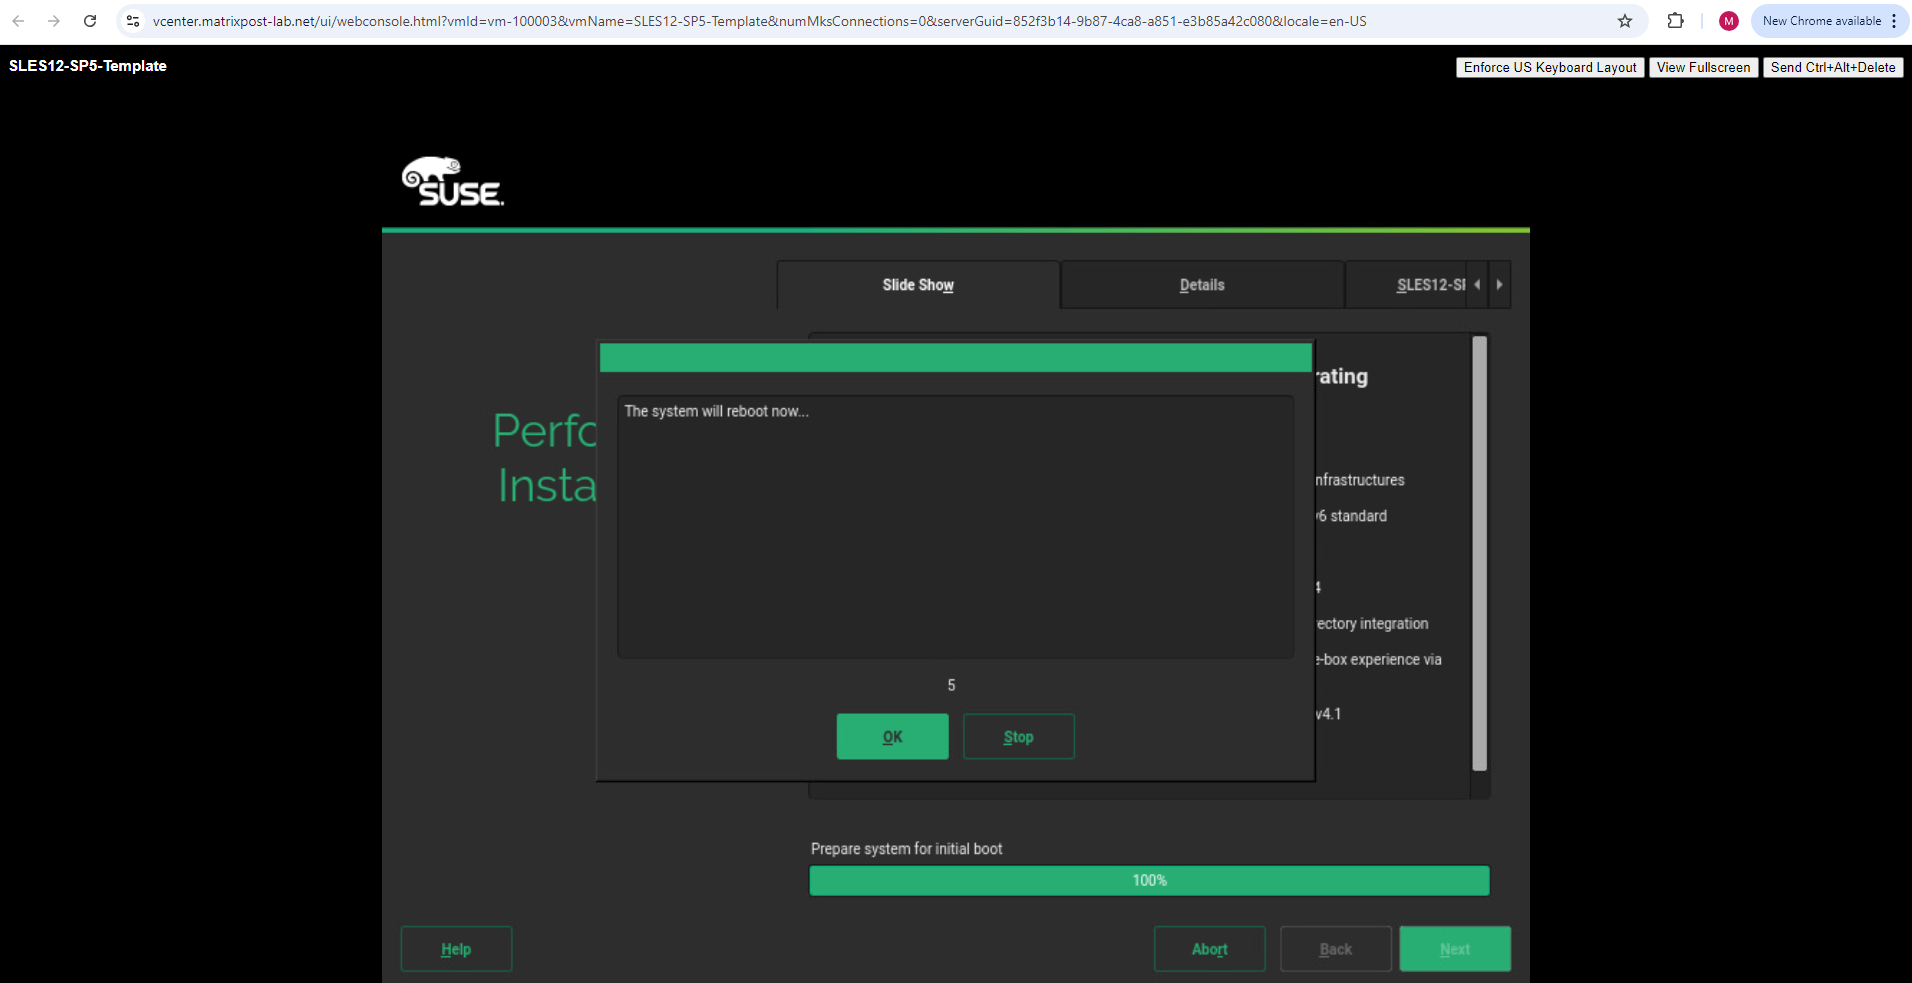
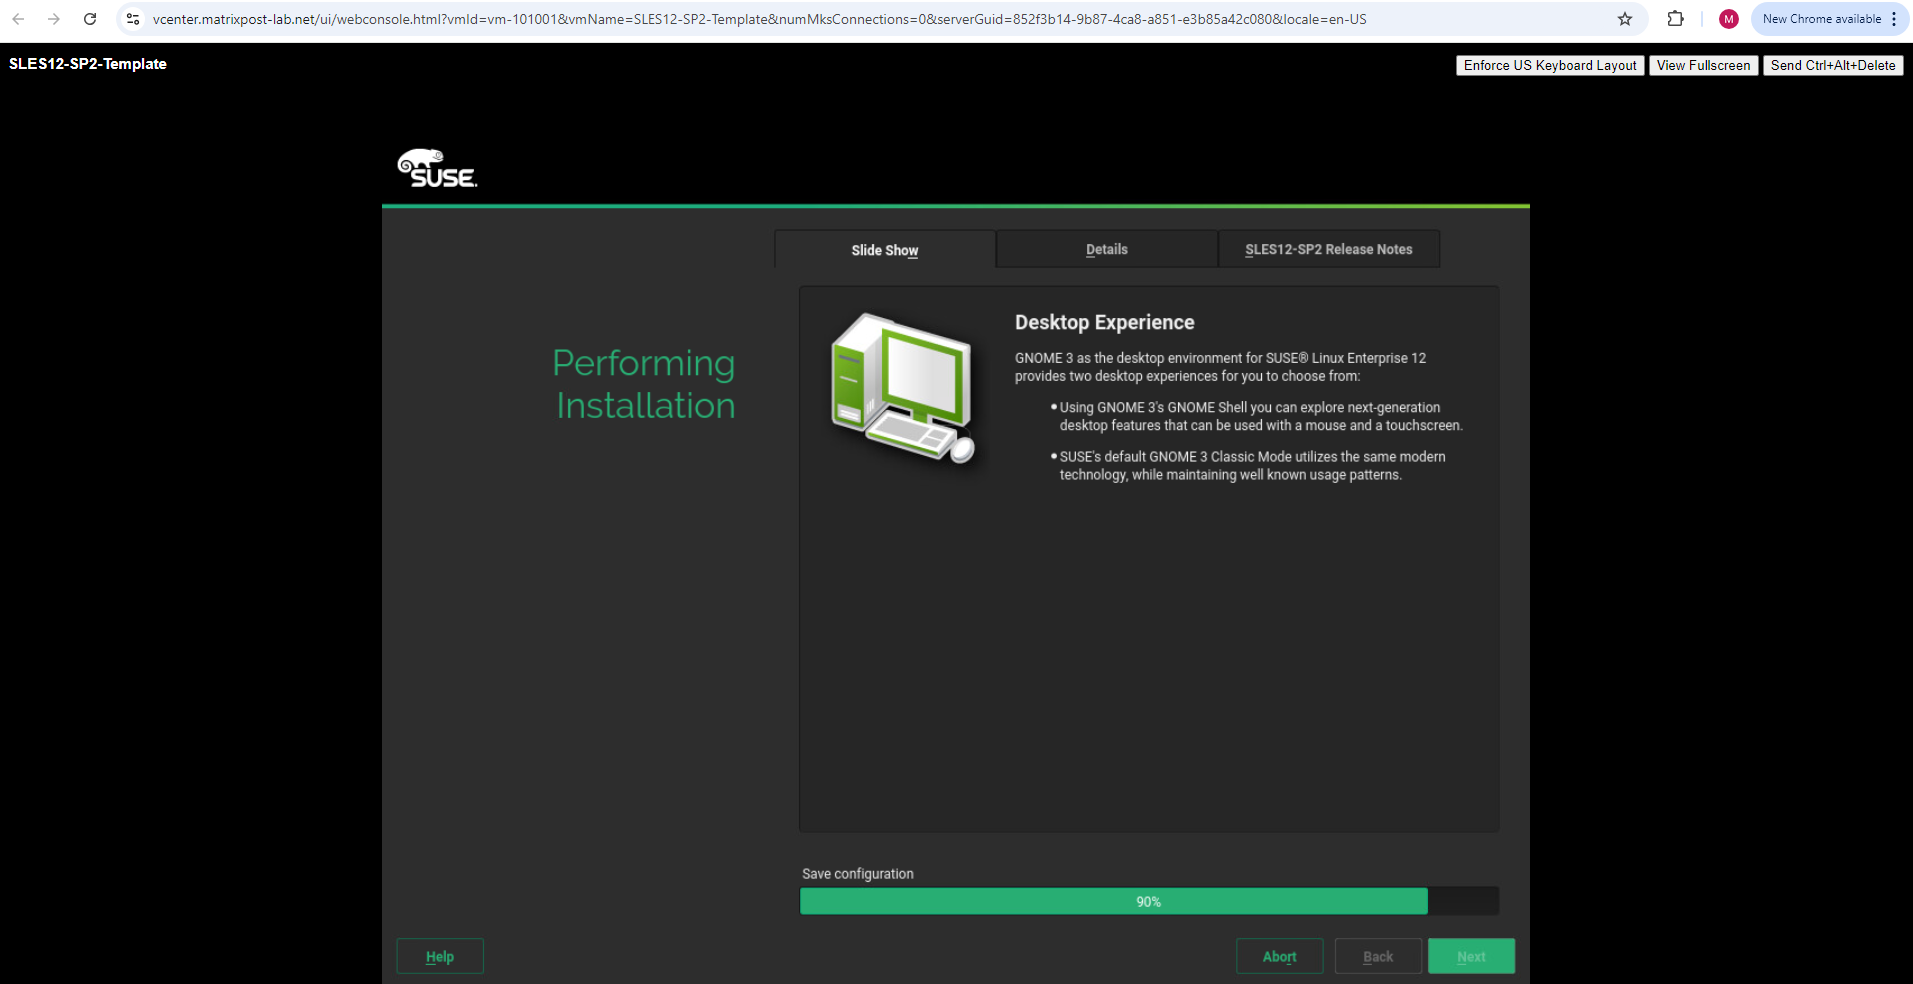
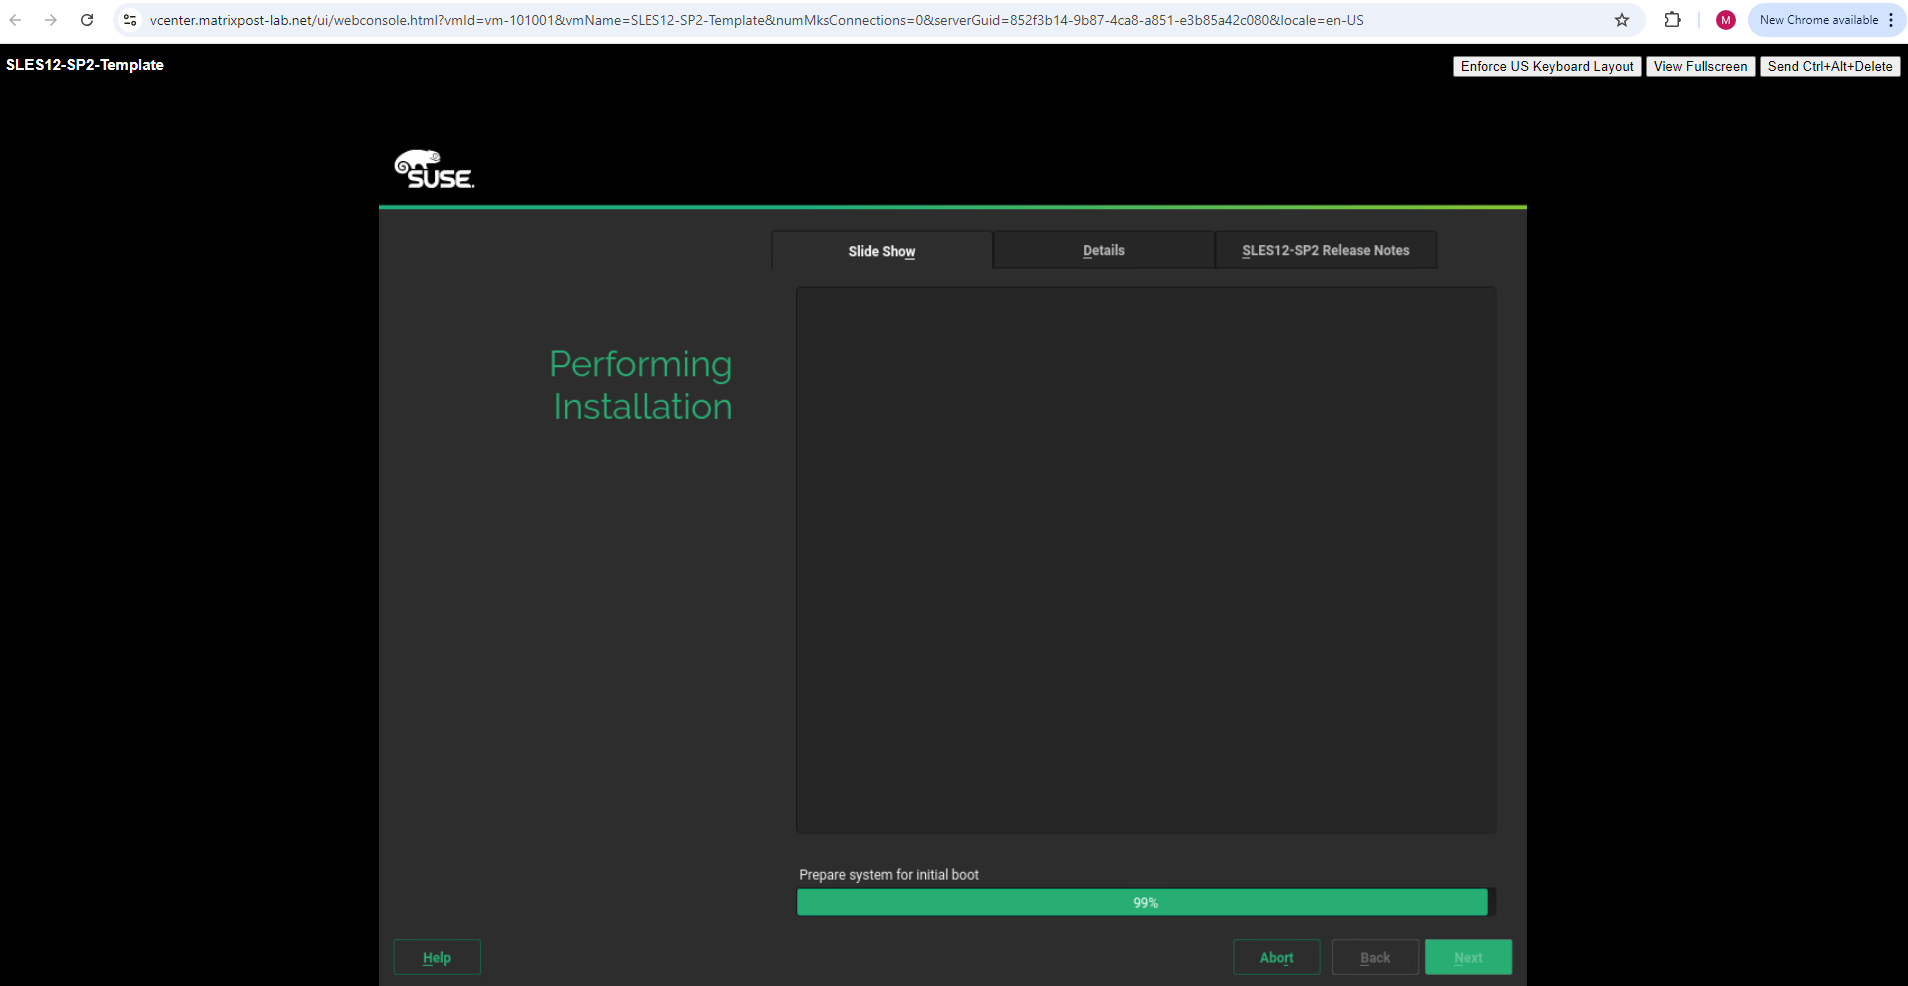
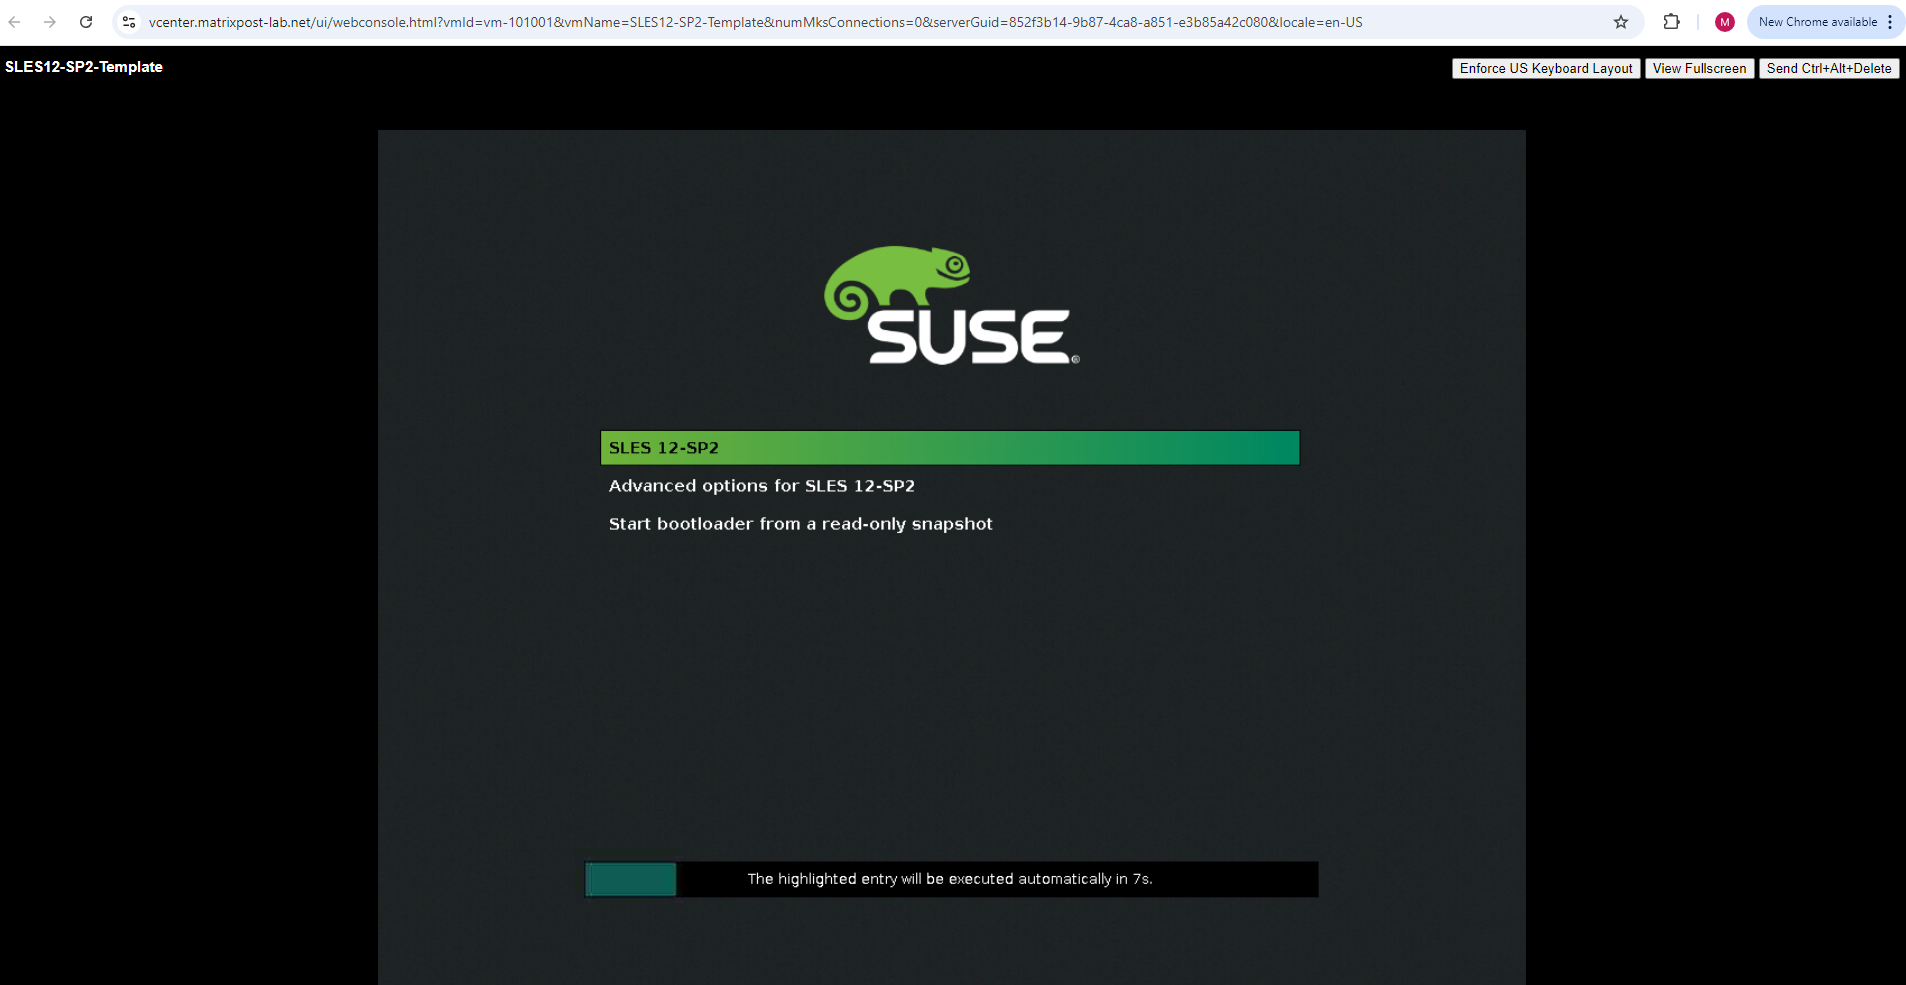
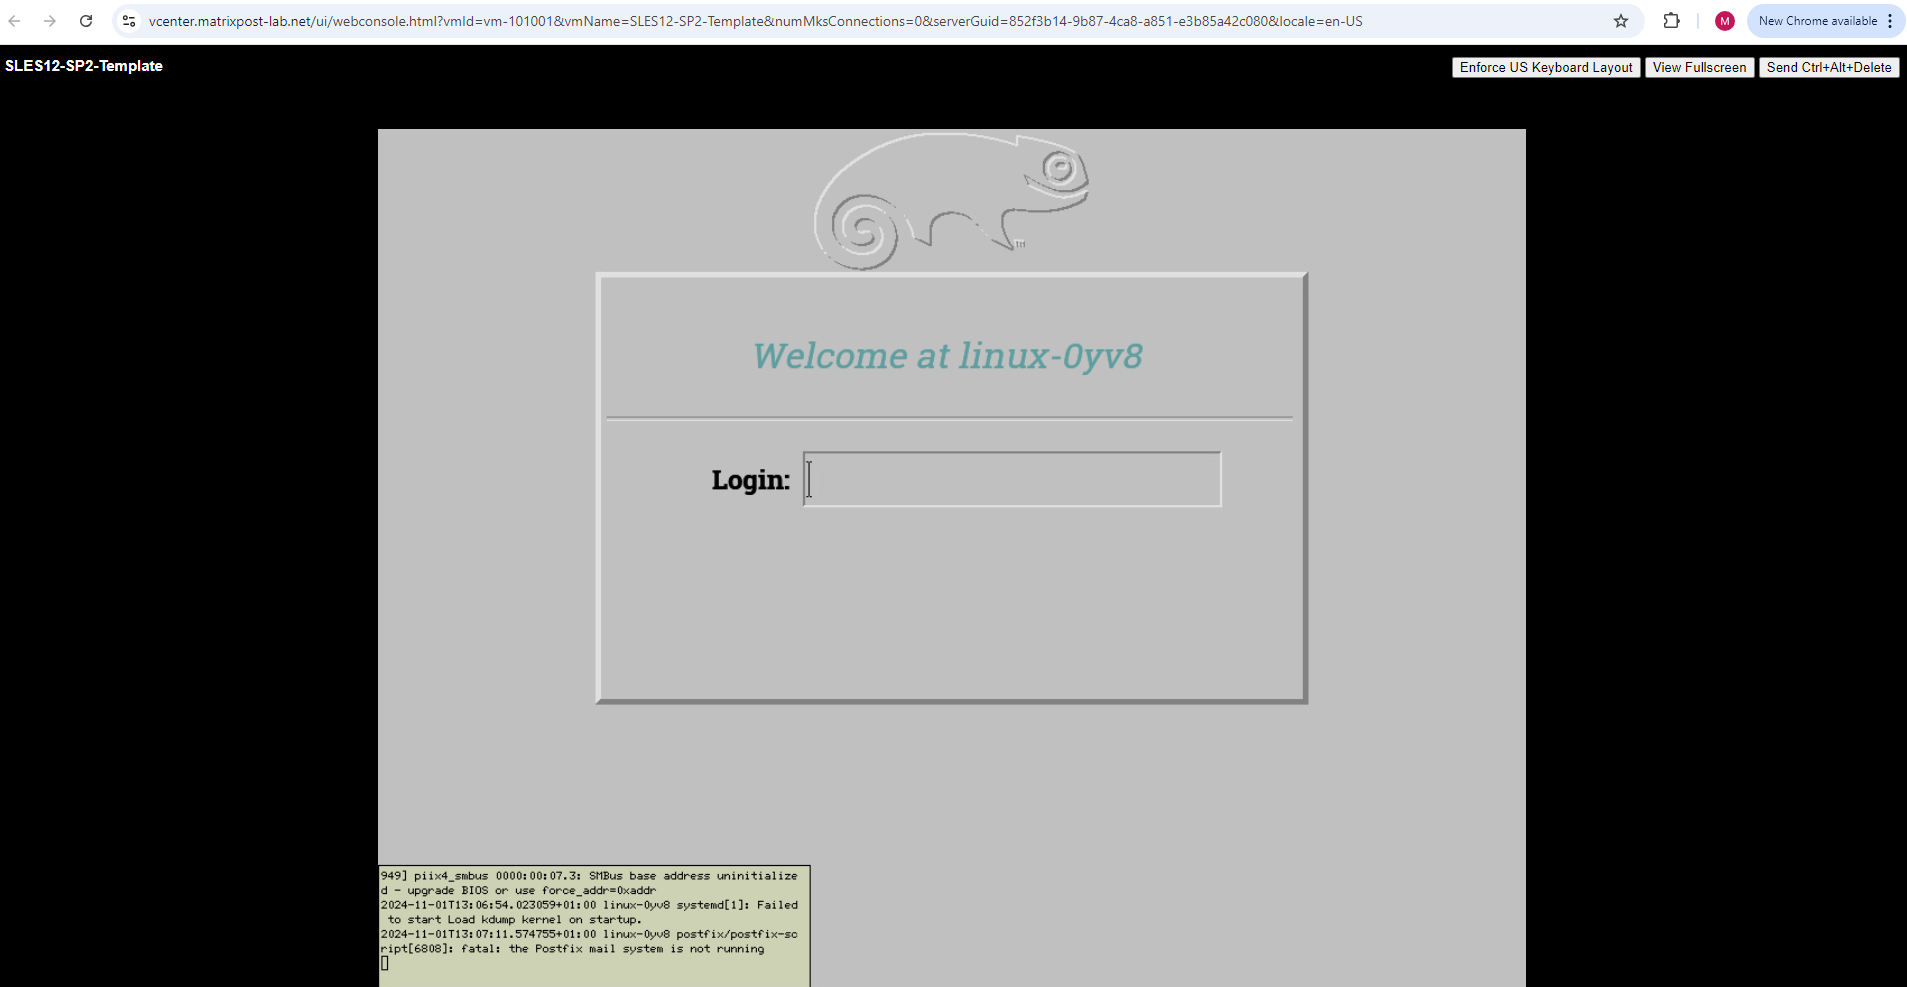
After a successful first boot we can finally login by using our root account for which we set the password previously.
Below we can see the IceWM desktop environment.
IceWM is a window manager for the X Window System.
https://ice-wm.org/
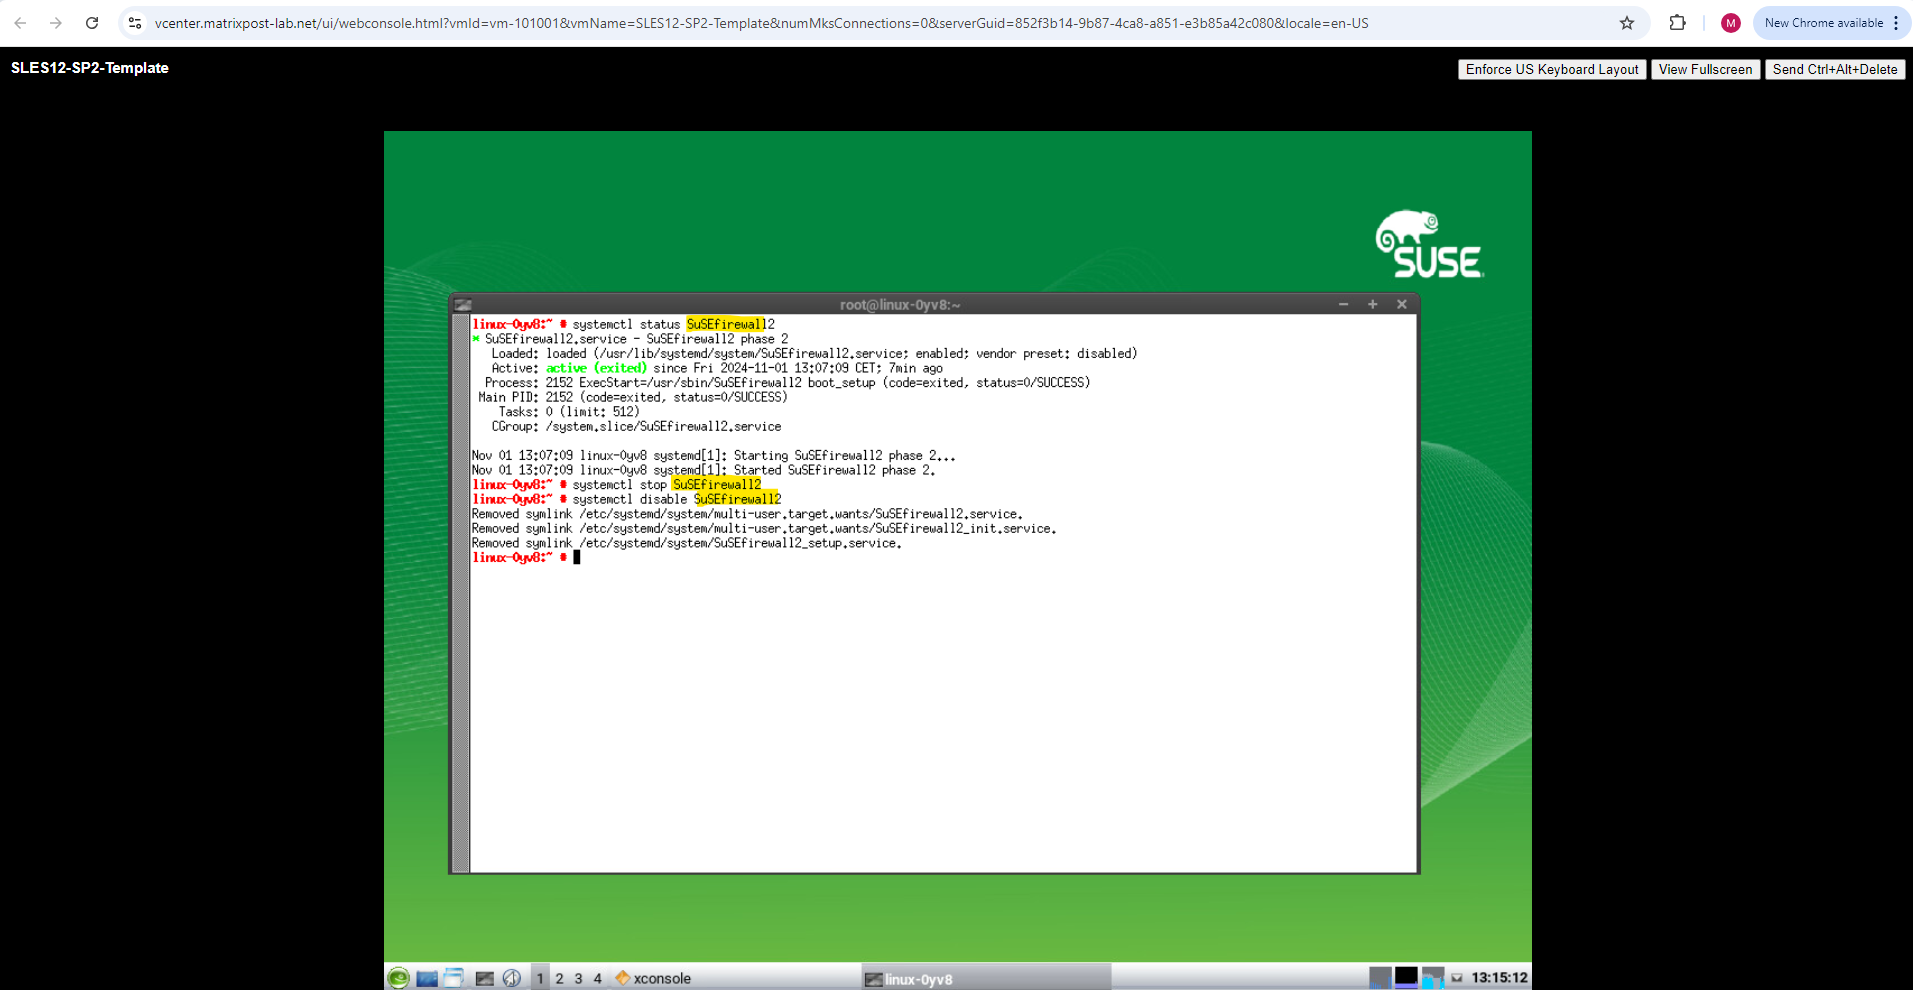
Controlling the Firewall on SUSE Linux Enterprise Server 12
SUSE Linux Enterprise Server 15 GA introduces firewalld as the new default software firewall and replacing the SuSEfirewall2 using on SUSE Linux Enterprise Server 12.
determine if the firewall is enabled and running# systemctl status SuSEfirewall2stopping the firewall# systemctl stop SuSEfirewall2disabling the firewall# systemctl disable SuSEfirewall2
More about configuring SUSE Linux Enterprise Server you will find in my following post.
Links
SUSE Linux Enterprise Server Download
https://www.suse.com/download/sles/SUSE Linux Enterprise
https://en.wikipedia.org/wiki/SUSE_Linux_Enterprise
